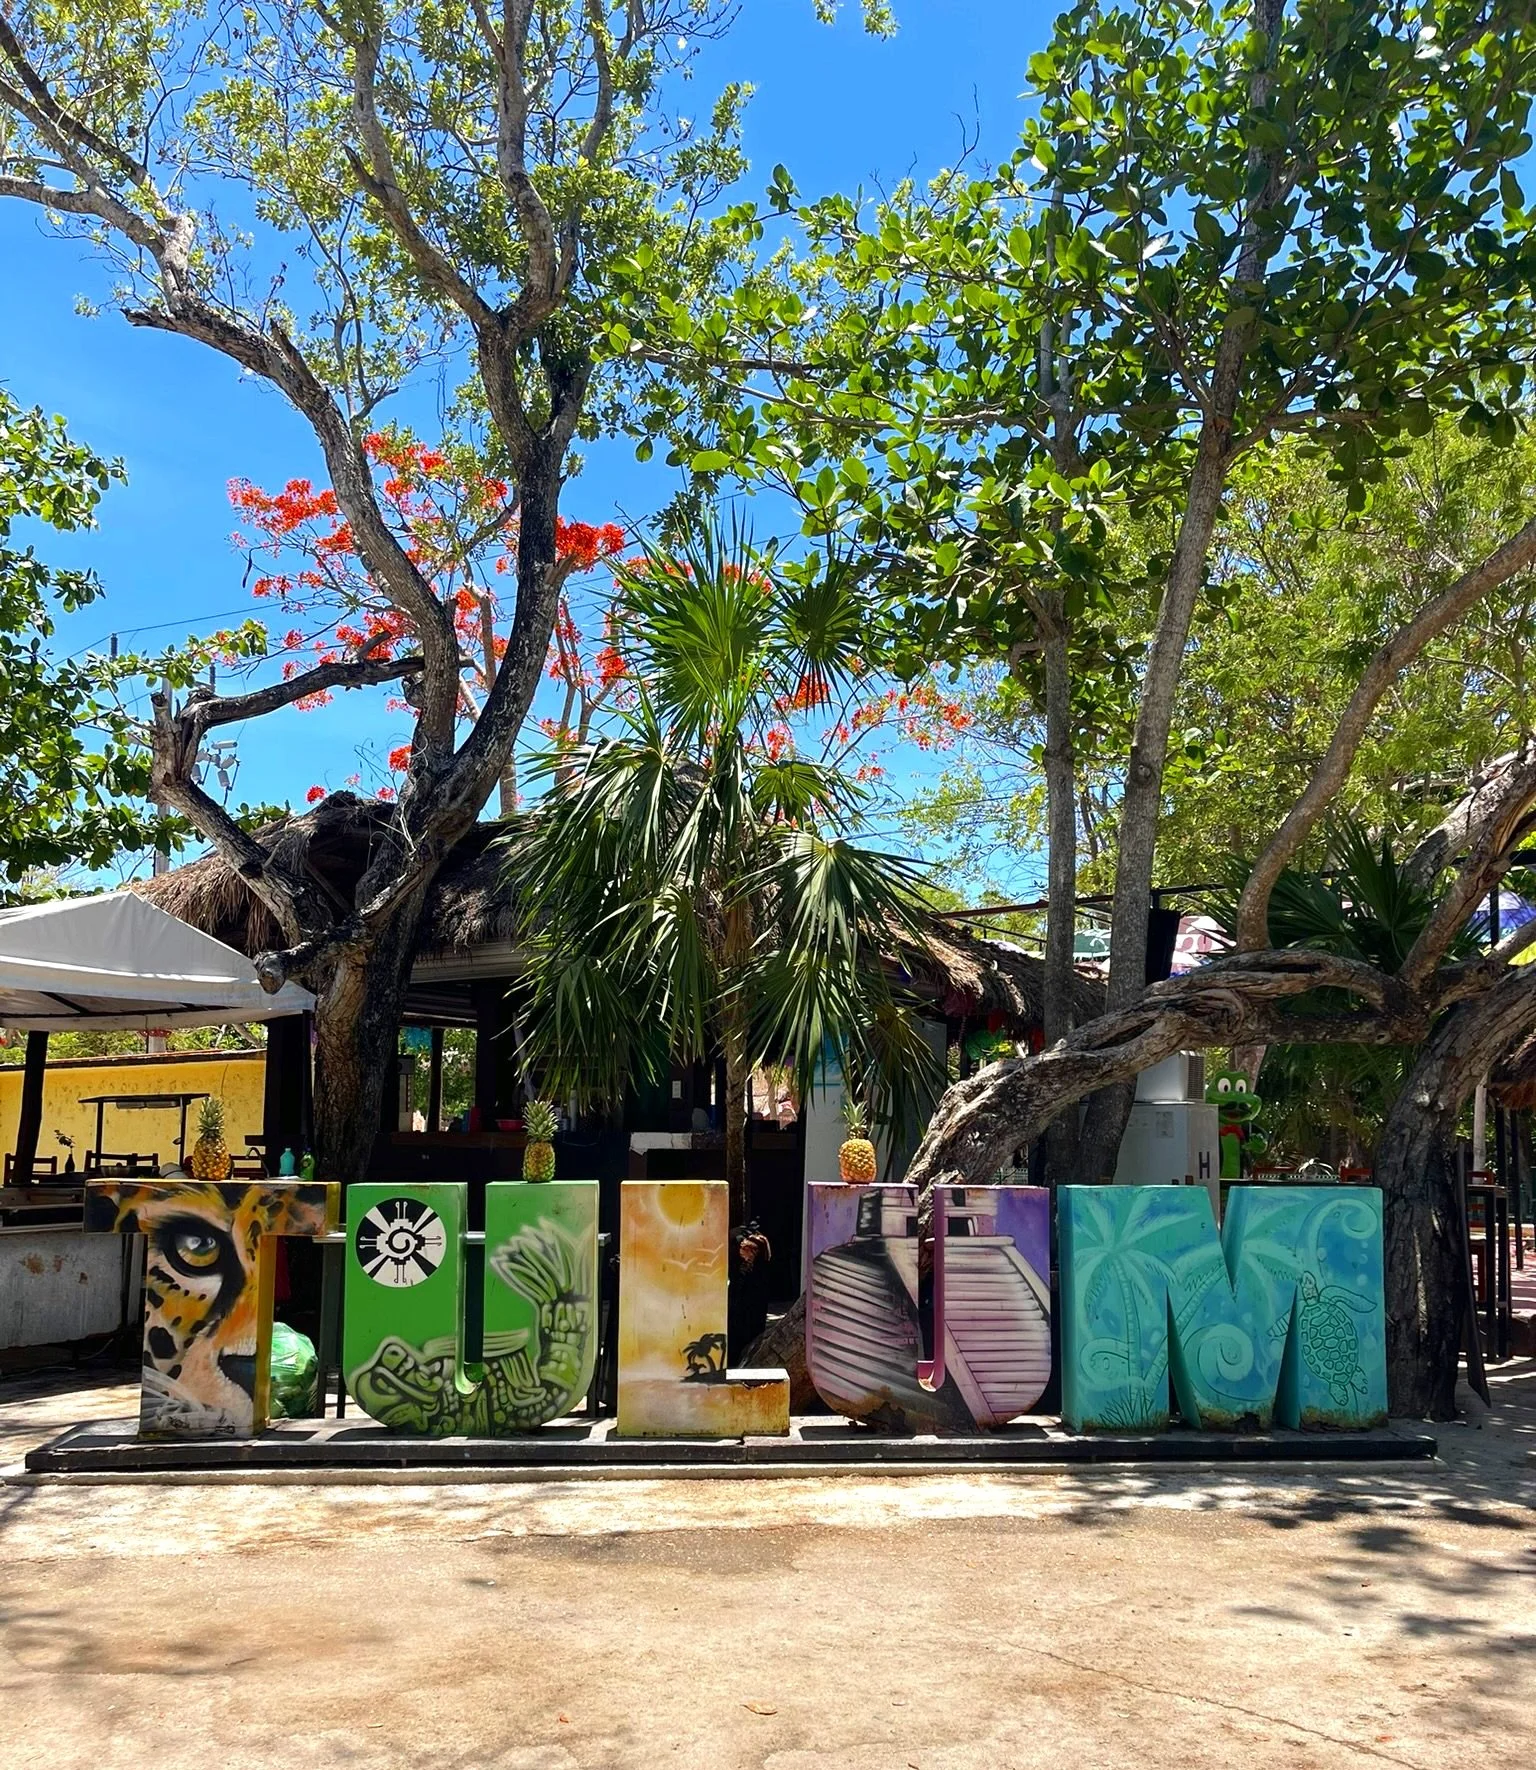
3 Days in Tulum: A Complete Itinerary
Welcome to Tulum, a small but popular Mexican town with a jungle-like atmosphere that is renowned for its ancient Mayan ruins perched on a seaside cliff. As the single most visited archaeological site in the Yucatán Peninsula, Tulum attracts thousands of visitors every day. If you are planning to spend 3 days in Tulum soon, continue reading to find a complete itinerary.
Disclaimer: This post contains affiliate links. If you click through and make a purchase, my blog may receive a commission at no additional cost to you.
3-day Tulum Itinerary
Day 1: Explore the Tulum Ruins & the Famous Tulum Beach Road!
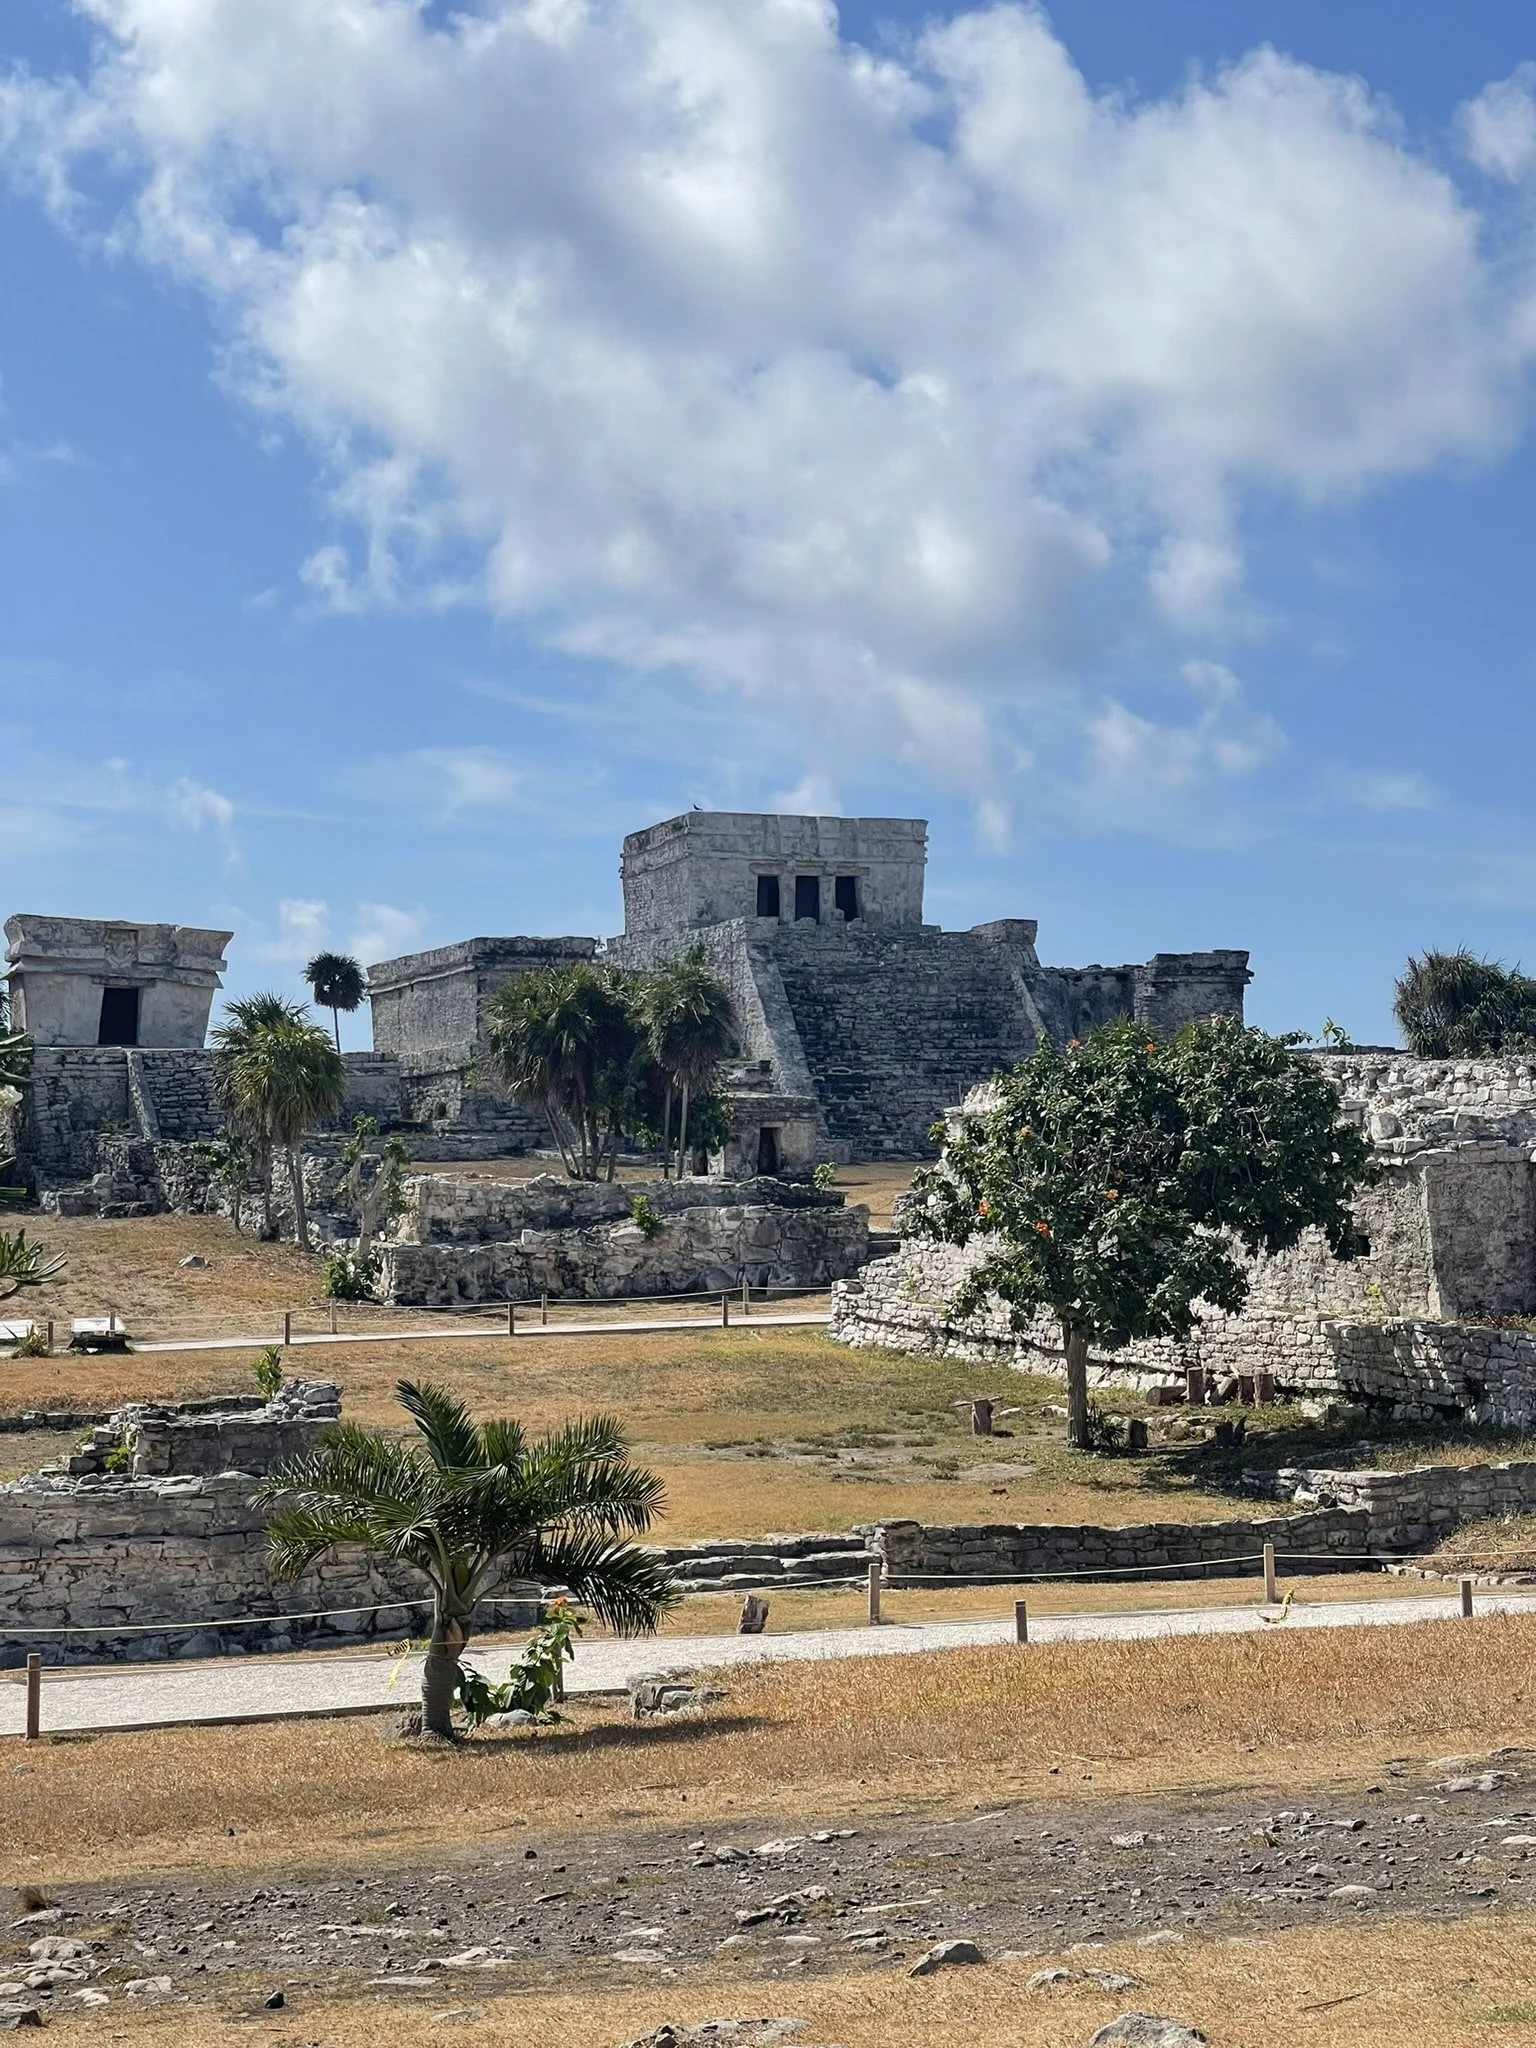

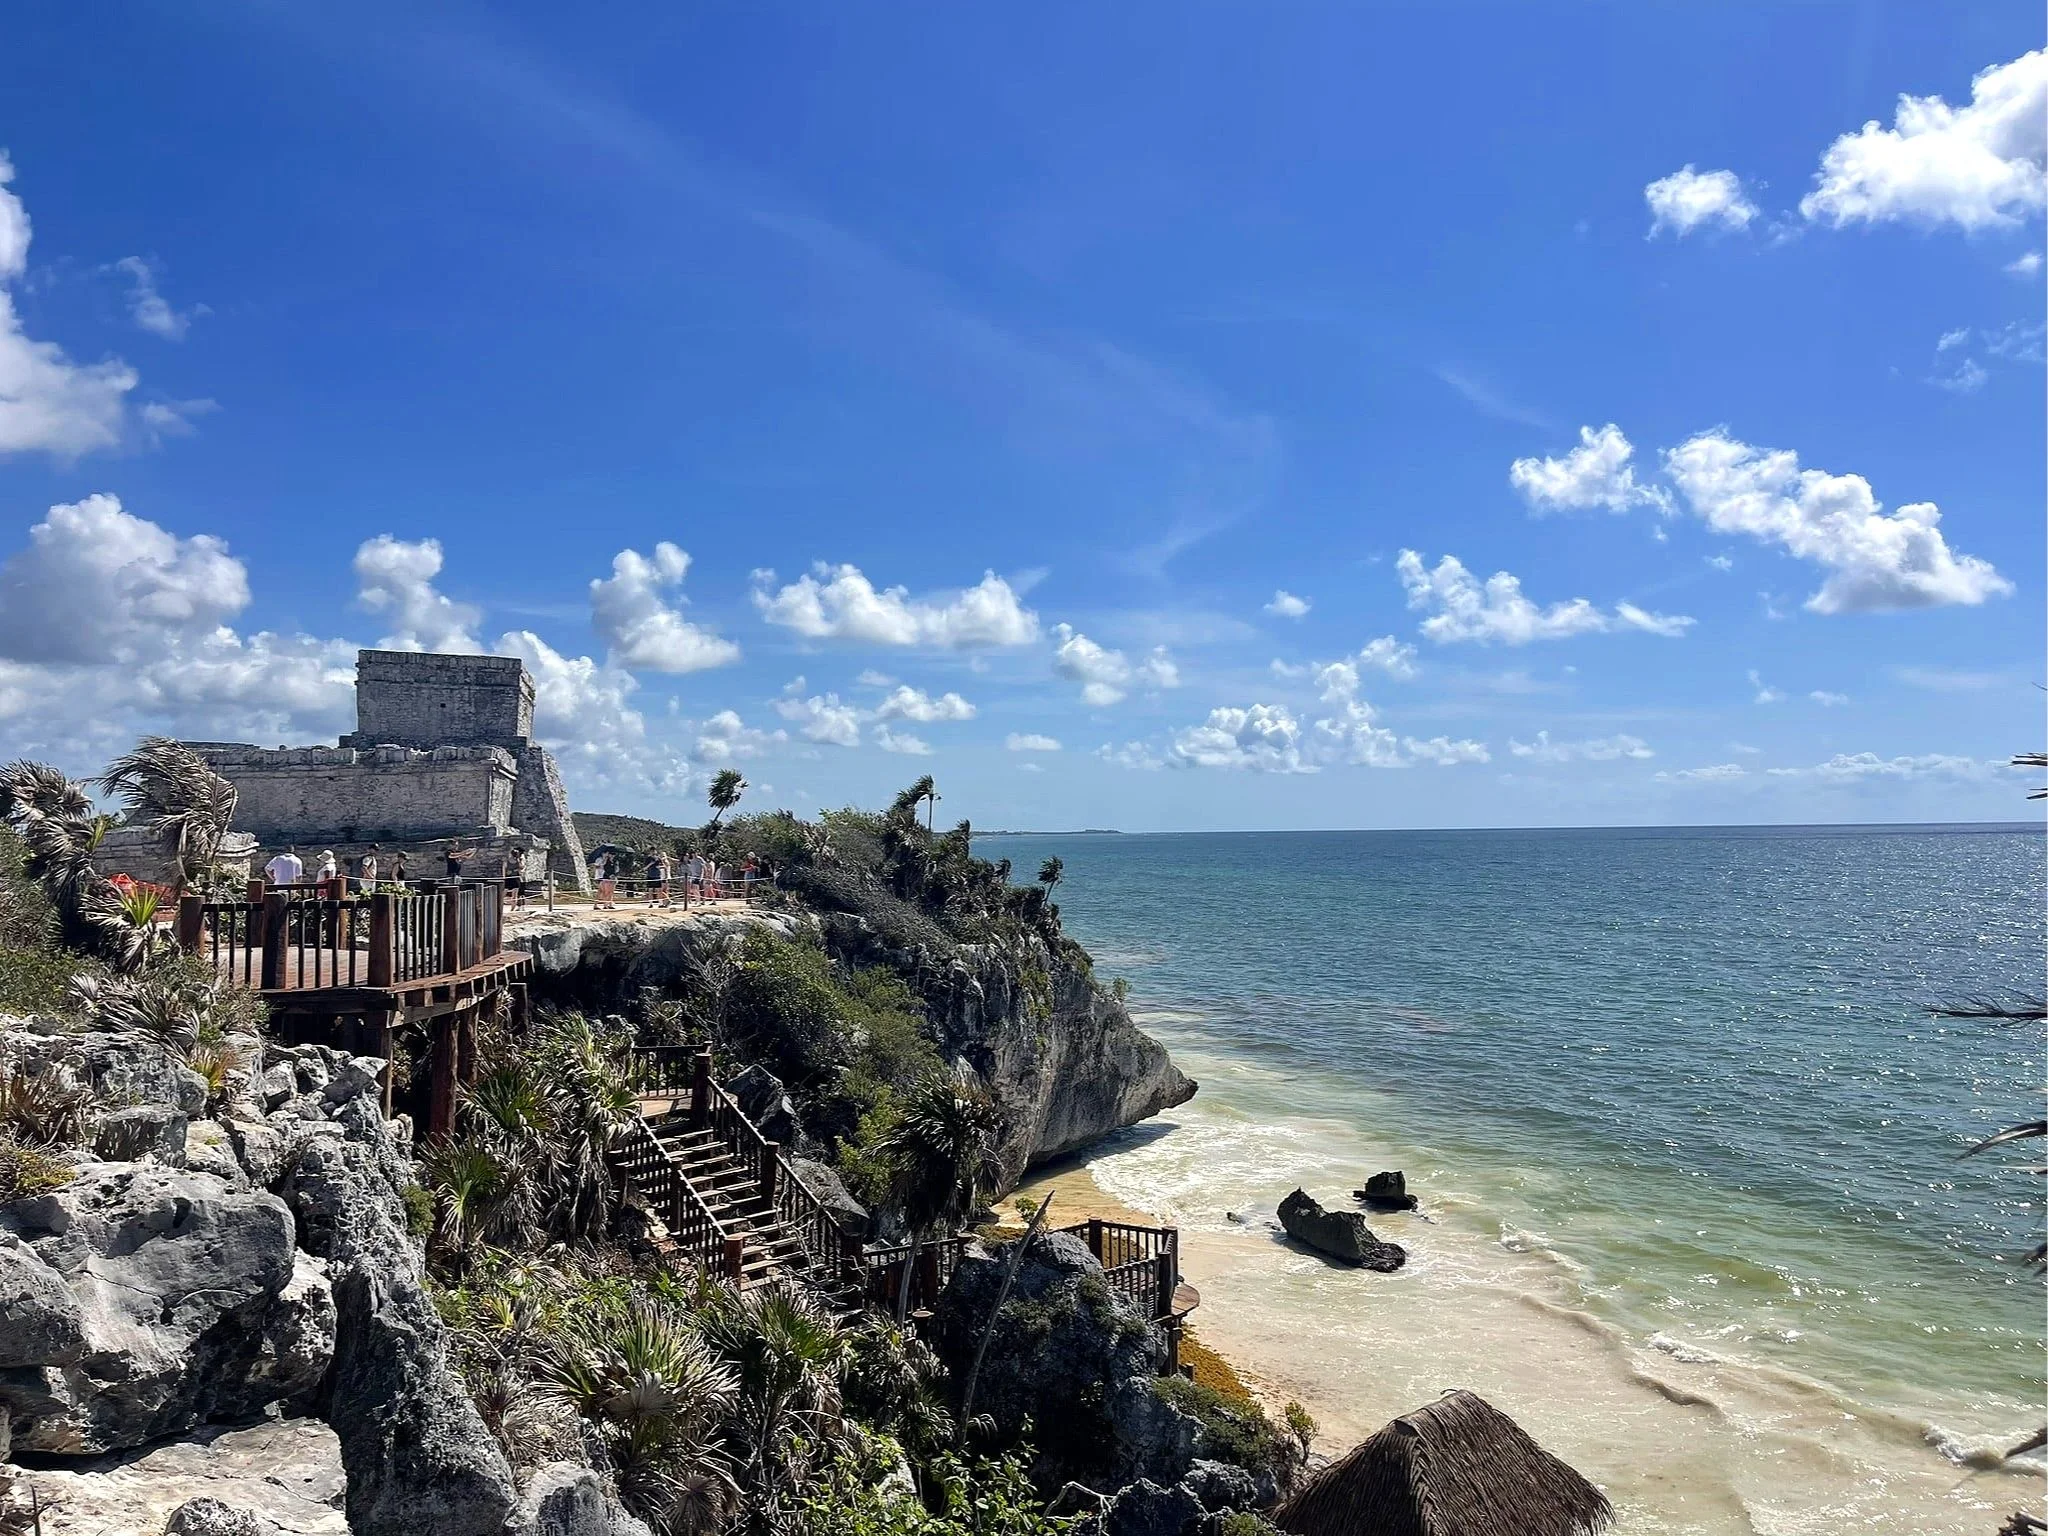
Stop 1: Tulum Archaeological Zone (Tulum Ruins)
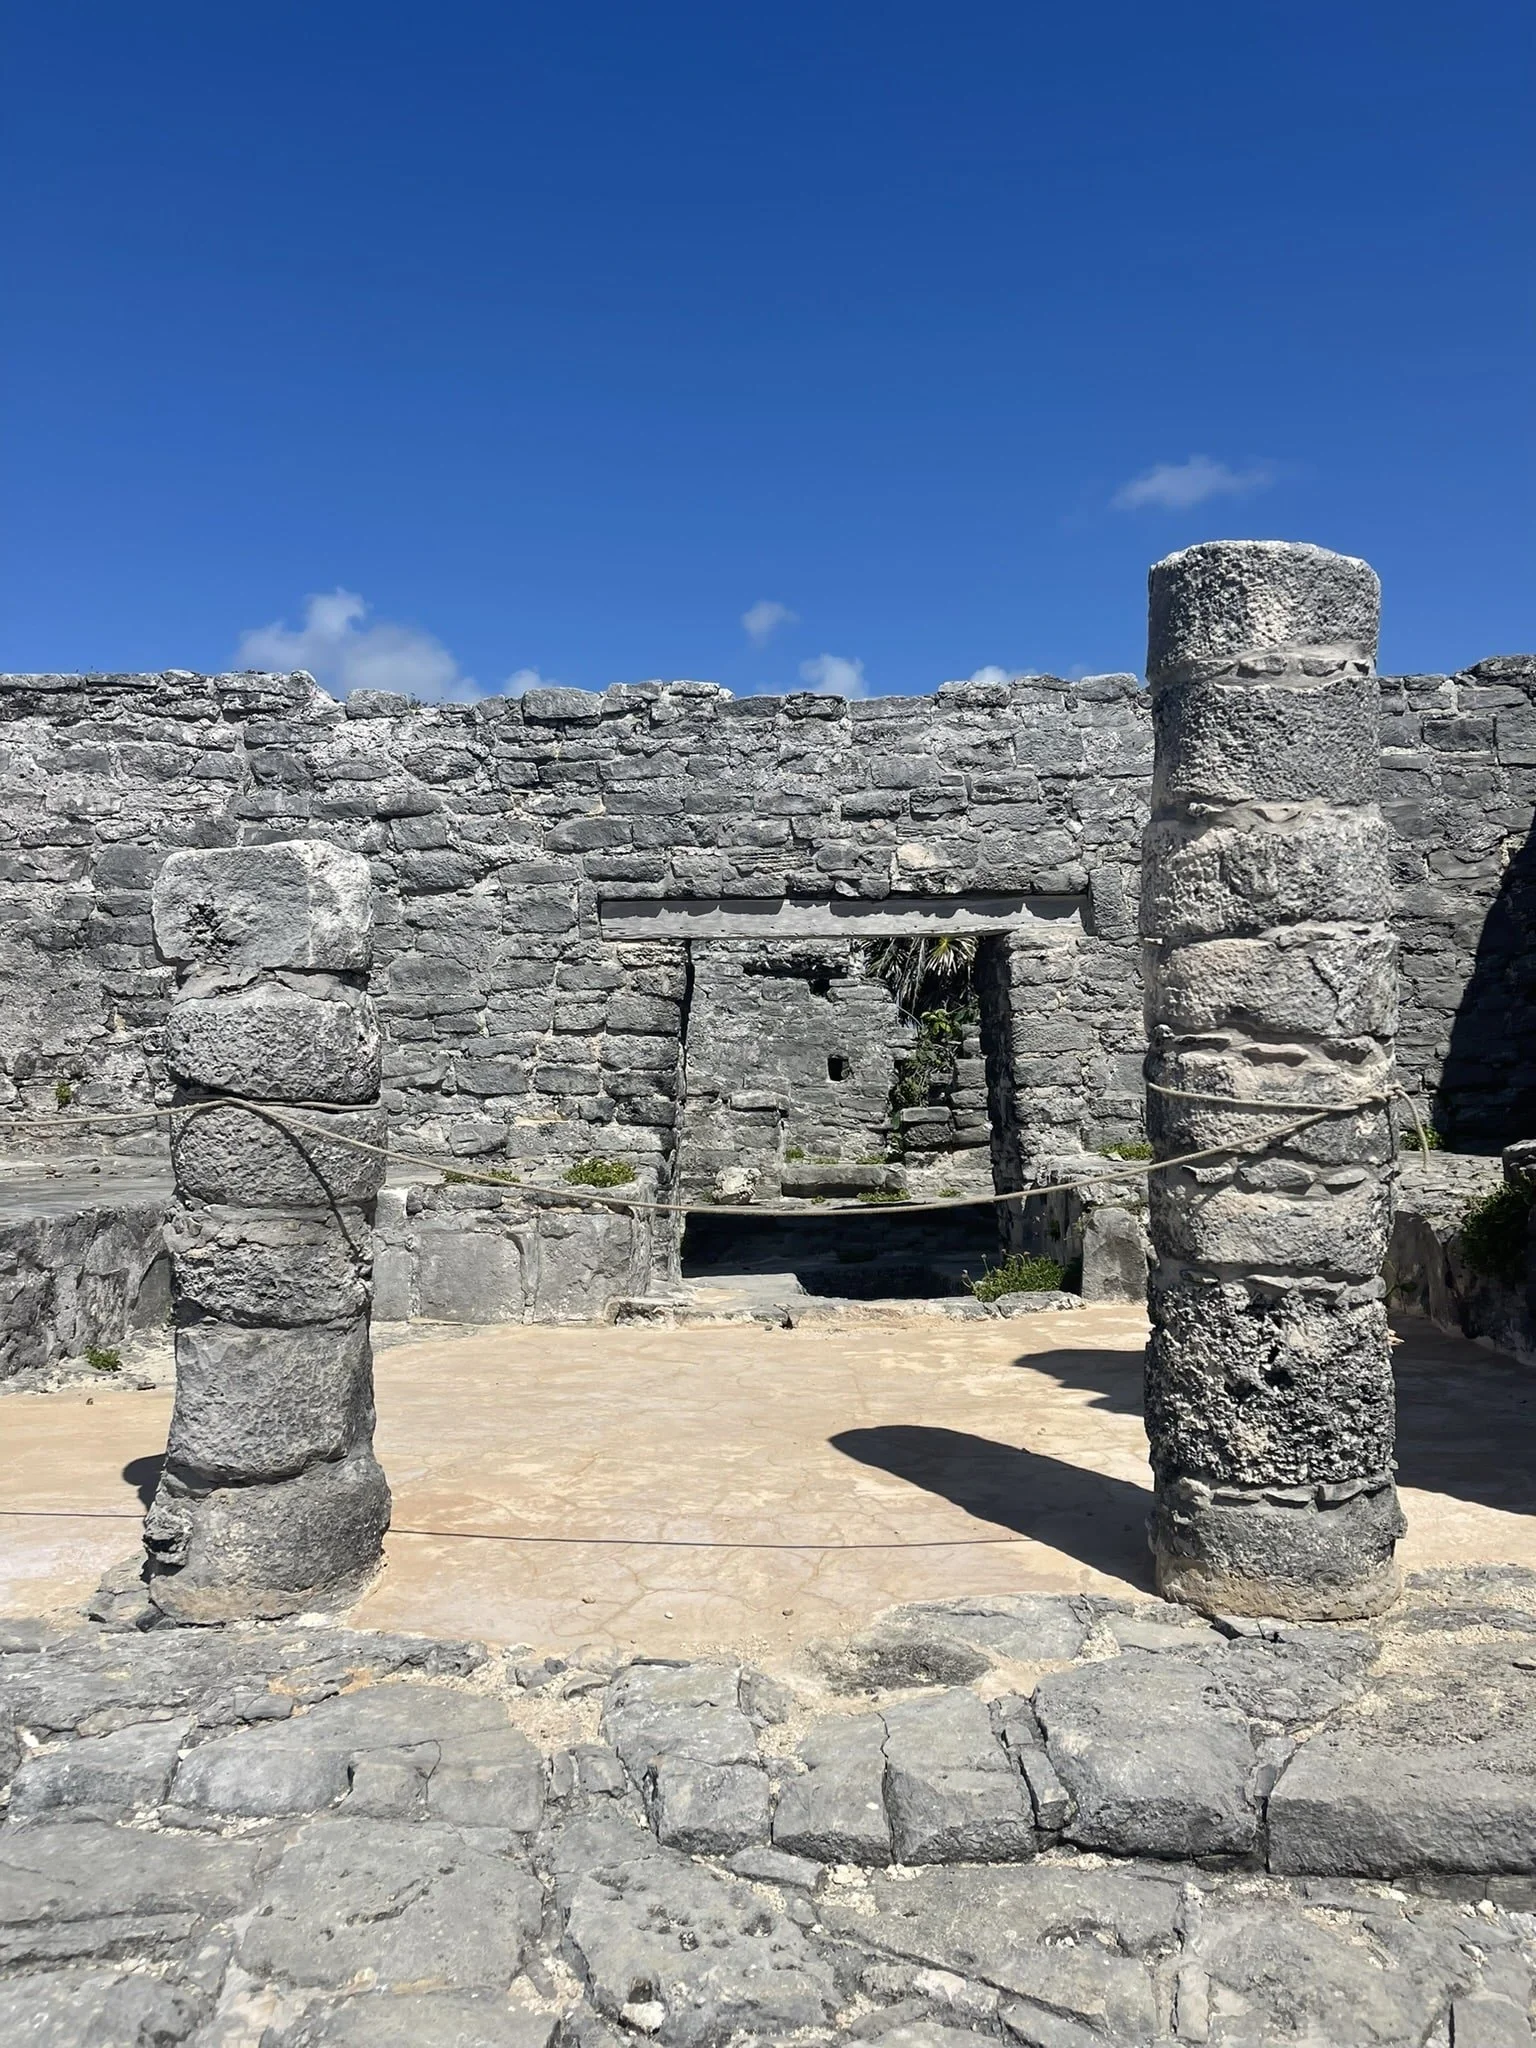
Tulum is renowned for its ancient Mayan ruins, perched on a seaside cliff overlooking the Caribbean Sea. This popular tourist destination is the most visited archaeological site on the Yucatán Peninsula, making it a must-visit during your 3-day itinerary. Depending on your speed and interests, you can see the ruins in under 1-2 hours.
These ancient ruins are part of a Mayan city dating back to the 13th-15th centuries, which focused on maritime trade with other tribes throughout Mexico and Central America. This trade mainly consisted of obsidian and other vital natural elements, facilitated by Tulum's coastal location. The ruins also played a significant role in Mayan spirituality and religion, serving as a space to worship the sun, moon, and other gods that symbolized essential natural elements.
The collapse of these Mayan ruins transpired over time for unknown reasons. Historians suggest it was due to a combination of factors including disease, warfare, and poverty. To learn more about the potential reasons for the collapse, head here.
Fun Fact: The Yucatec Mayan word “Tulum” translates to “wall.” This was a fitting name for the city due to the great wall and the nearby reef that protected it from roaming pirates looking to steal their land.
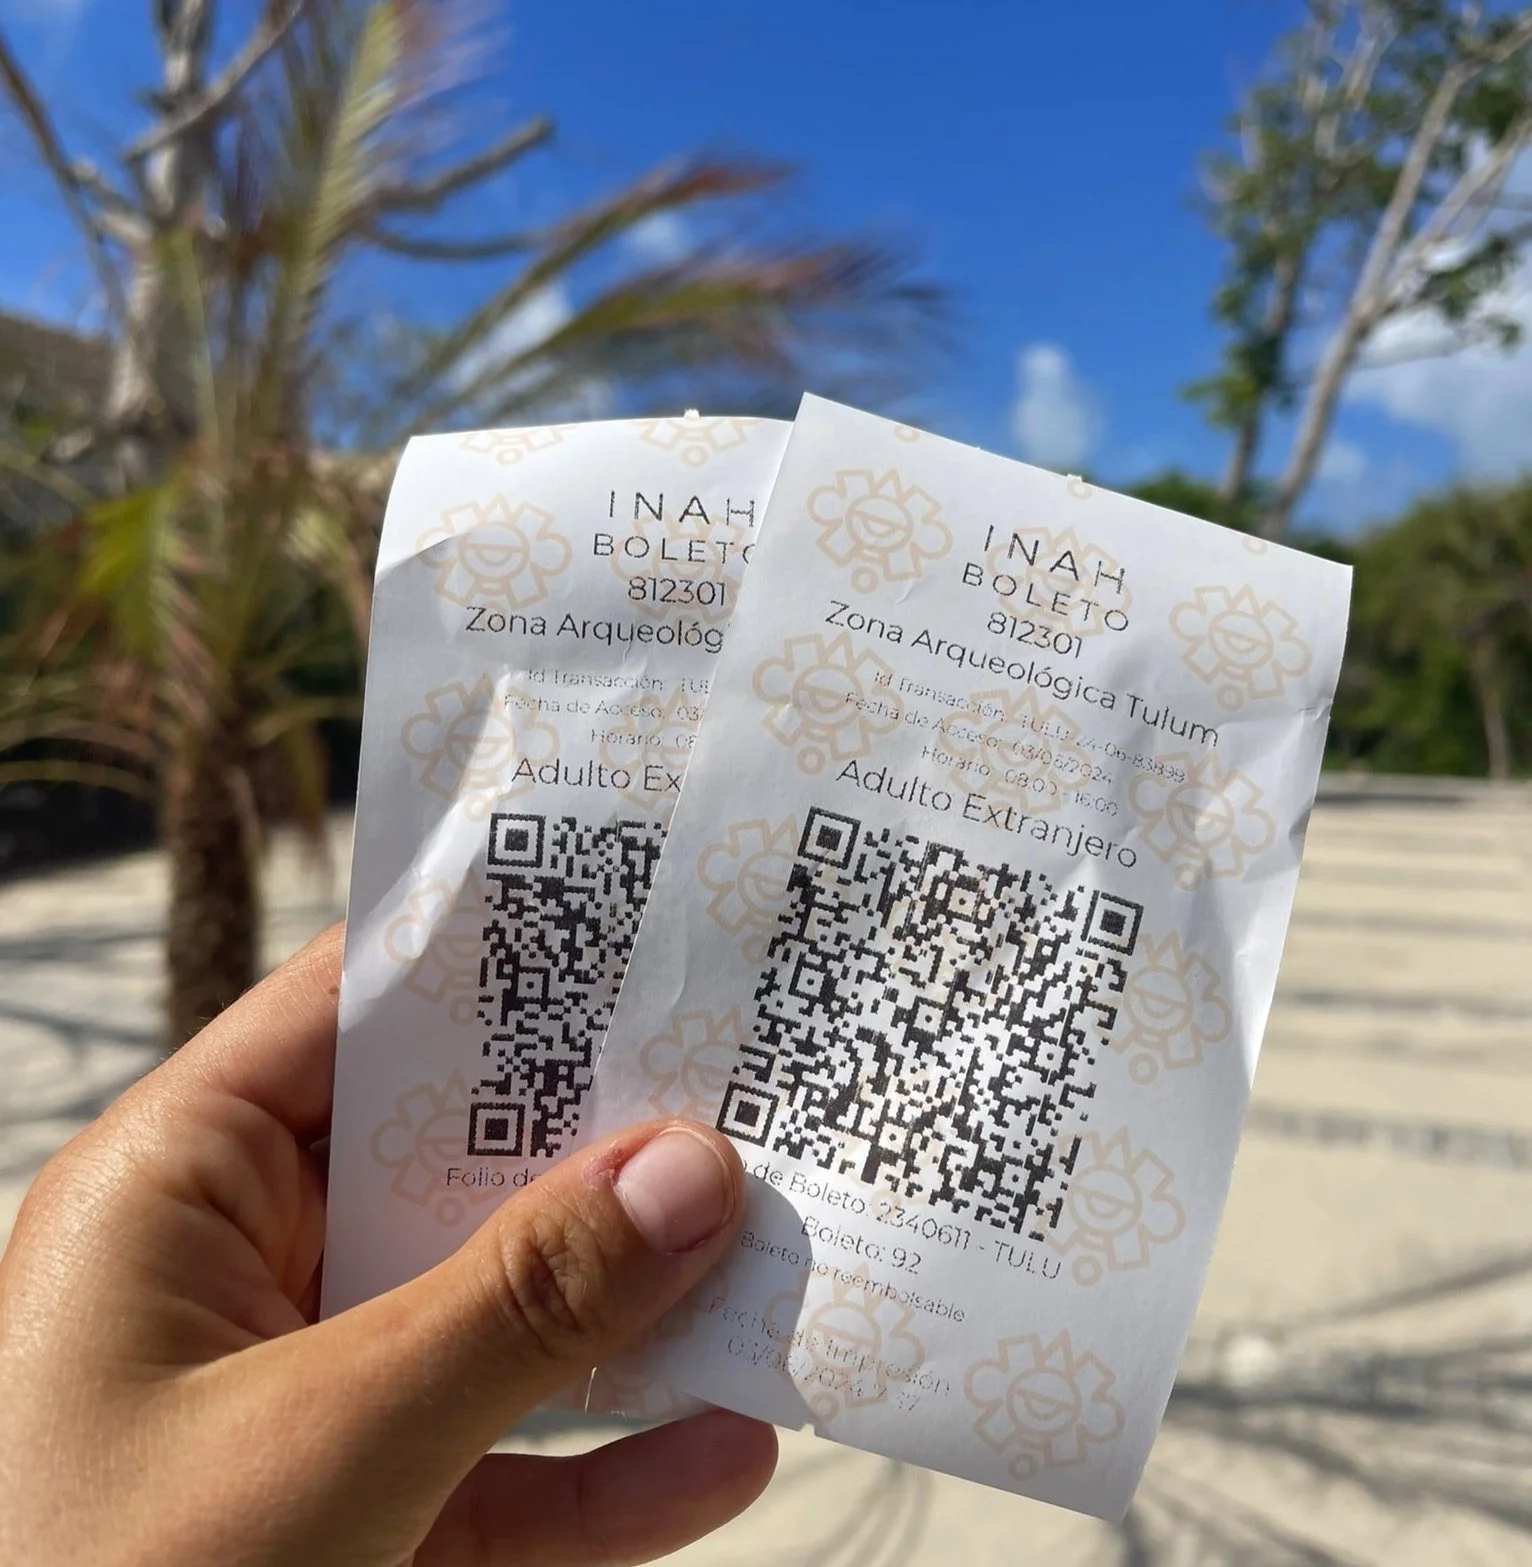
Tulum Ruins Fees:
The INAH entrance fee into the ruins is 95 pesos per person and must be paid in cash.
You will pay another 60 pesos for the CONAP fee (protected area entrance fee). You will receive an orange bracelet to wear while in the ruins. This bracelet allows access to the ruins and the Tulum National Park area, including its nearby beaches. You can choose to pay with a card for this fee.
The parking fee is an additional 100 pesos. Be sure to drive down the ruins road as far as officials will let you, where you will find the official Tulum Ruins parking on your right. The parking fee must be paid in cash.

Pro Tips:
Go early! The ruins get crowded early, with tours arriving around 9:30 AM. I suggest going right when they open at 8:00 AM.
Try to avoid Sundays if you want to avoid an even bigger crowd. On Sundays throughout Mexico, Mexican Residents receive free entry to many historical sites around Mexico.
Wear loose and comfortable attire. The ruins are spread out and mostly unshaded. This is another reason to go early, to avoid the heat.
Buy tickets only from the booths at the ruins. Do not purchase them from anywhere else.
Bring your reusable water bottle to stay hydrated. Plastic bottles are not allowed and will be confiscated.
Facilities: There are toilets in the ruins area.
Tour Guide: You do not necessarily need a tour guide to visit the ruins. There is plenty of signage around for you to read up on the history of the buildings and surrounding area. I did not hire a guide.
Beaches: The CONAP fee you paid for your bracelet grants you access for the day to the following beaches: Playa Santa Fe, Playa Pescadores, Playa Paraiso, and Playa Las Palmas. You can walk to the beaches from the ruins to avoid paying additional entrance and parking fees.
Cameras: If you choose to bring a camera (aside from your phone), there is an additional fee. I believe it is around 30 pesos.
Stop #2: Relax on the Beaches
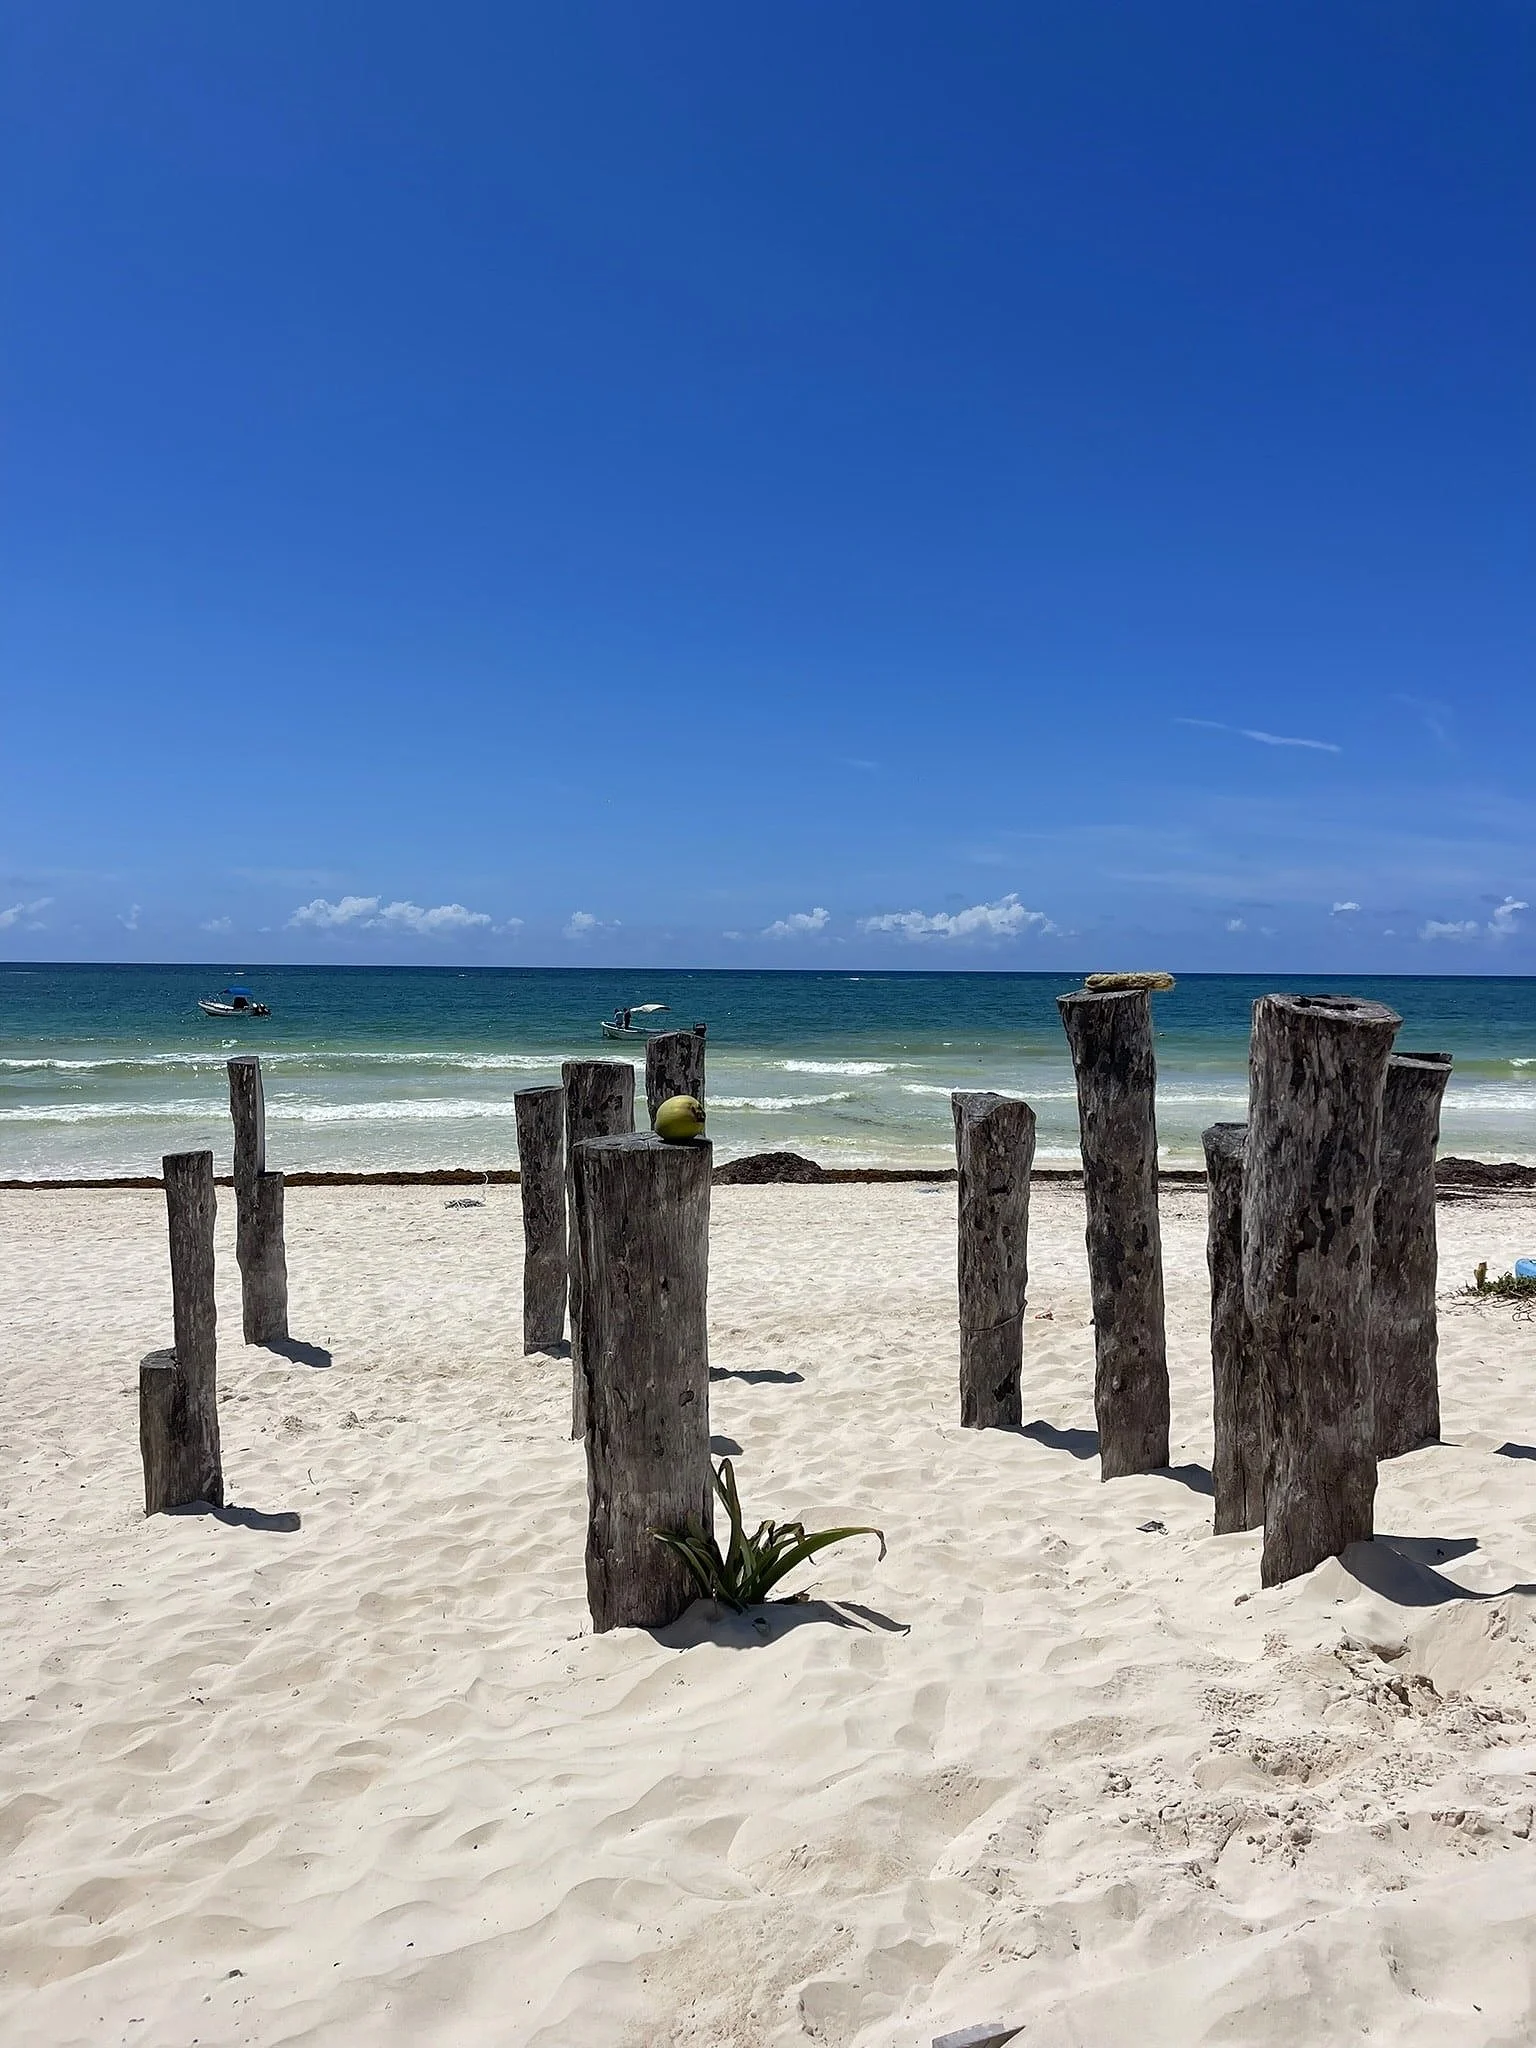
The next stop is to explore and relax on some of the beaches your Tulum Ruins Bracelet gets you into! These beaches include Playa Santa Fe, Playa Pescadores, Playa Paraiso, and Playa las Palmas. To avoid paying for parking, choose to walk along the beach or the walking/bike path leading from the Ruins to the beaches. You can also opt to rent a bicycle near the ruins entrance to ride to each beach. Snorkeling, boat tours, beach clubs, dining options, and much more are available on the beaches!
Stop #3: Explore Tulum Beach Road
Jump on your motor vehicle and head down to Tulum Beach. Your 3 days in Tulum will not be complete without exploring the bohemian shops, beach clubs, and restaurants along Tulum Beach. You can park your vehicle (usually around 200-300 pesos anywhere on this road) and walk, or keep the vehicle and simply make stops along the way. Some of the shops offer small lots to park your bike while you look around.


Highlights on the Road:
The Instagrammable Ven A La Luz, SFER IK, and the “Follow That Dream” sign.
Note: You do have to pay to enter Ven a La Luz now and for parking, which was a bit over the top for me. The parking fee is 200 pesos and the entrance fee is 80 pesos.
There are plenty of Yoga and Wellness spots around if you prefer to find some time for R&R.
There are Beach Clubs to close out your day or night, including the popular Ziggy’s Beach Club, Gitano, or if you are really up for a party, Bagatelle.
You can find free beaches such as Playa Punta Piedra and the beach at Del Mar Caribe. These are also a great sunset spot.
There are loads of dining options and shops lining the streets to roam around in.
Day 2: Dive into A Cenote, Consume Tacos, & Appreciate Art
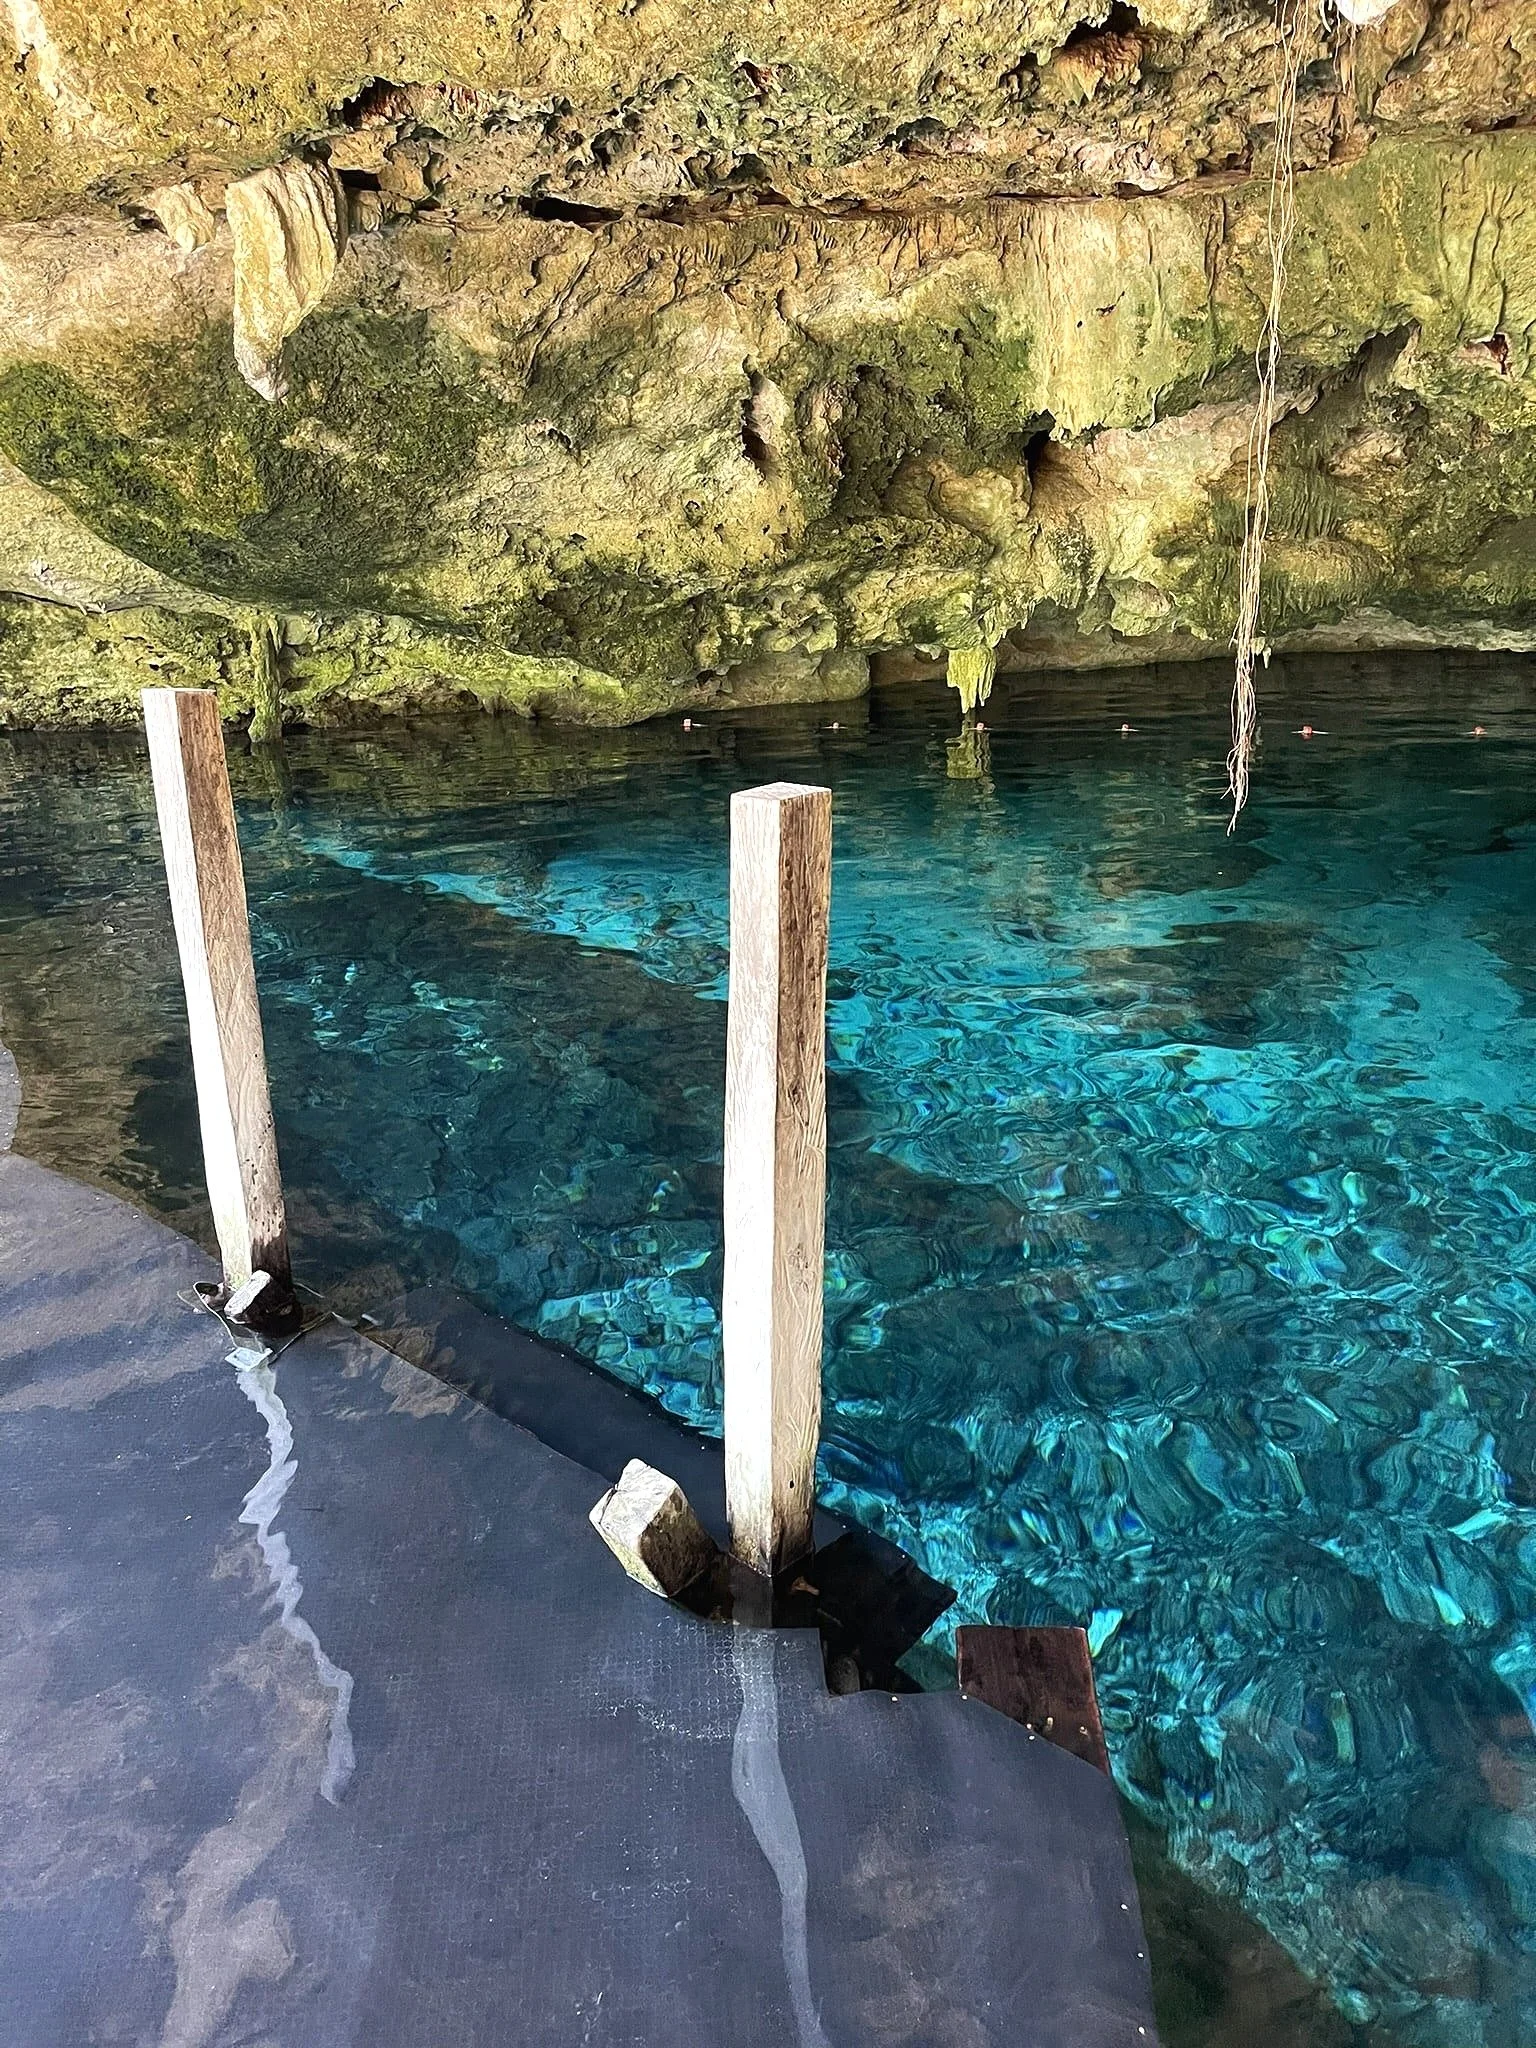
Stop #1: Dive into A Cenote
Exploring a cenote is one of the most essential activities during your 3 days in Tulum. With over 100 cenotes to pick from, you will have plenty of options to enjoy a refreshing dip.
A Few Options For Swimming:
Cenote Xunaan-Ha: 200 pesos
Nic Te Ha: 100 pesos
Cenote Escondido: 150 pesos
Cenote Cristal: 150 pesos
Cenote Corazón del Paraíso: 200 pesos
For those seeking a more relaxed cenote experience, consider checking out Vesica Tulum, a restaurant located on a cenote.
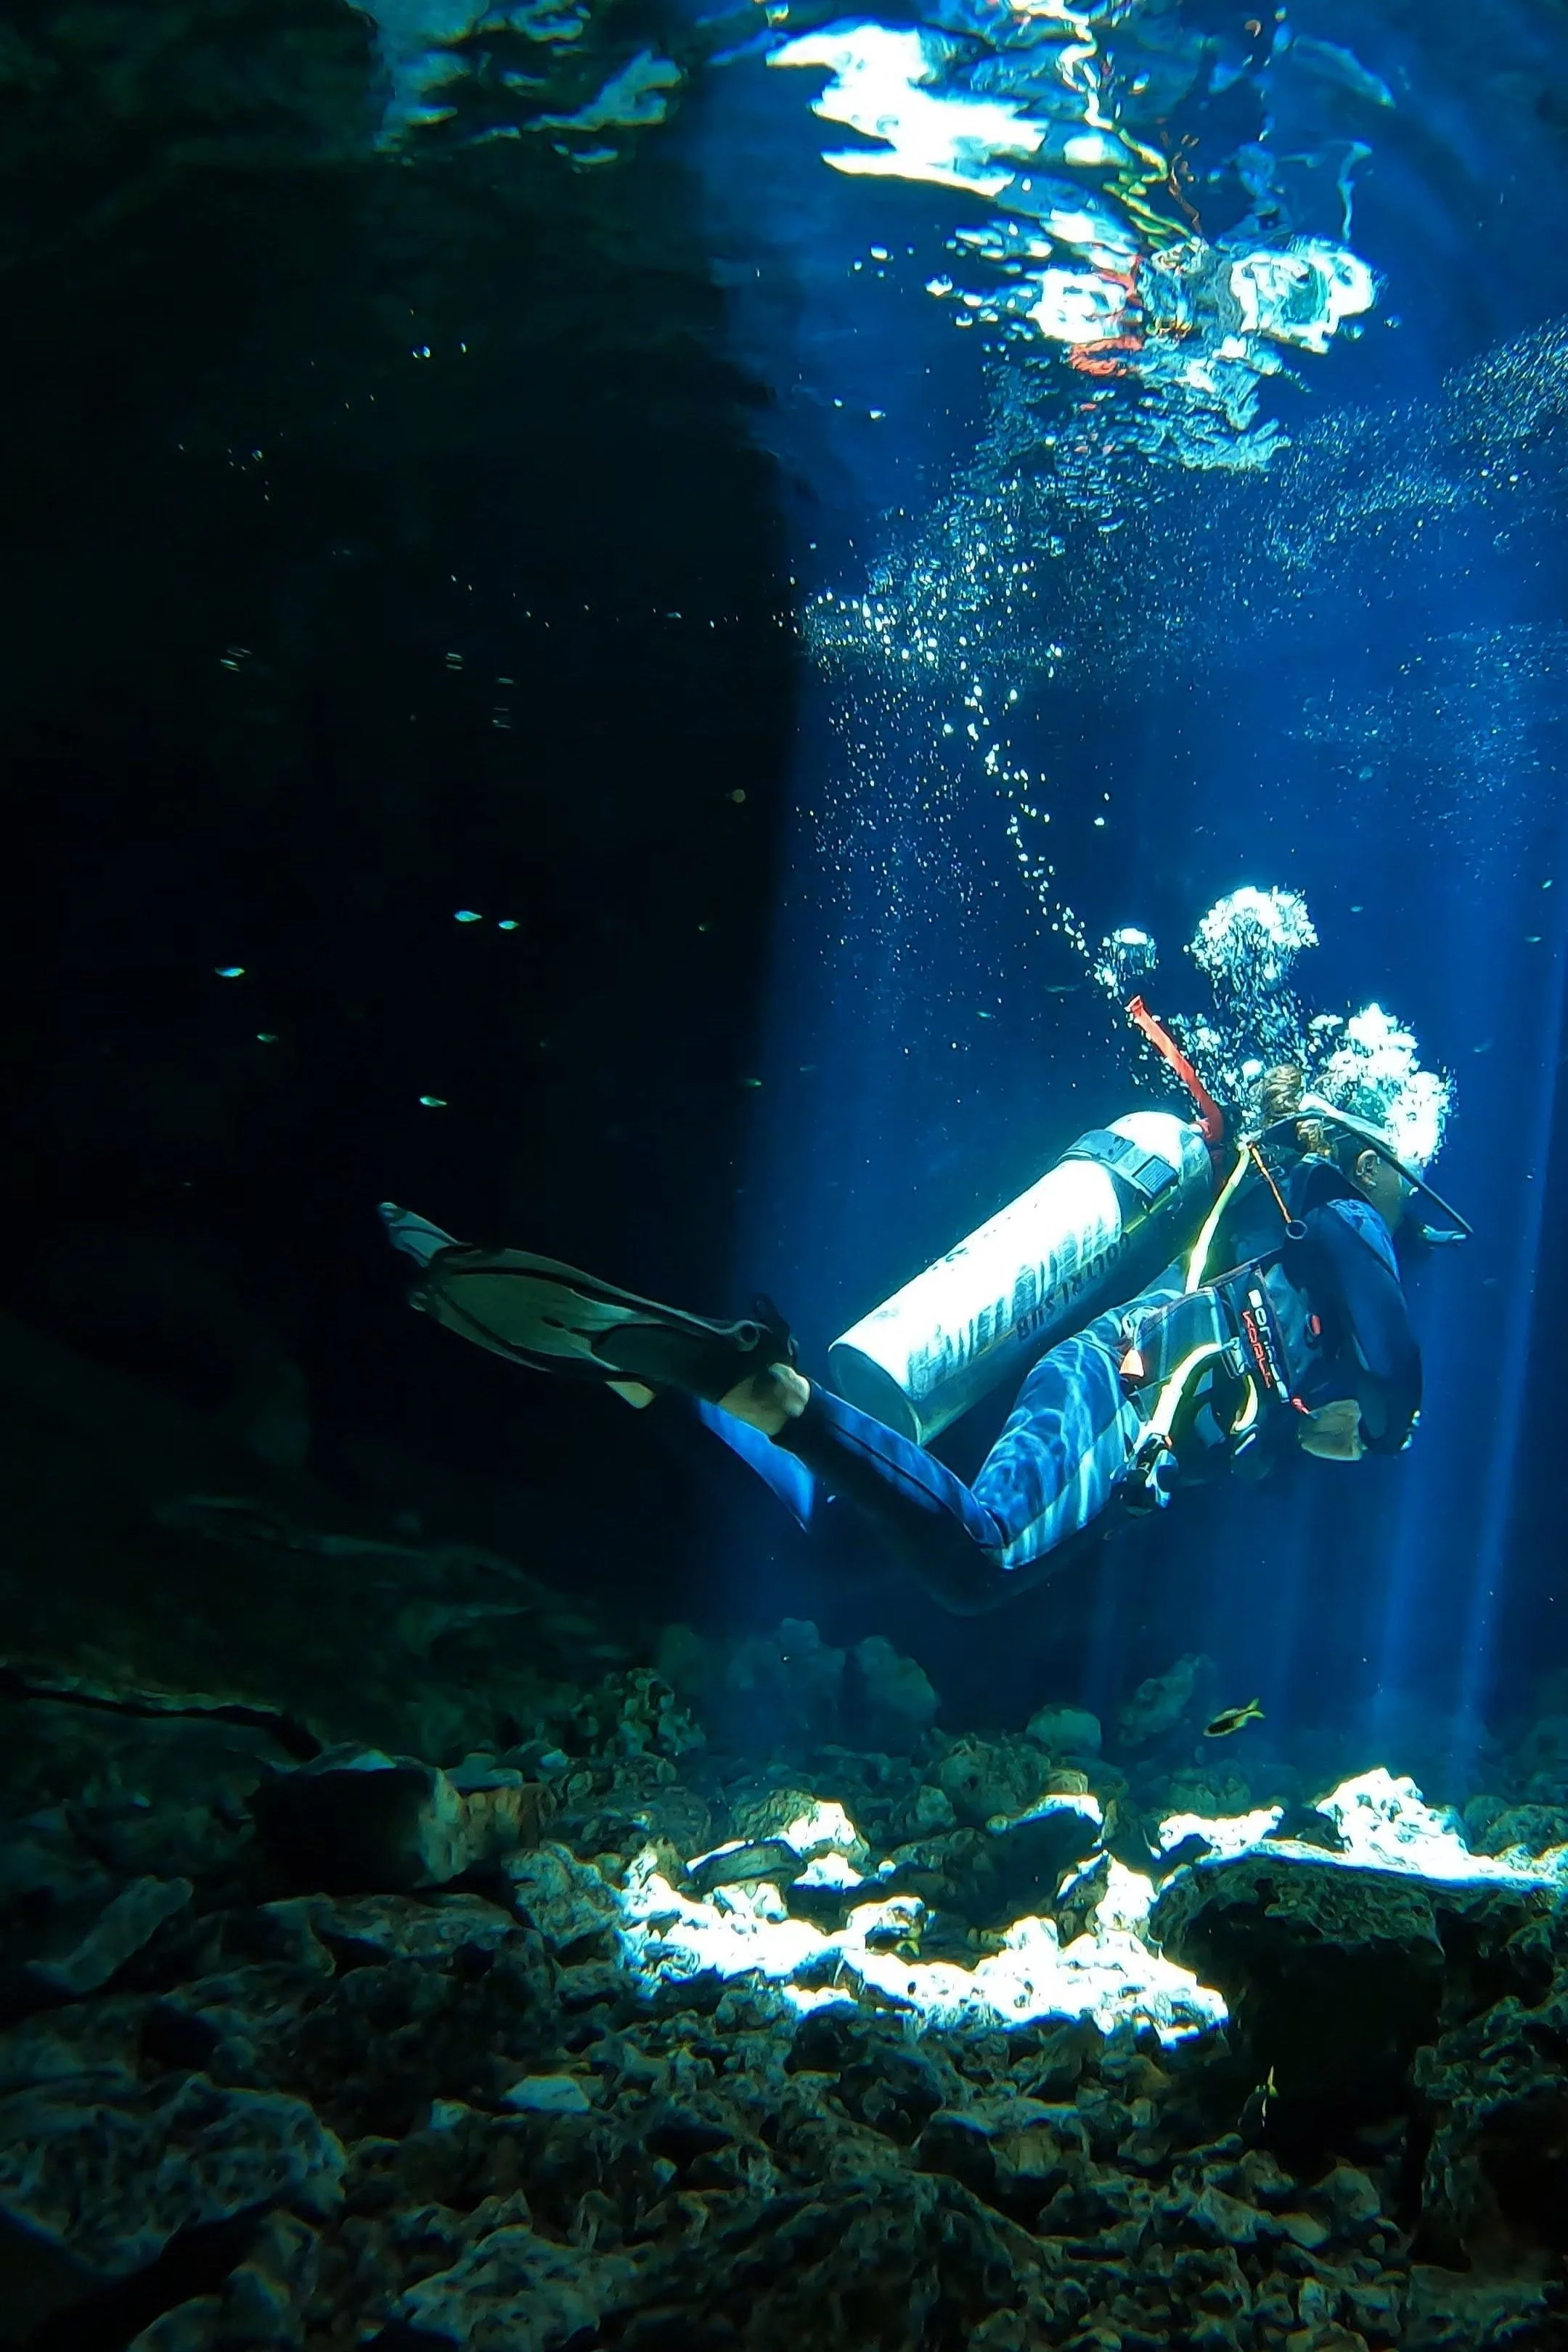
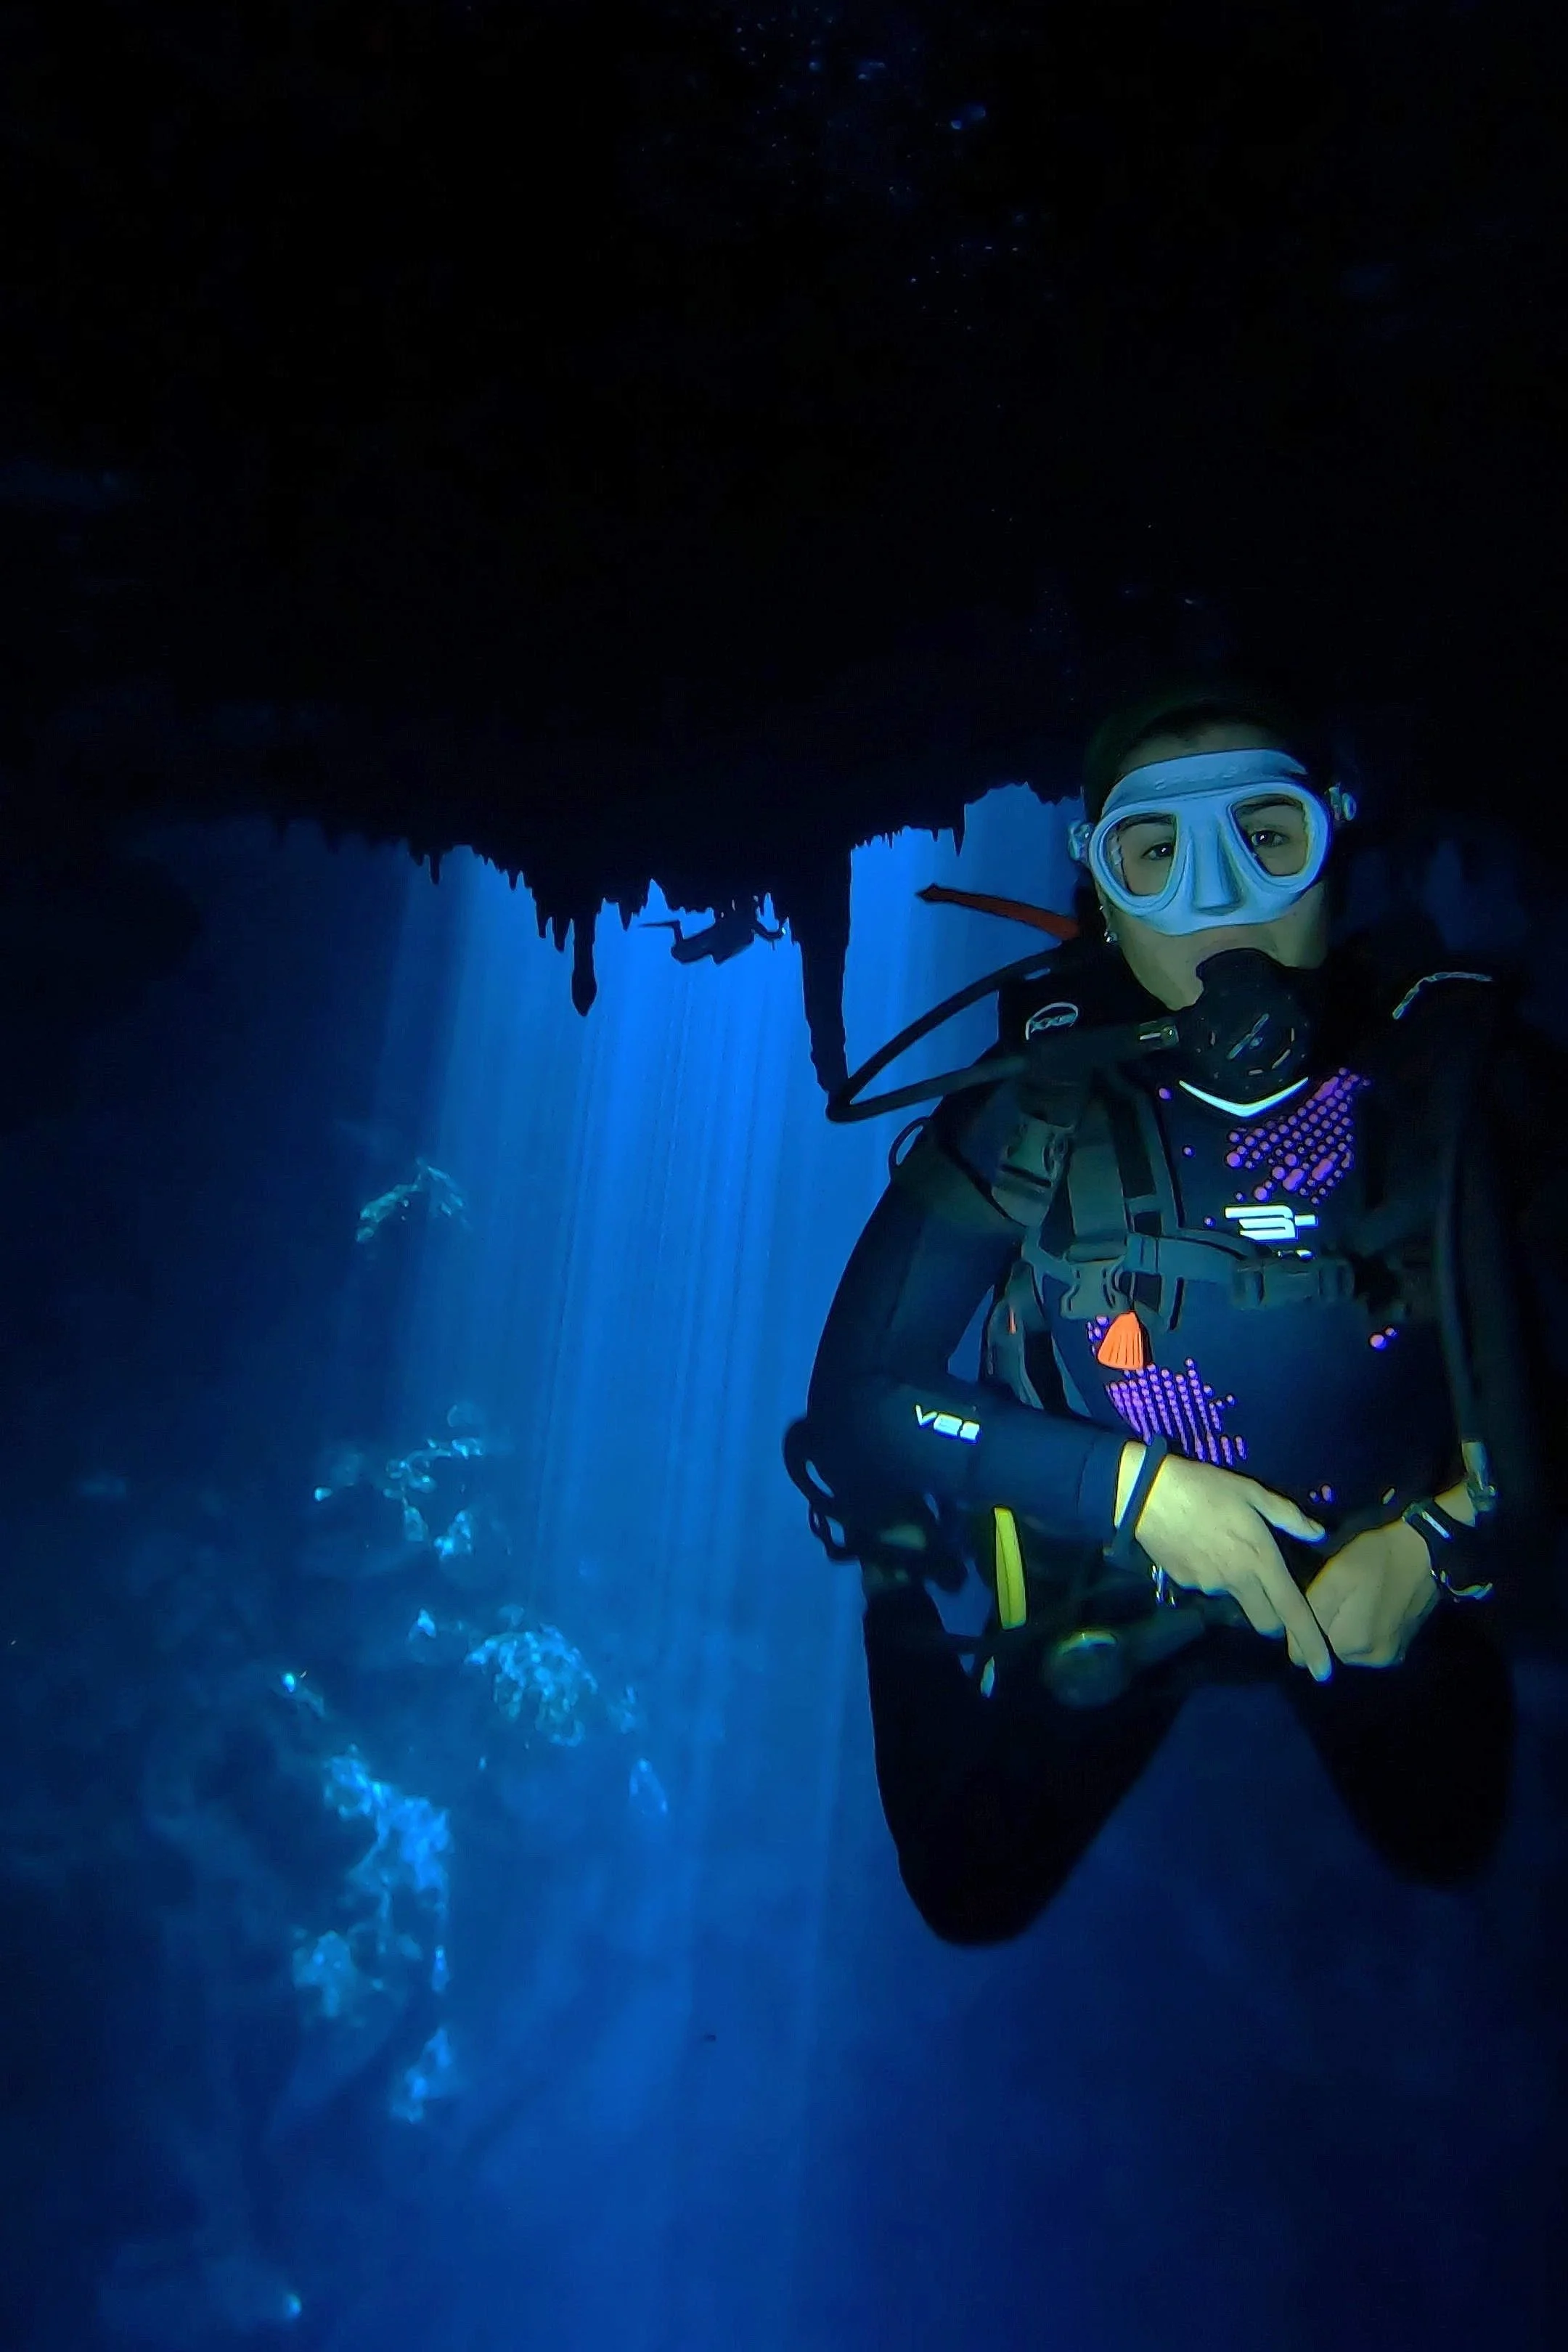
For adventurous souls like myself, I chose to explore the cenotes through scuba diving at Dos Ojos and El Pit! Check out this article for more information! It was an absolutely epic adventure and was like nothing I had ever done before. We dove through hydrogen sulfide to a green cloud-like shape formed at the bottom of El Pit and swam through caverns in Dos Ojos, admiring unique rock formations and the secret underwater life that exists here. I highly recommend adding this to your itinerary if you are up for it!
Stop #2: taste all the flavors of mexico!
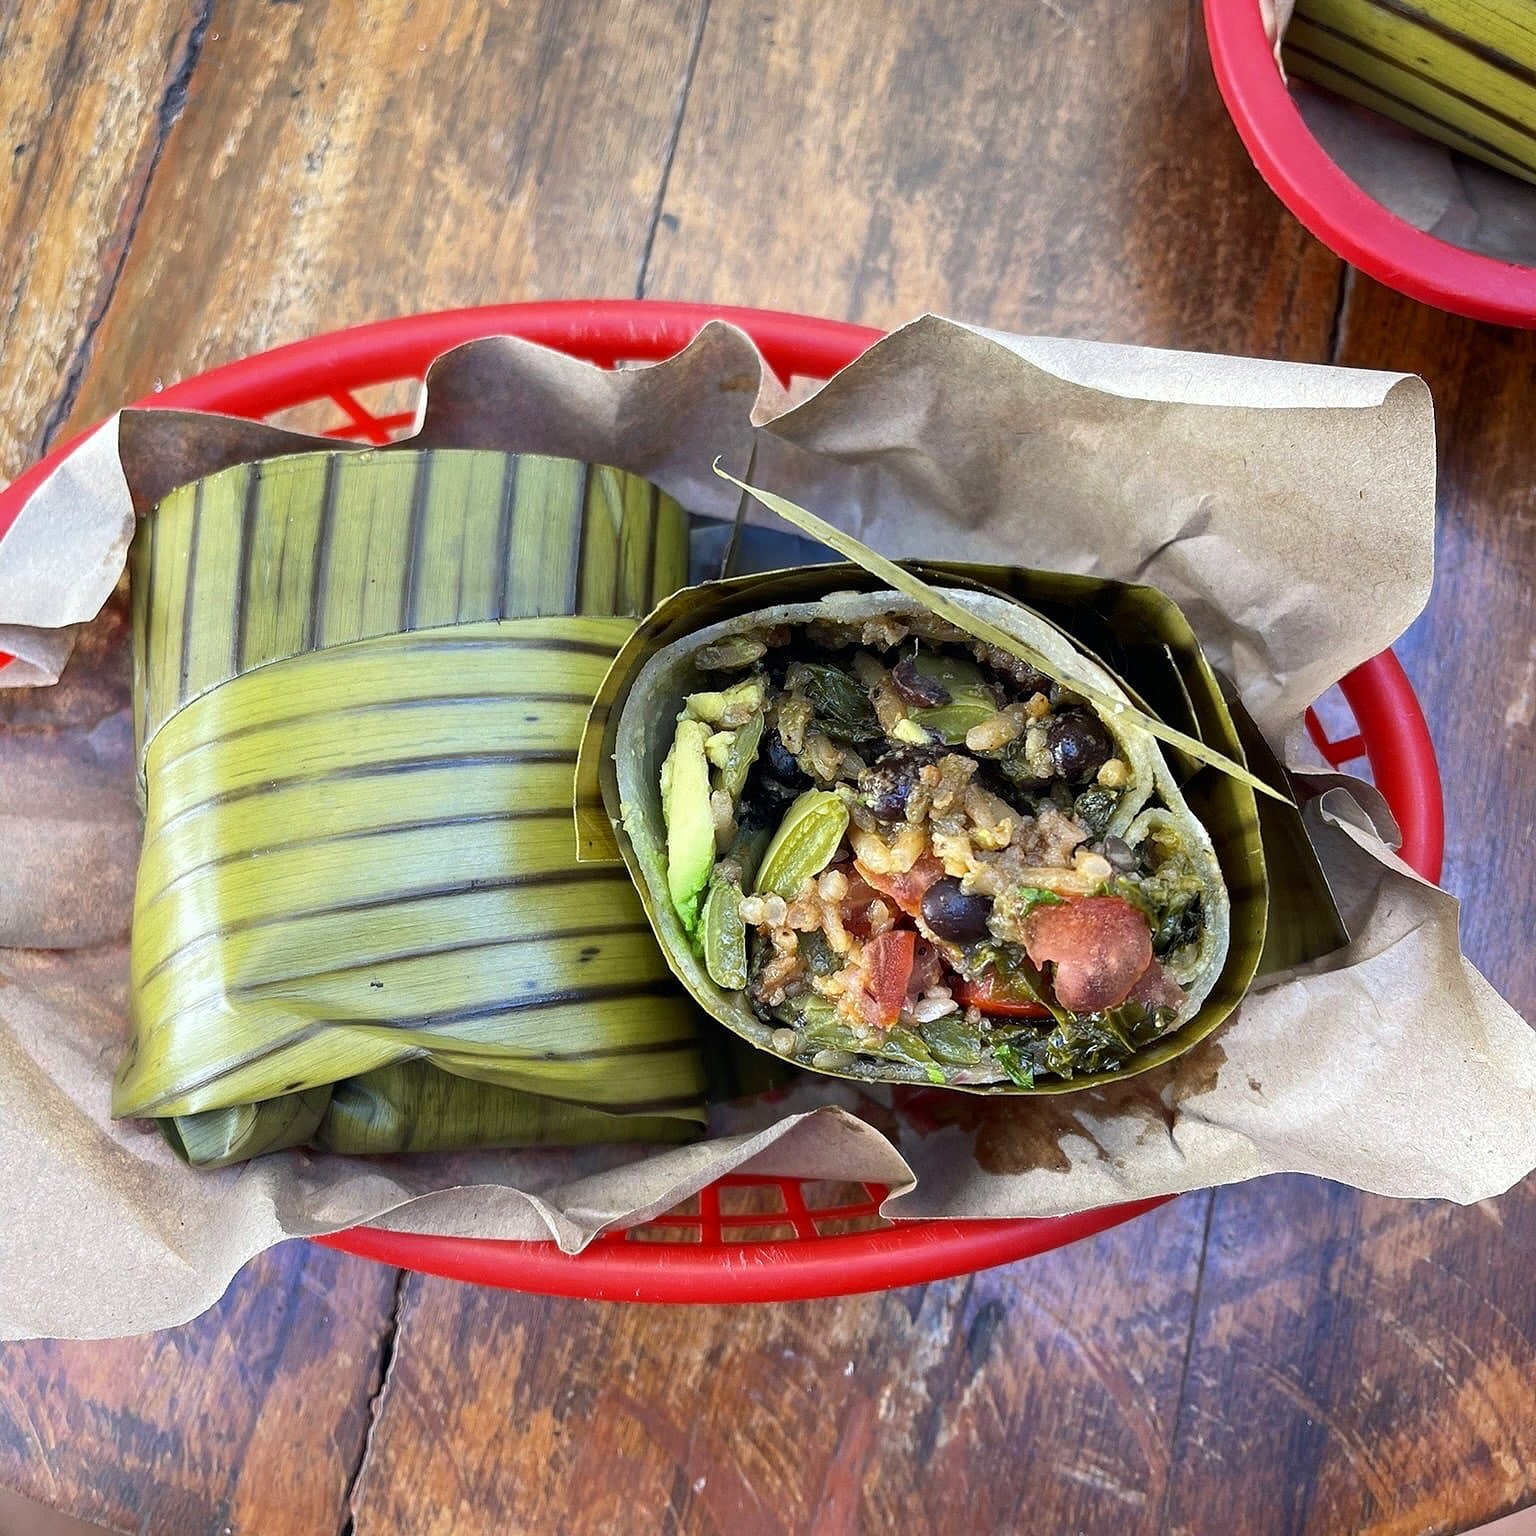

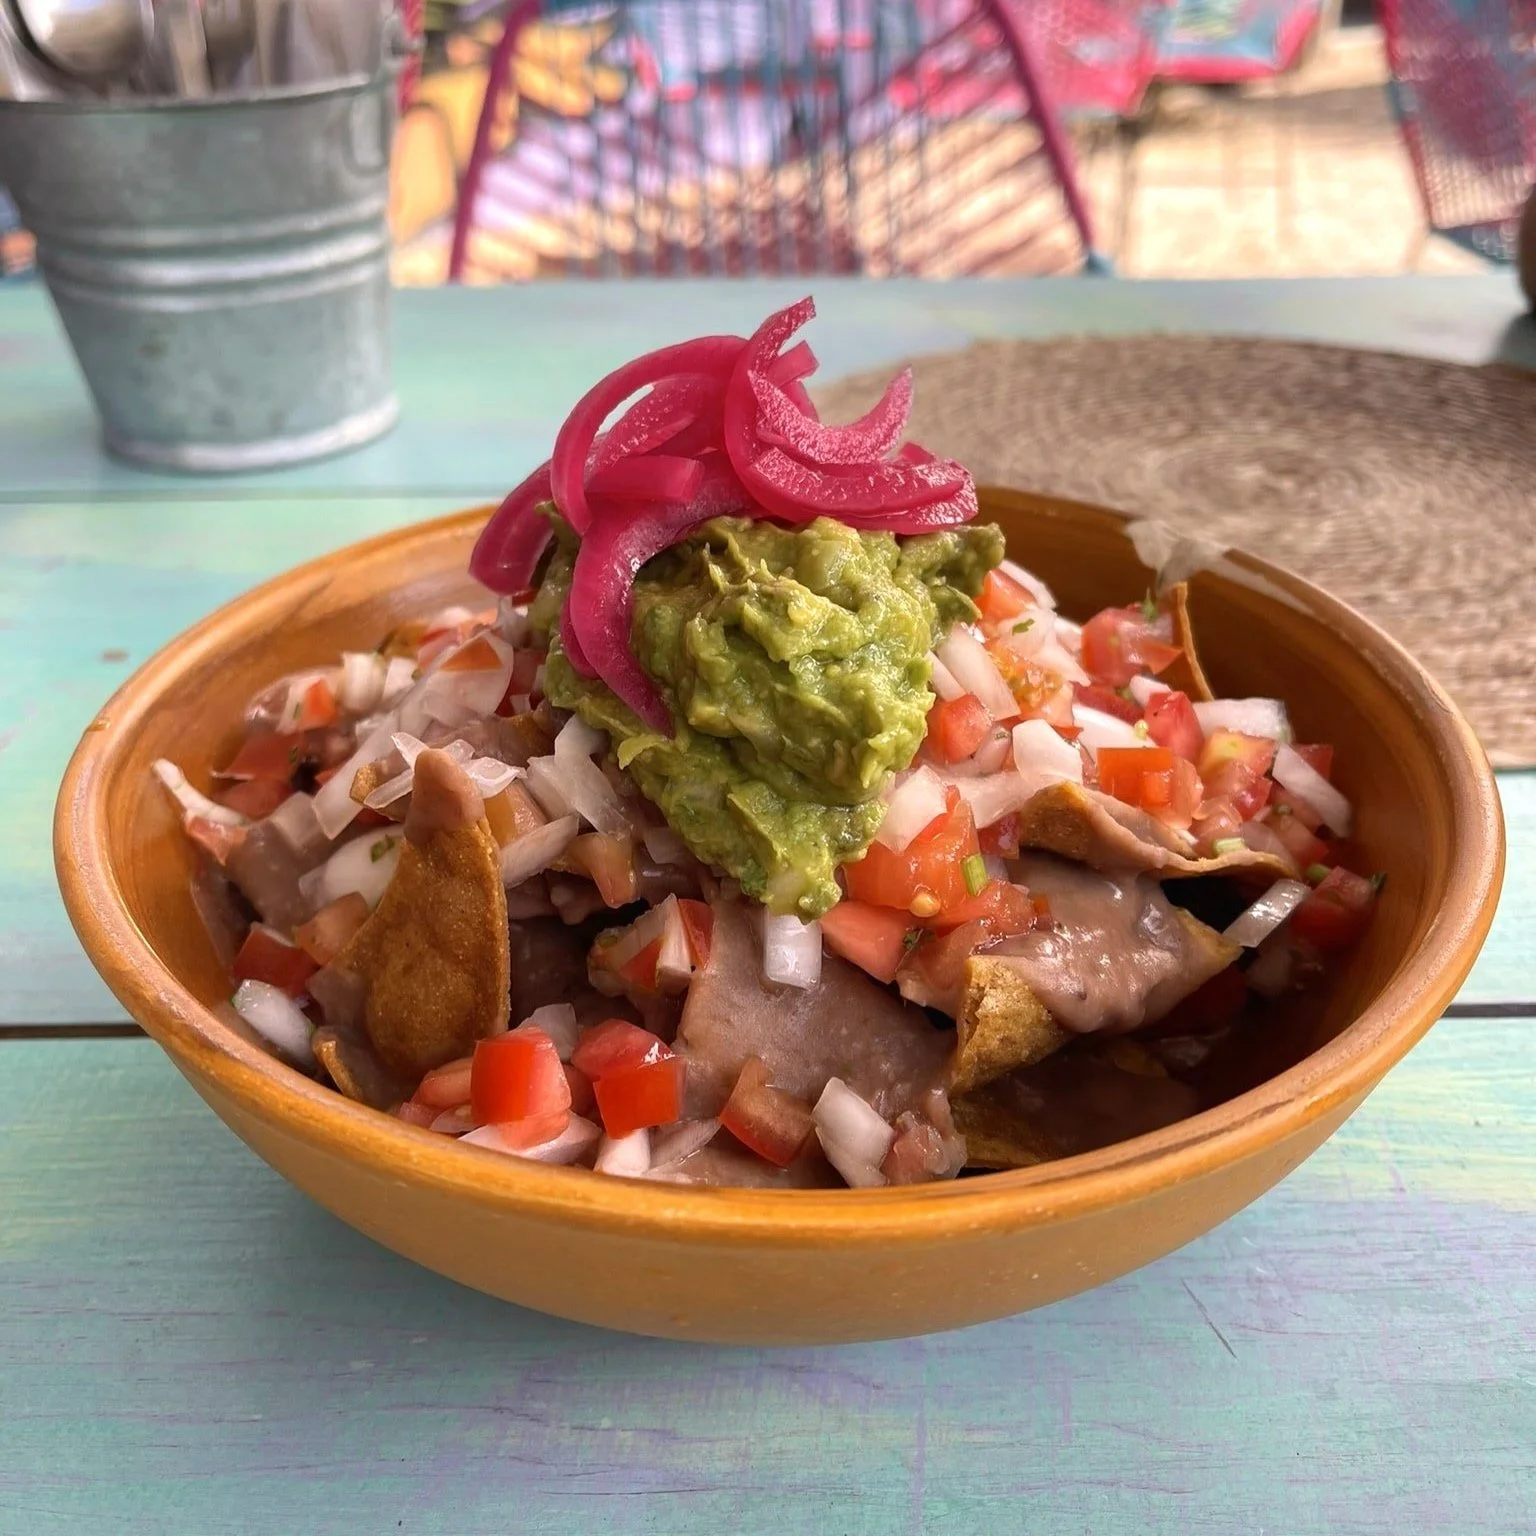
Of course, you need to find time to taste all the flavors of the delicious Mexican Cuisine during your 3 days in Tulum. If you are craving a burrito, head over to Burrito Amor for one of the best ones you will ever taste. They have vegan and gluten-free options as well. For my vegan friends like me, try El Bajon Vegano for some delicious tacos and tostadas at an unbeatable price. Carlito Burrito is another yummy option for those staying over in La Veleta.
For a complete list of Tulum’s top vegan eats and coffee, head here!
Stop #3: Go Down the Art Rabbit Hole

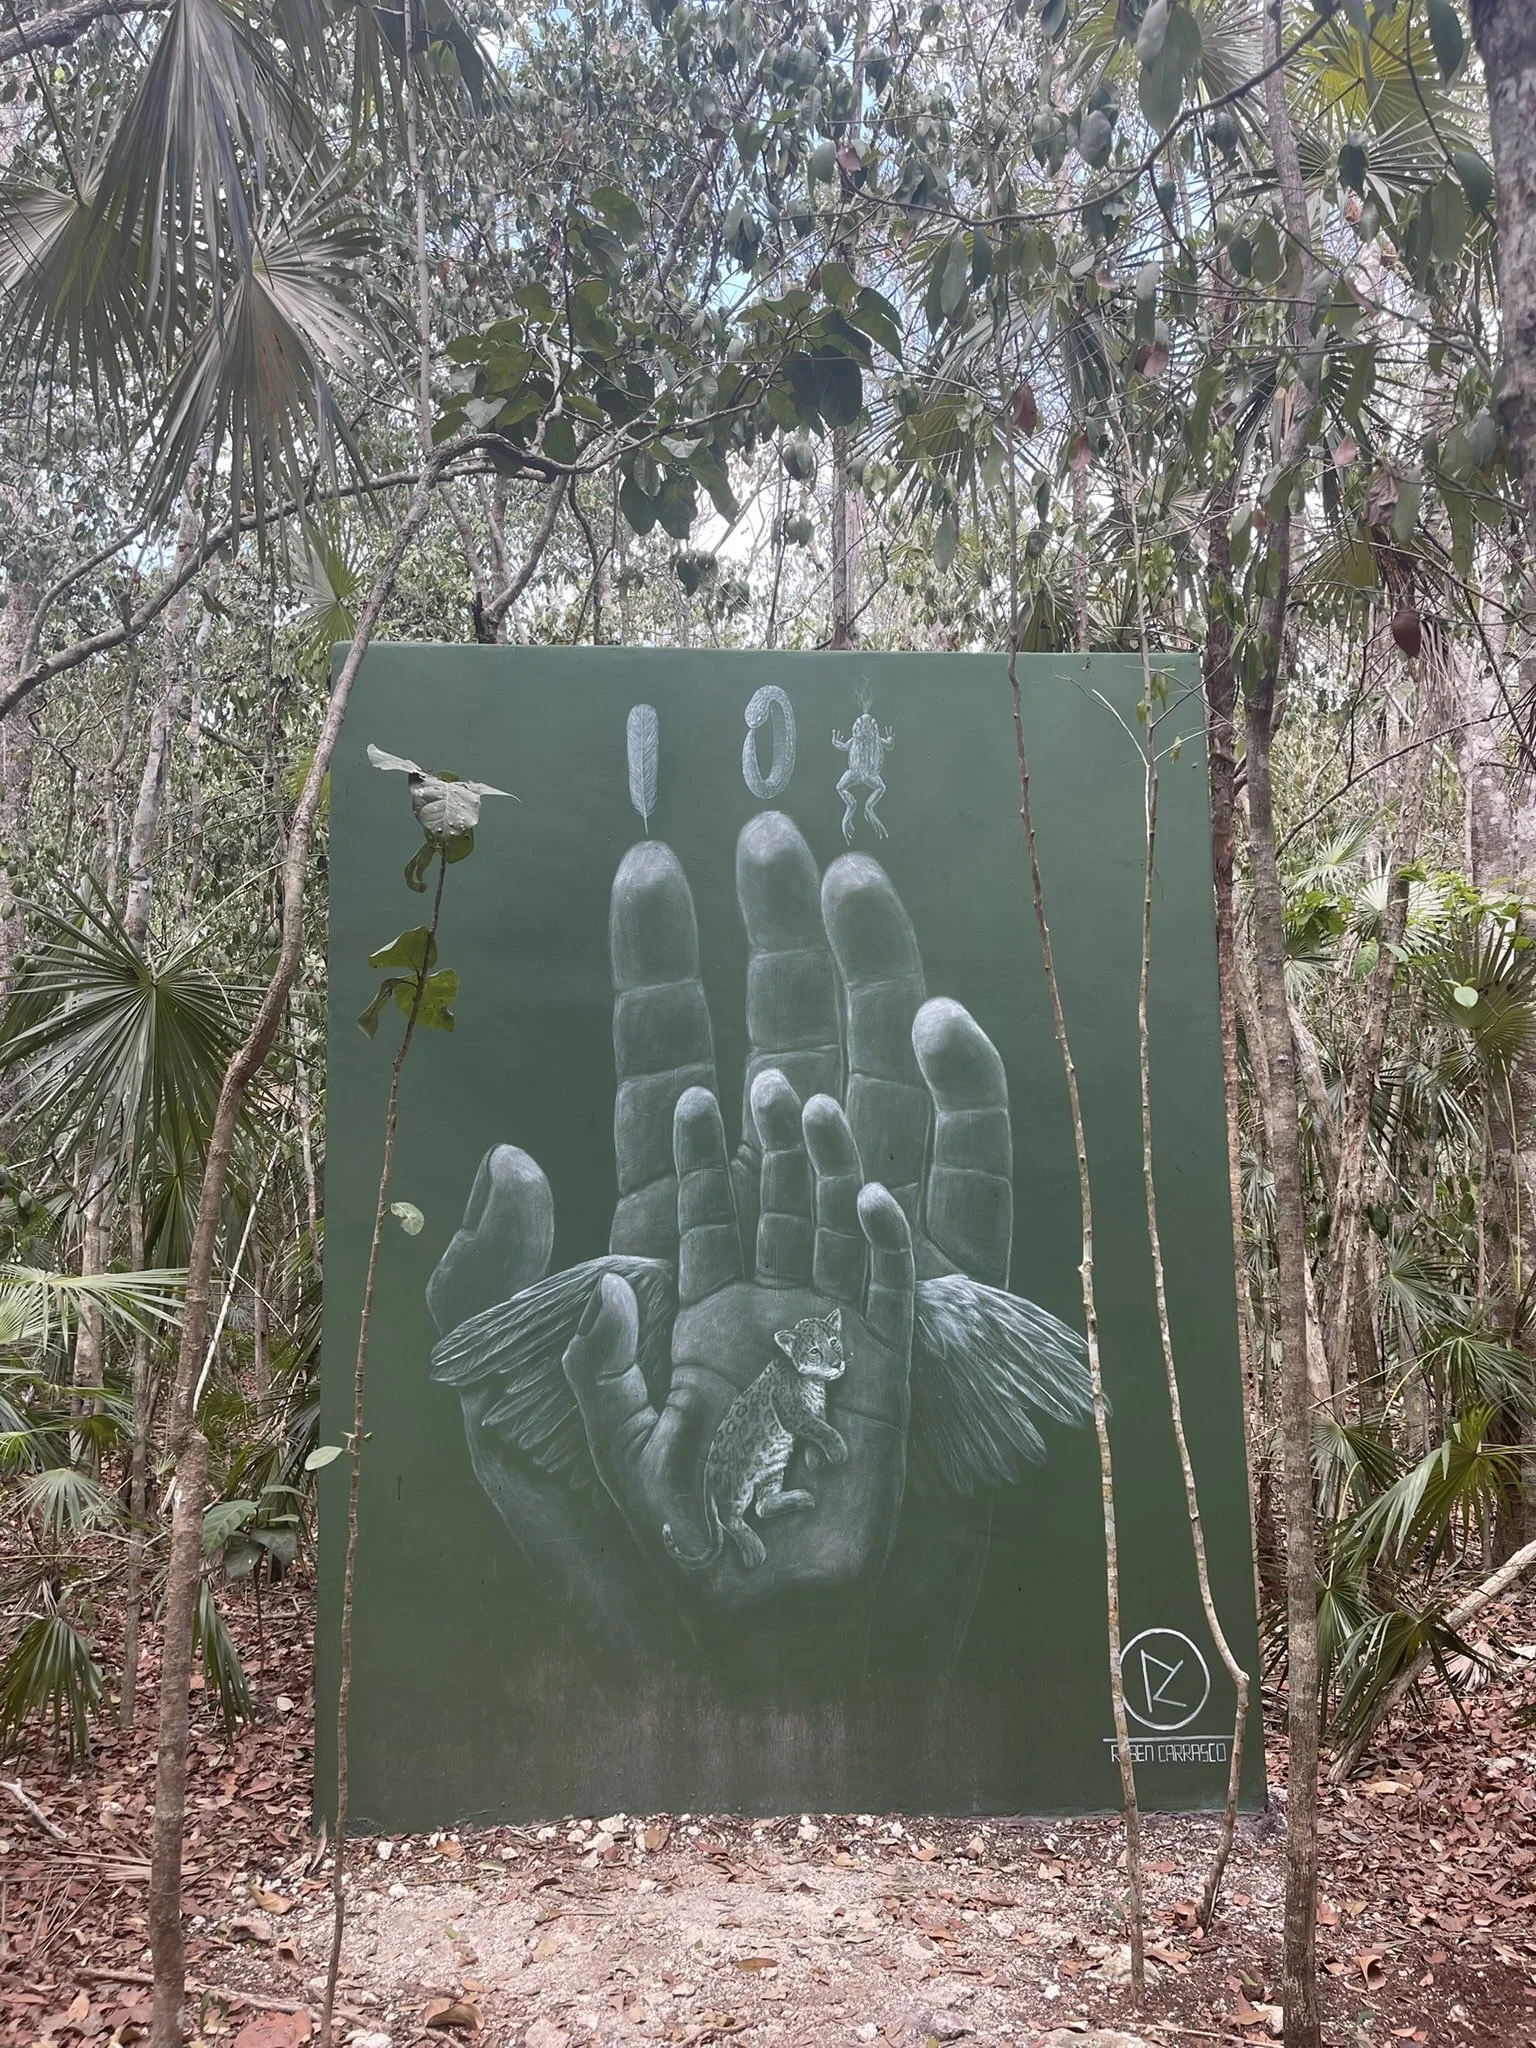
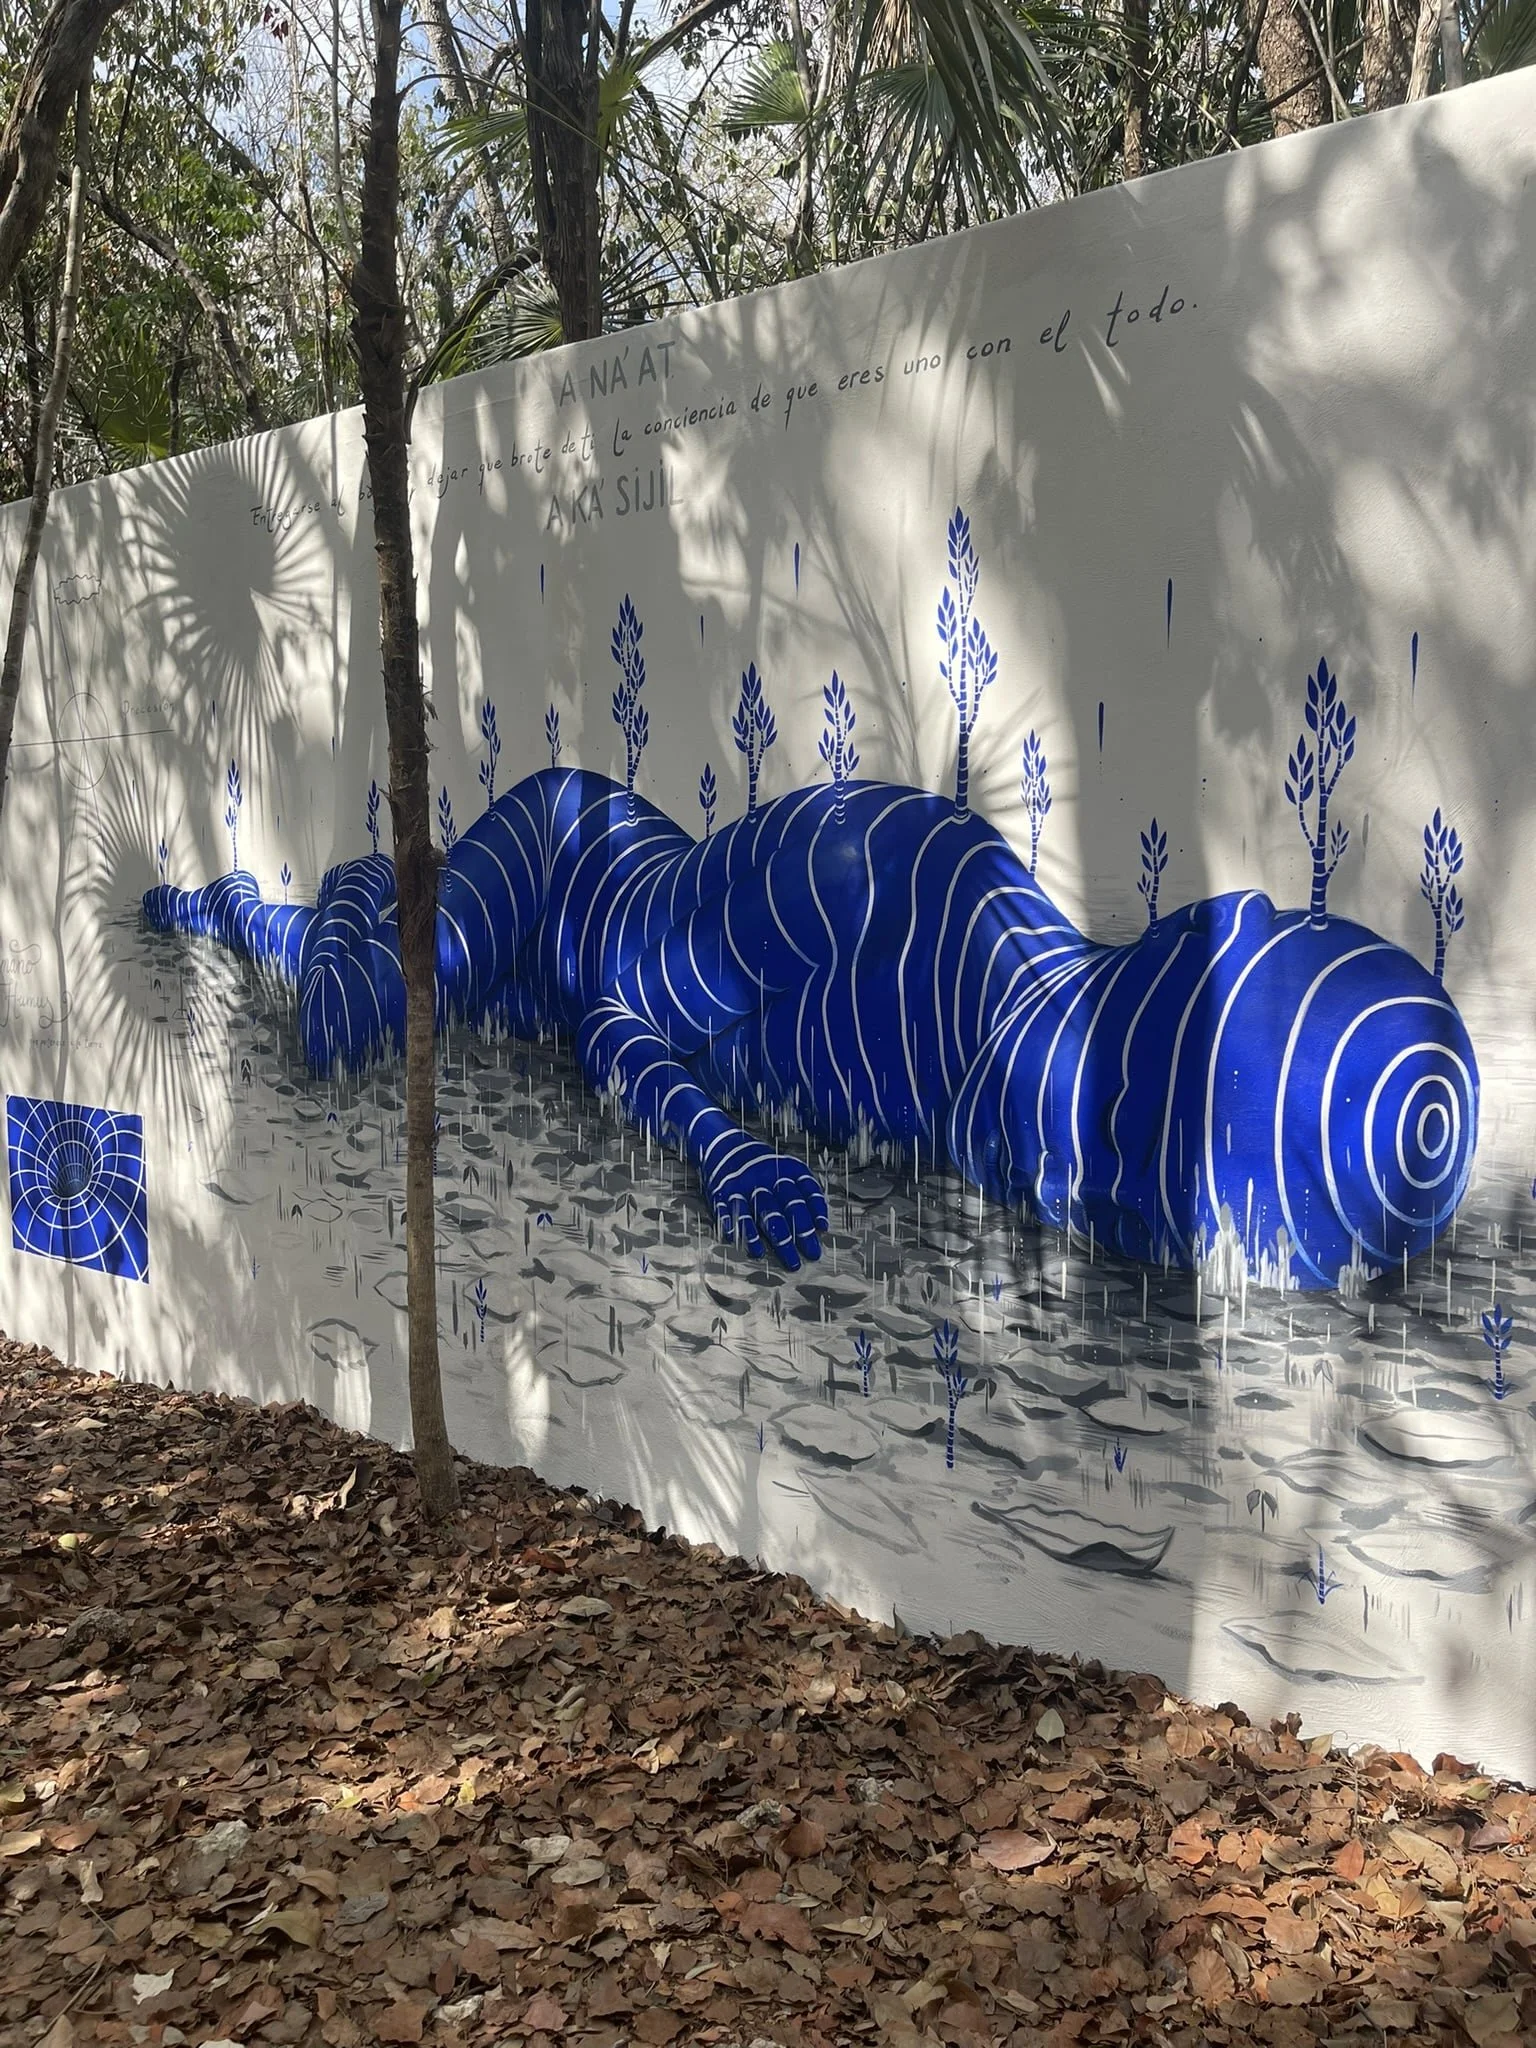
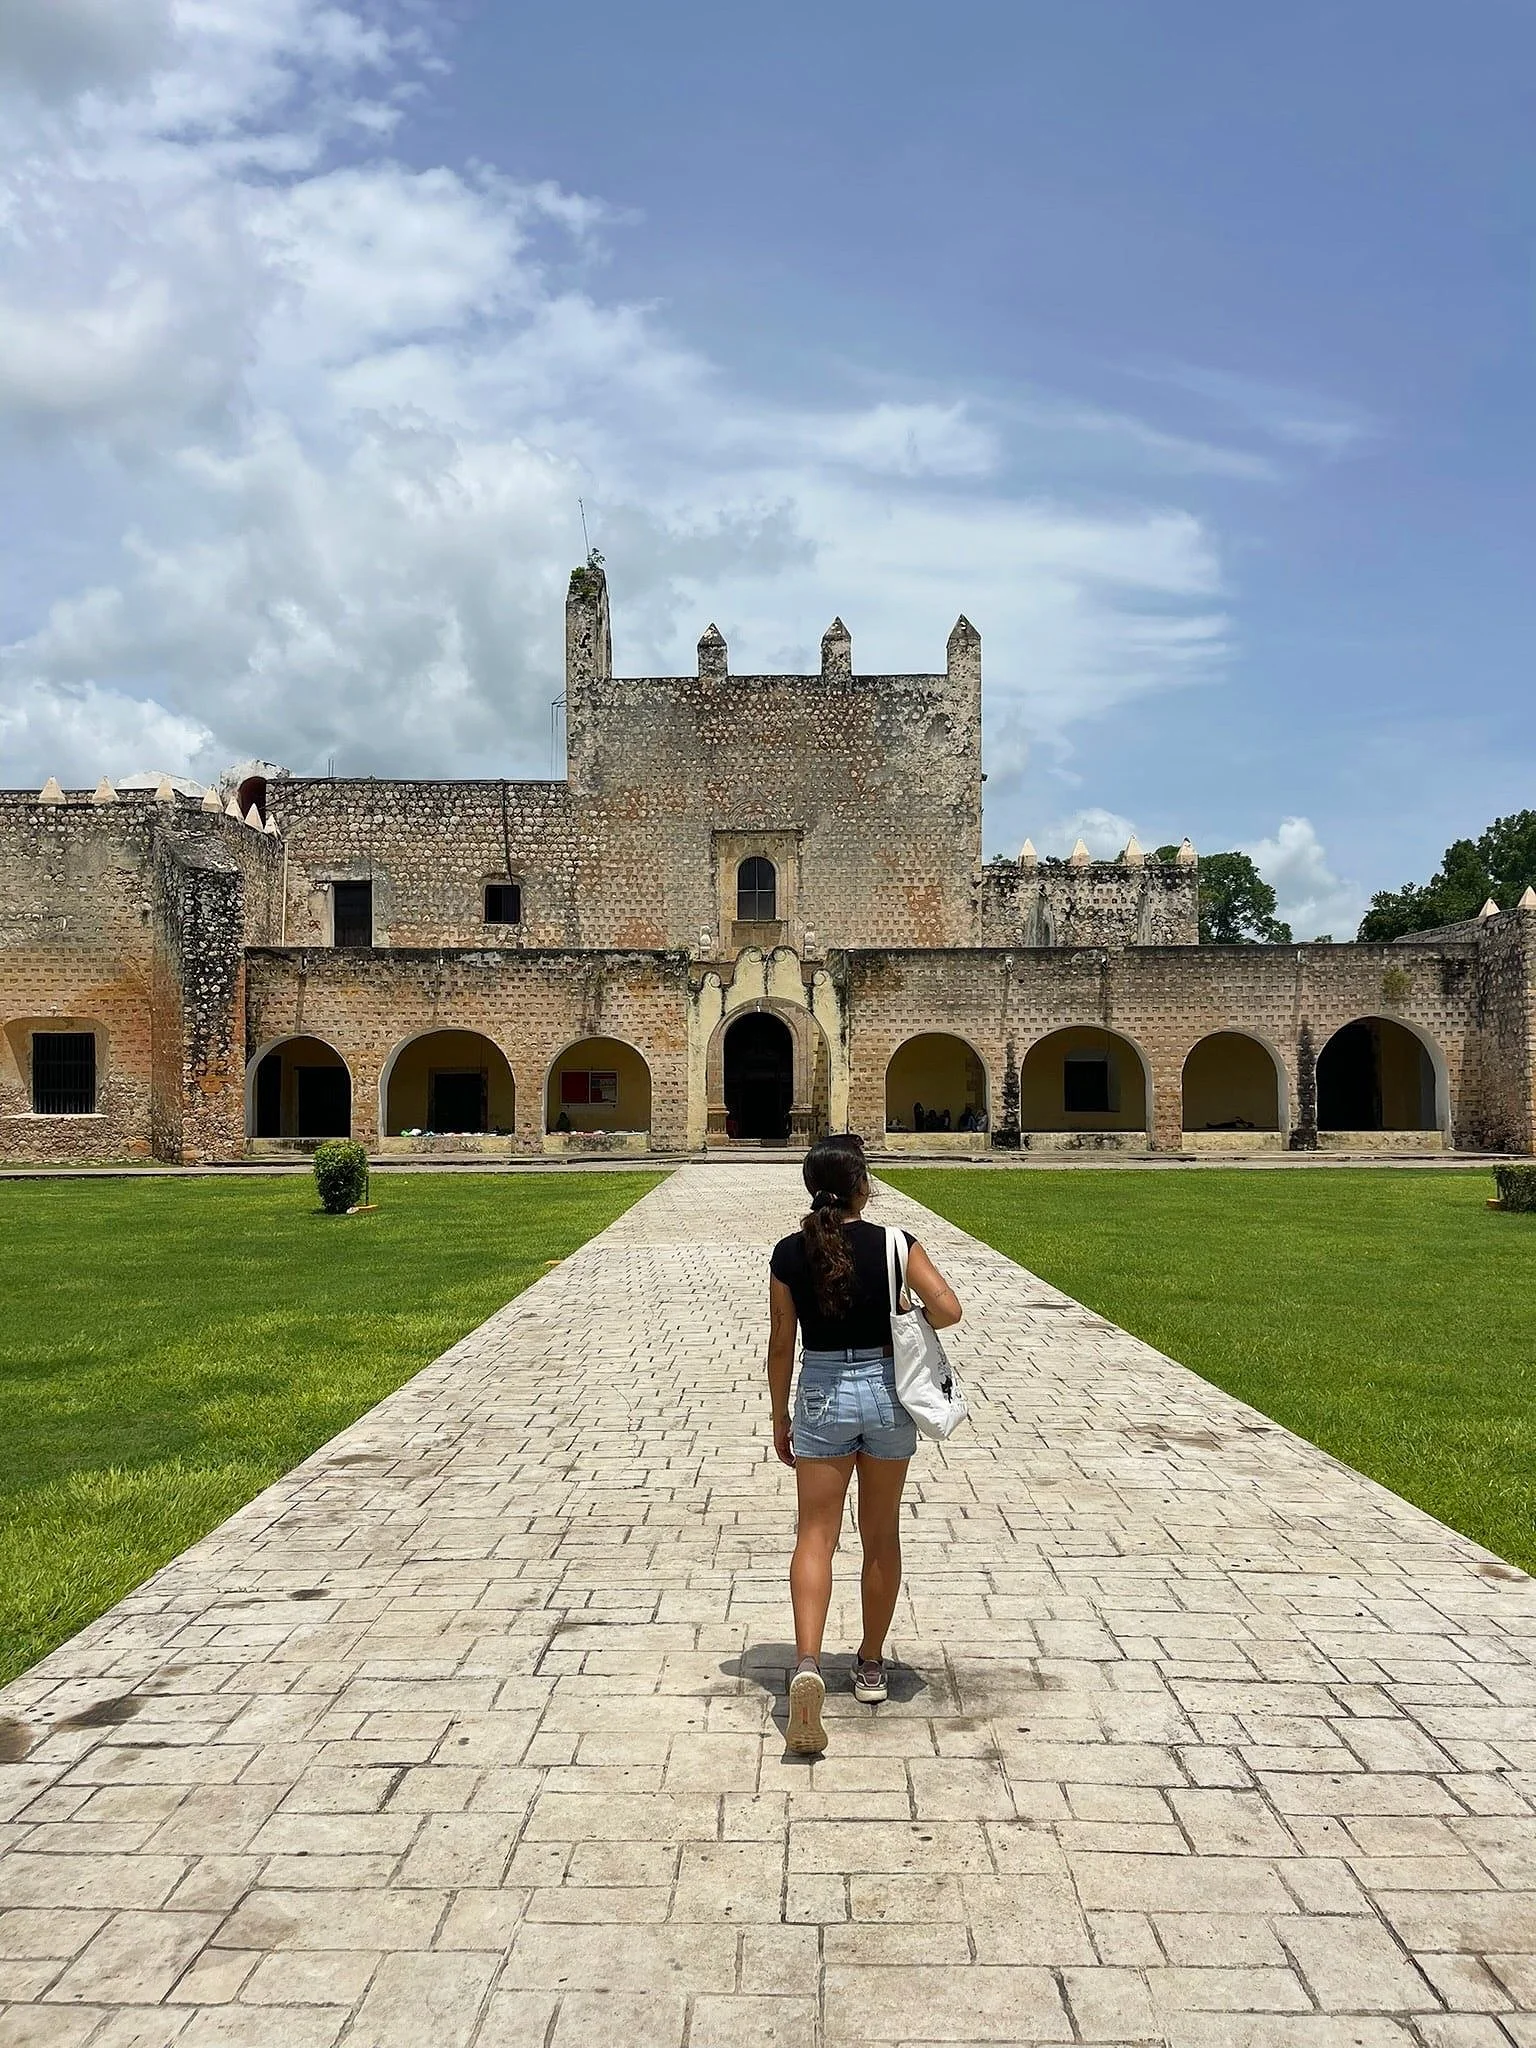
Tulum is quite literally covered in art everywhere you go. There is street art, sculpture art along Tulum Beach, Sfer IK, and the list goes on for you to select from. I recommend heading over to Holistika Art Walk, located inside the Holistika Hotel. You can ask reception which way to wander down to find this FREE art walk through the jungle. There are sculptures, paintings, immersive art, etc. along the walk through the lush green jungle of Tulum. The walk itself only takes around 30 minutes to 1 hour. The hotel area itself is beautiful to meander around and includes a yoga studio and restaurant.
Pro Tip: Bring mosquito spray if you're visiting the Holistika Art Walk—it is in the jungle, and MANY mosquitoes are flying around. To access the free art walk, head to the Holistika Hotel and ask the receptionist how to find the entrance.
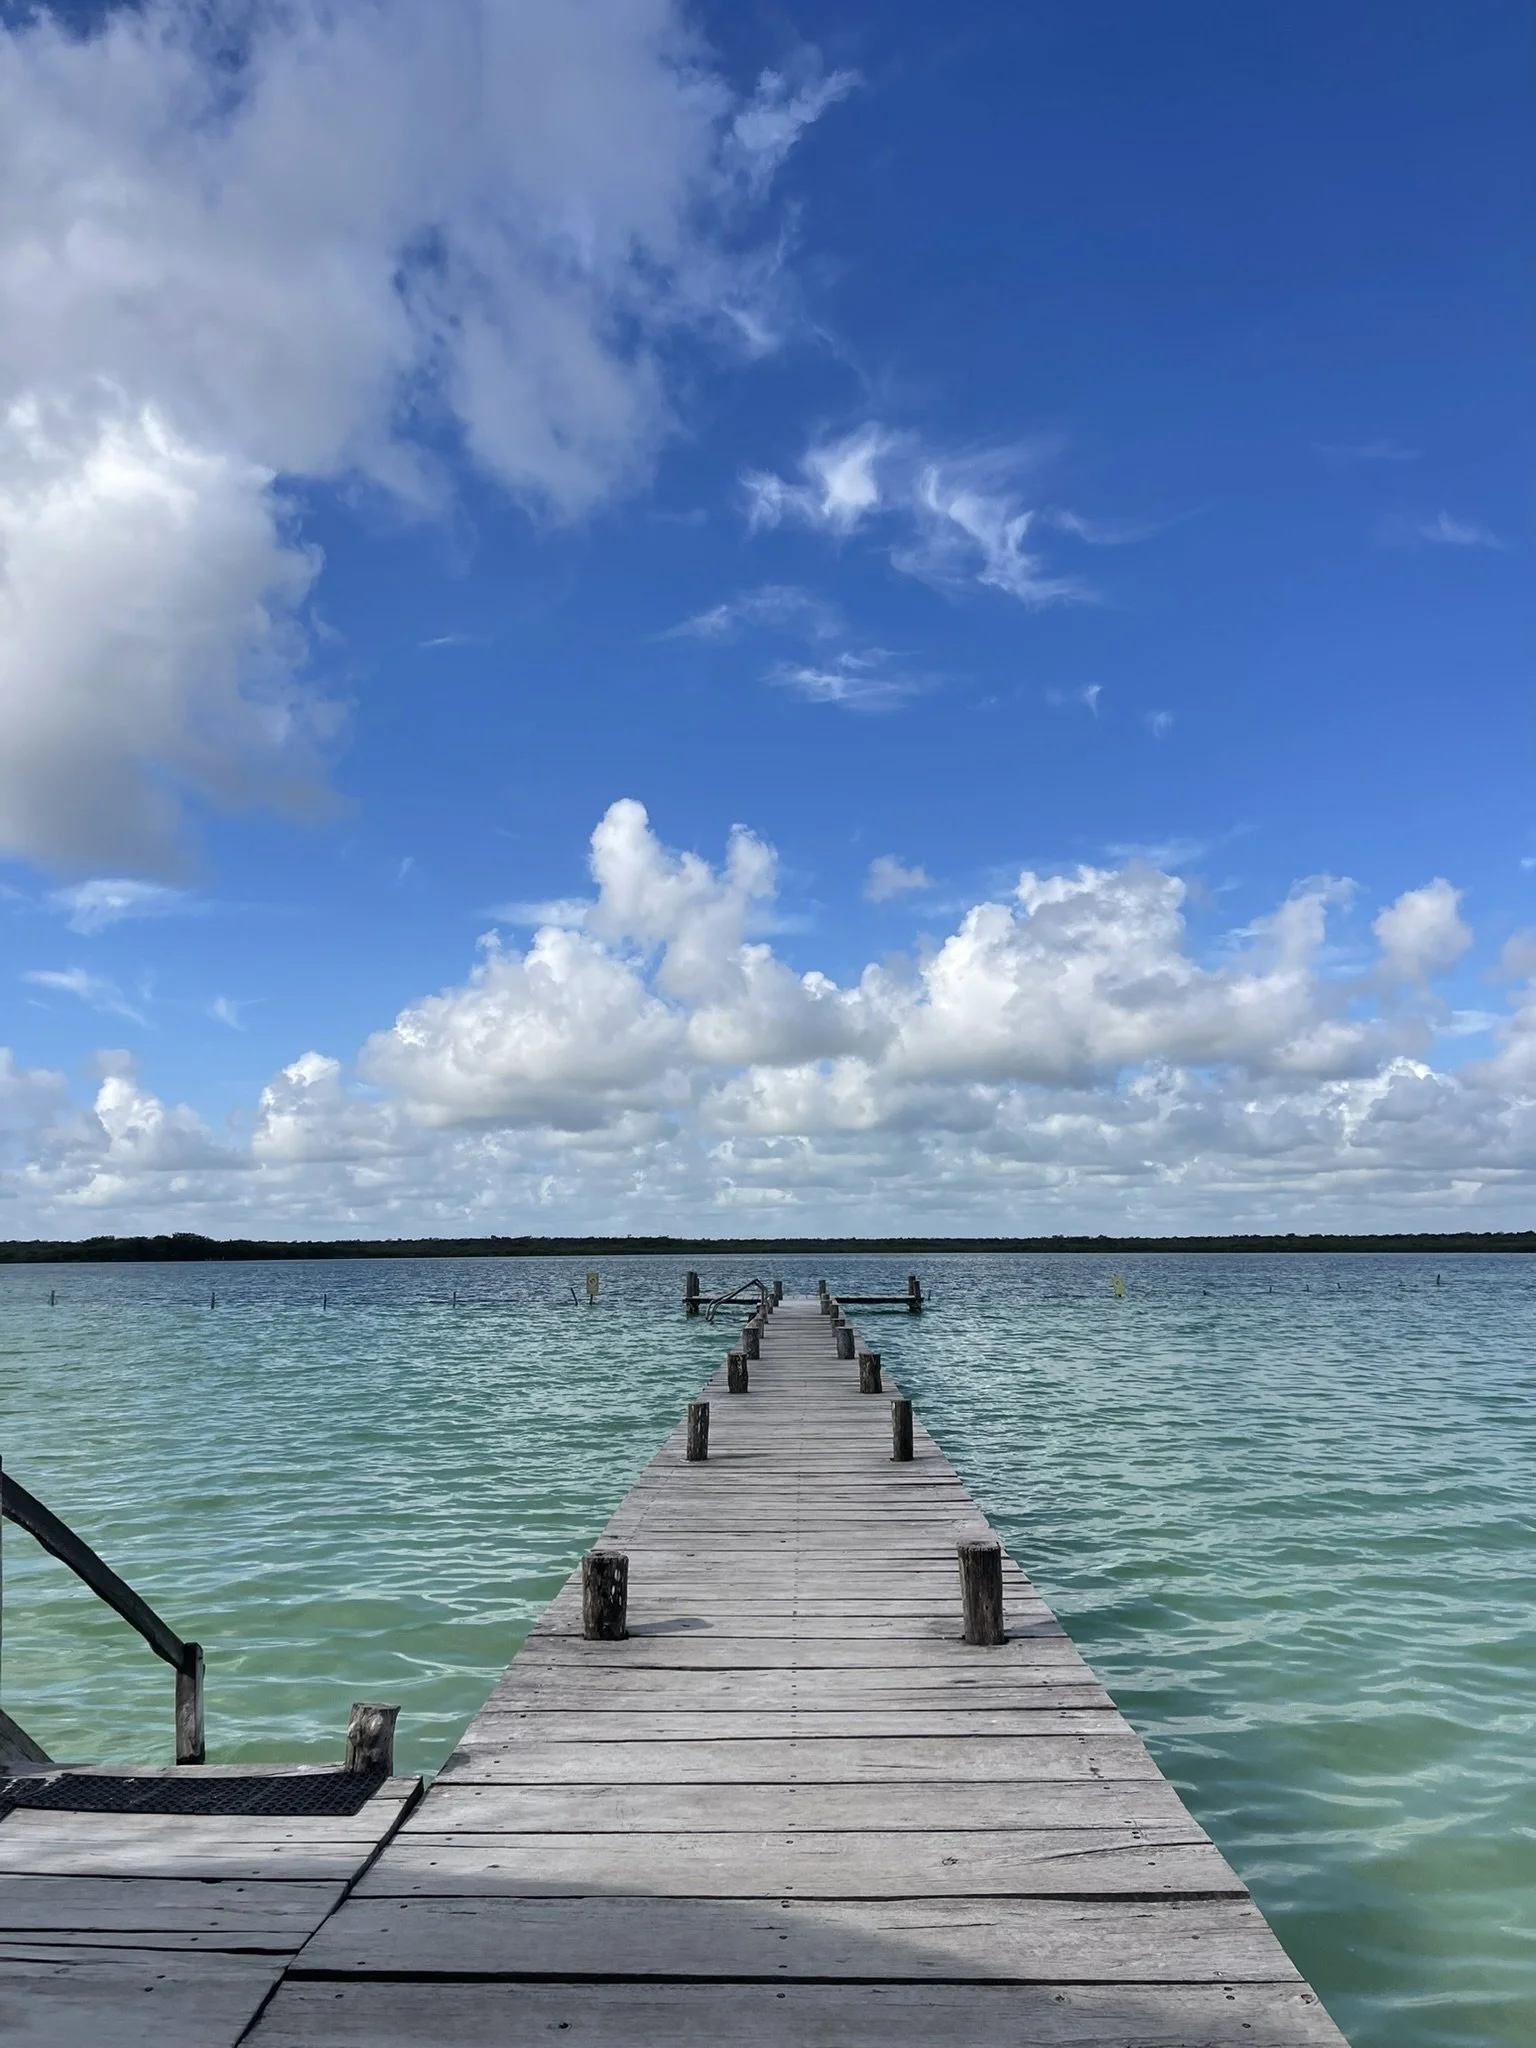
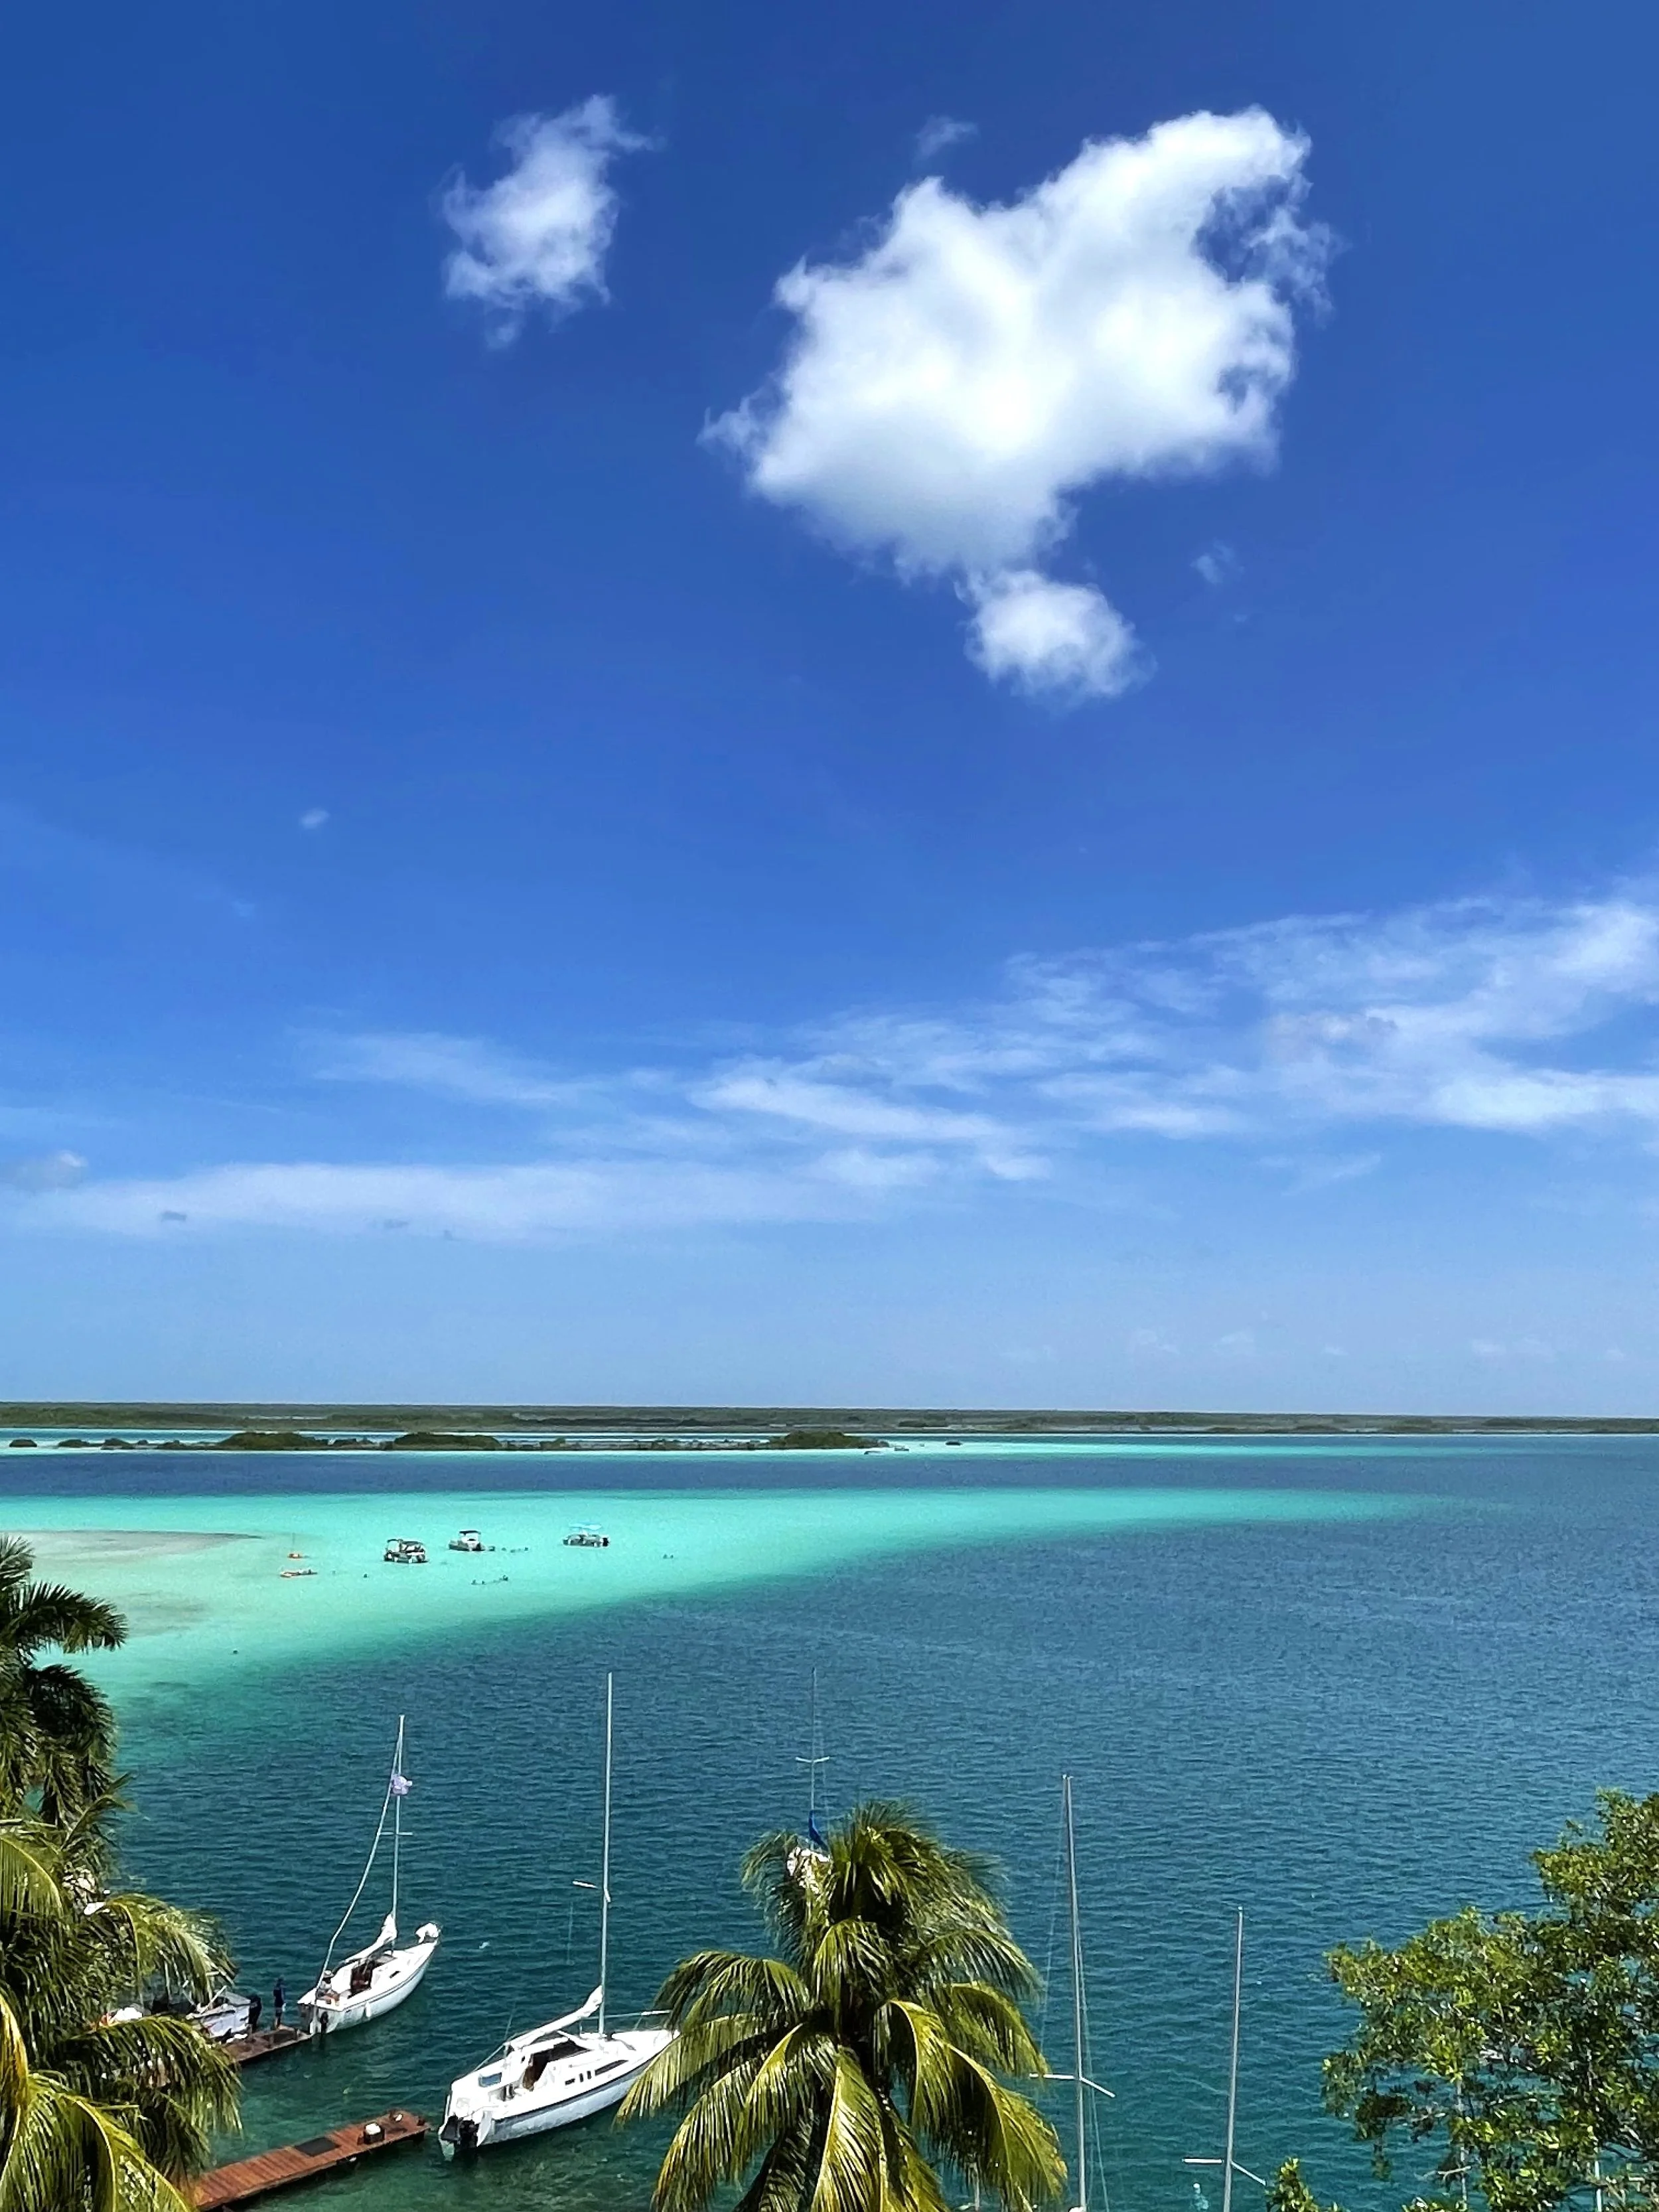
Day 3: Spend the Day Swimming In A Breathtaking Tulum Lagoon.
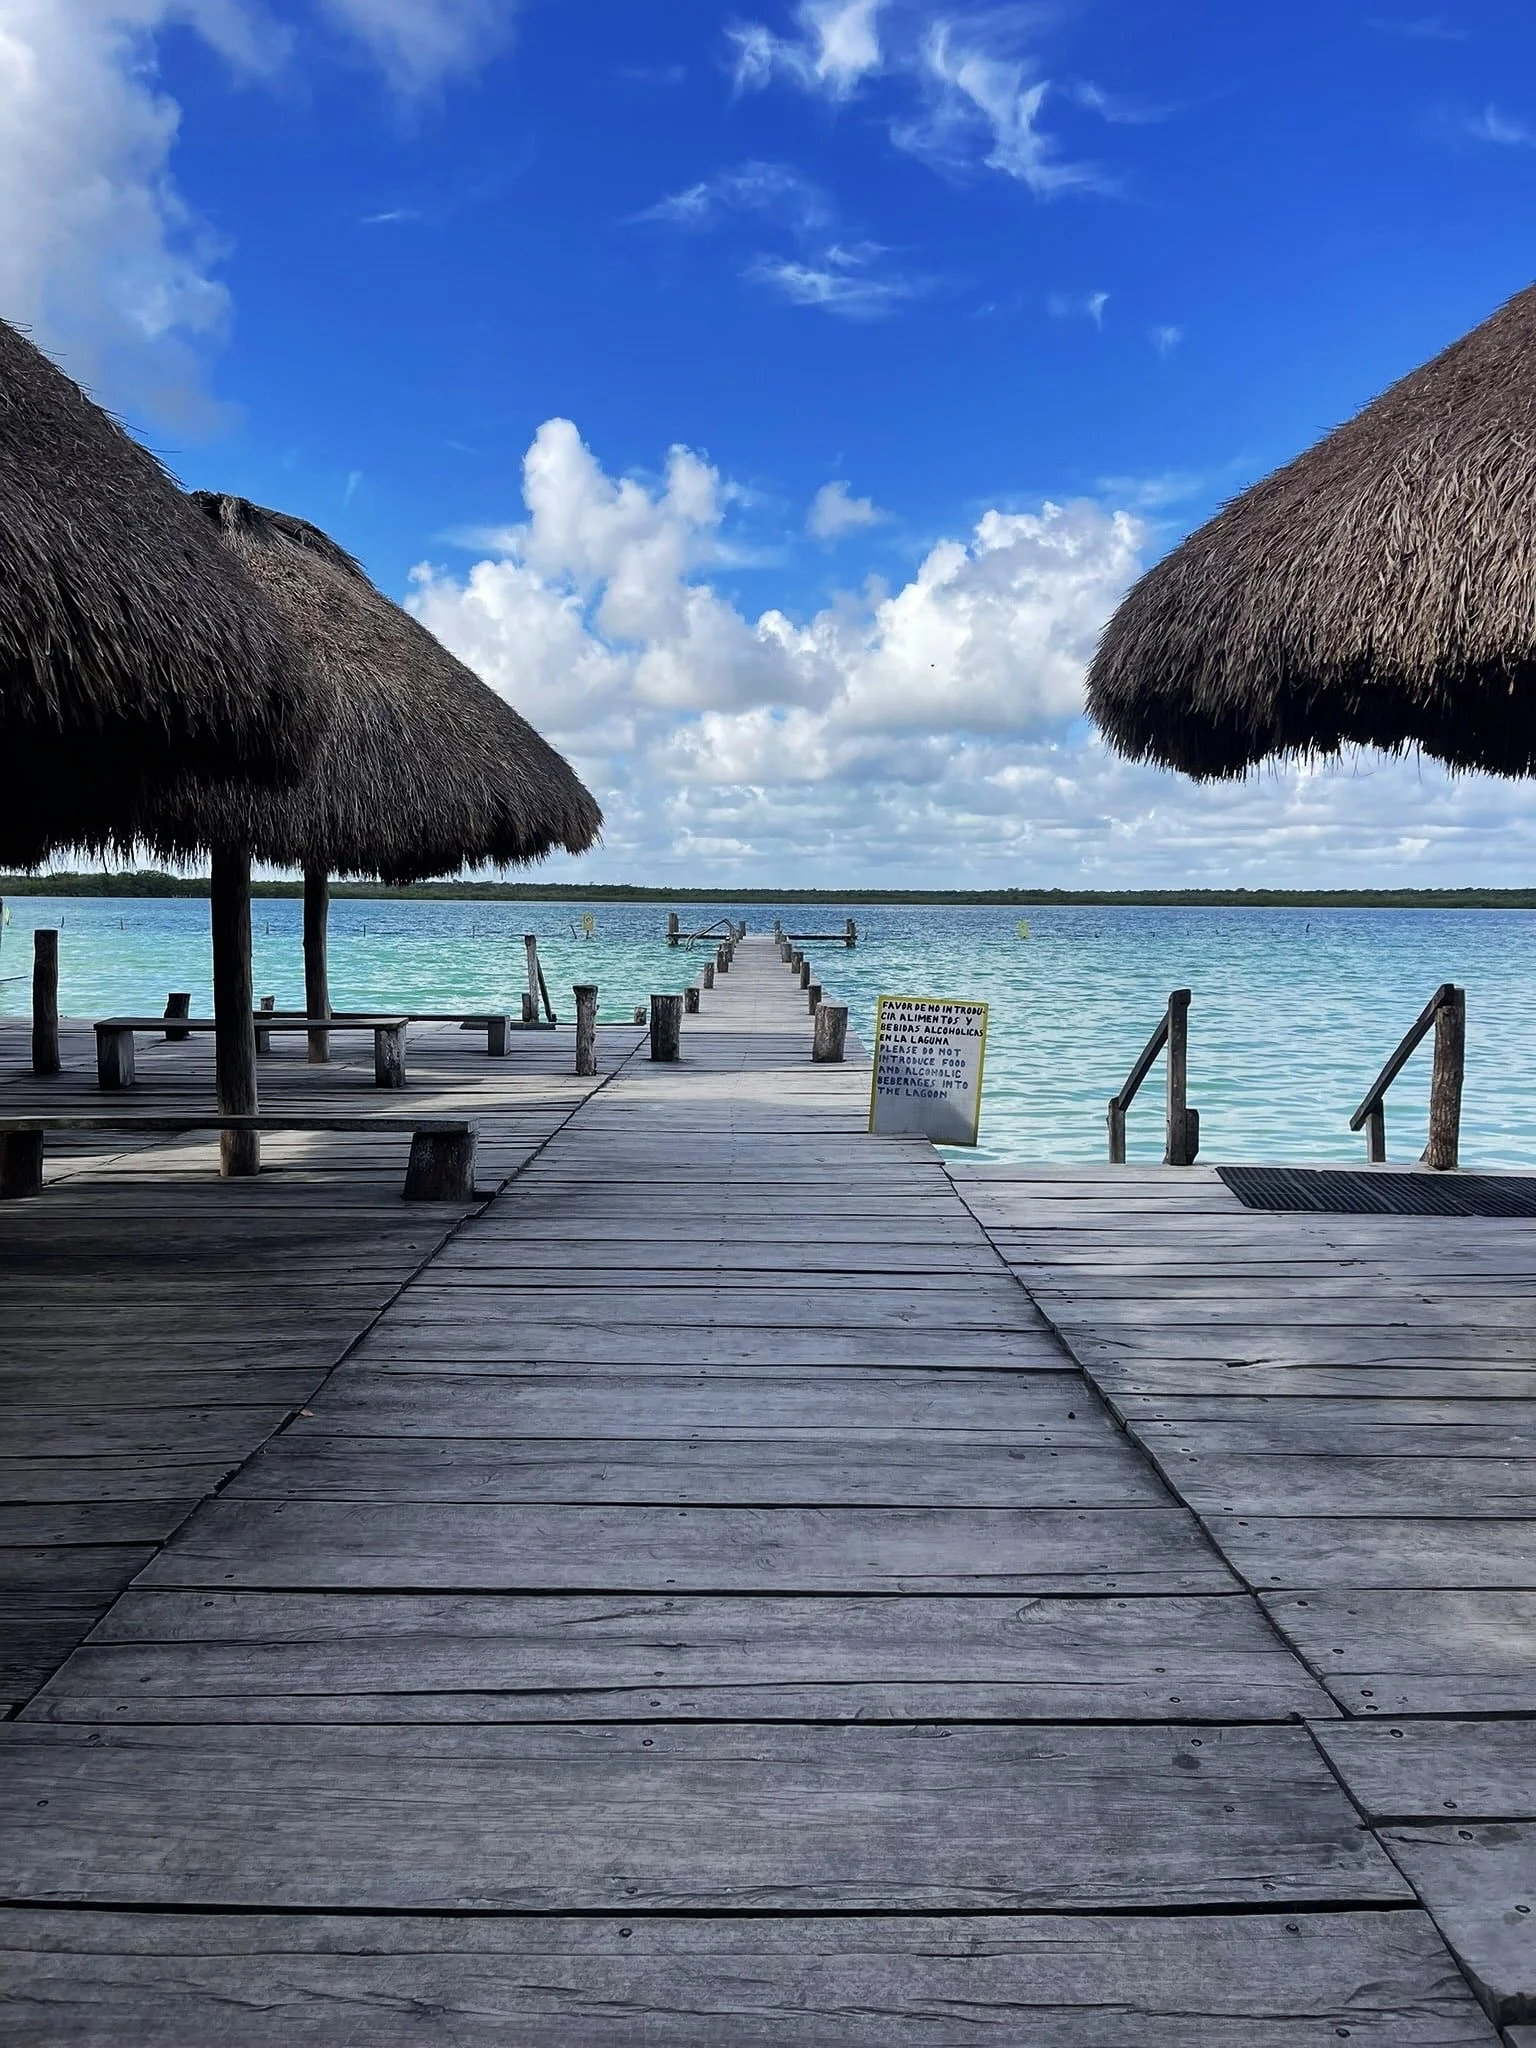
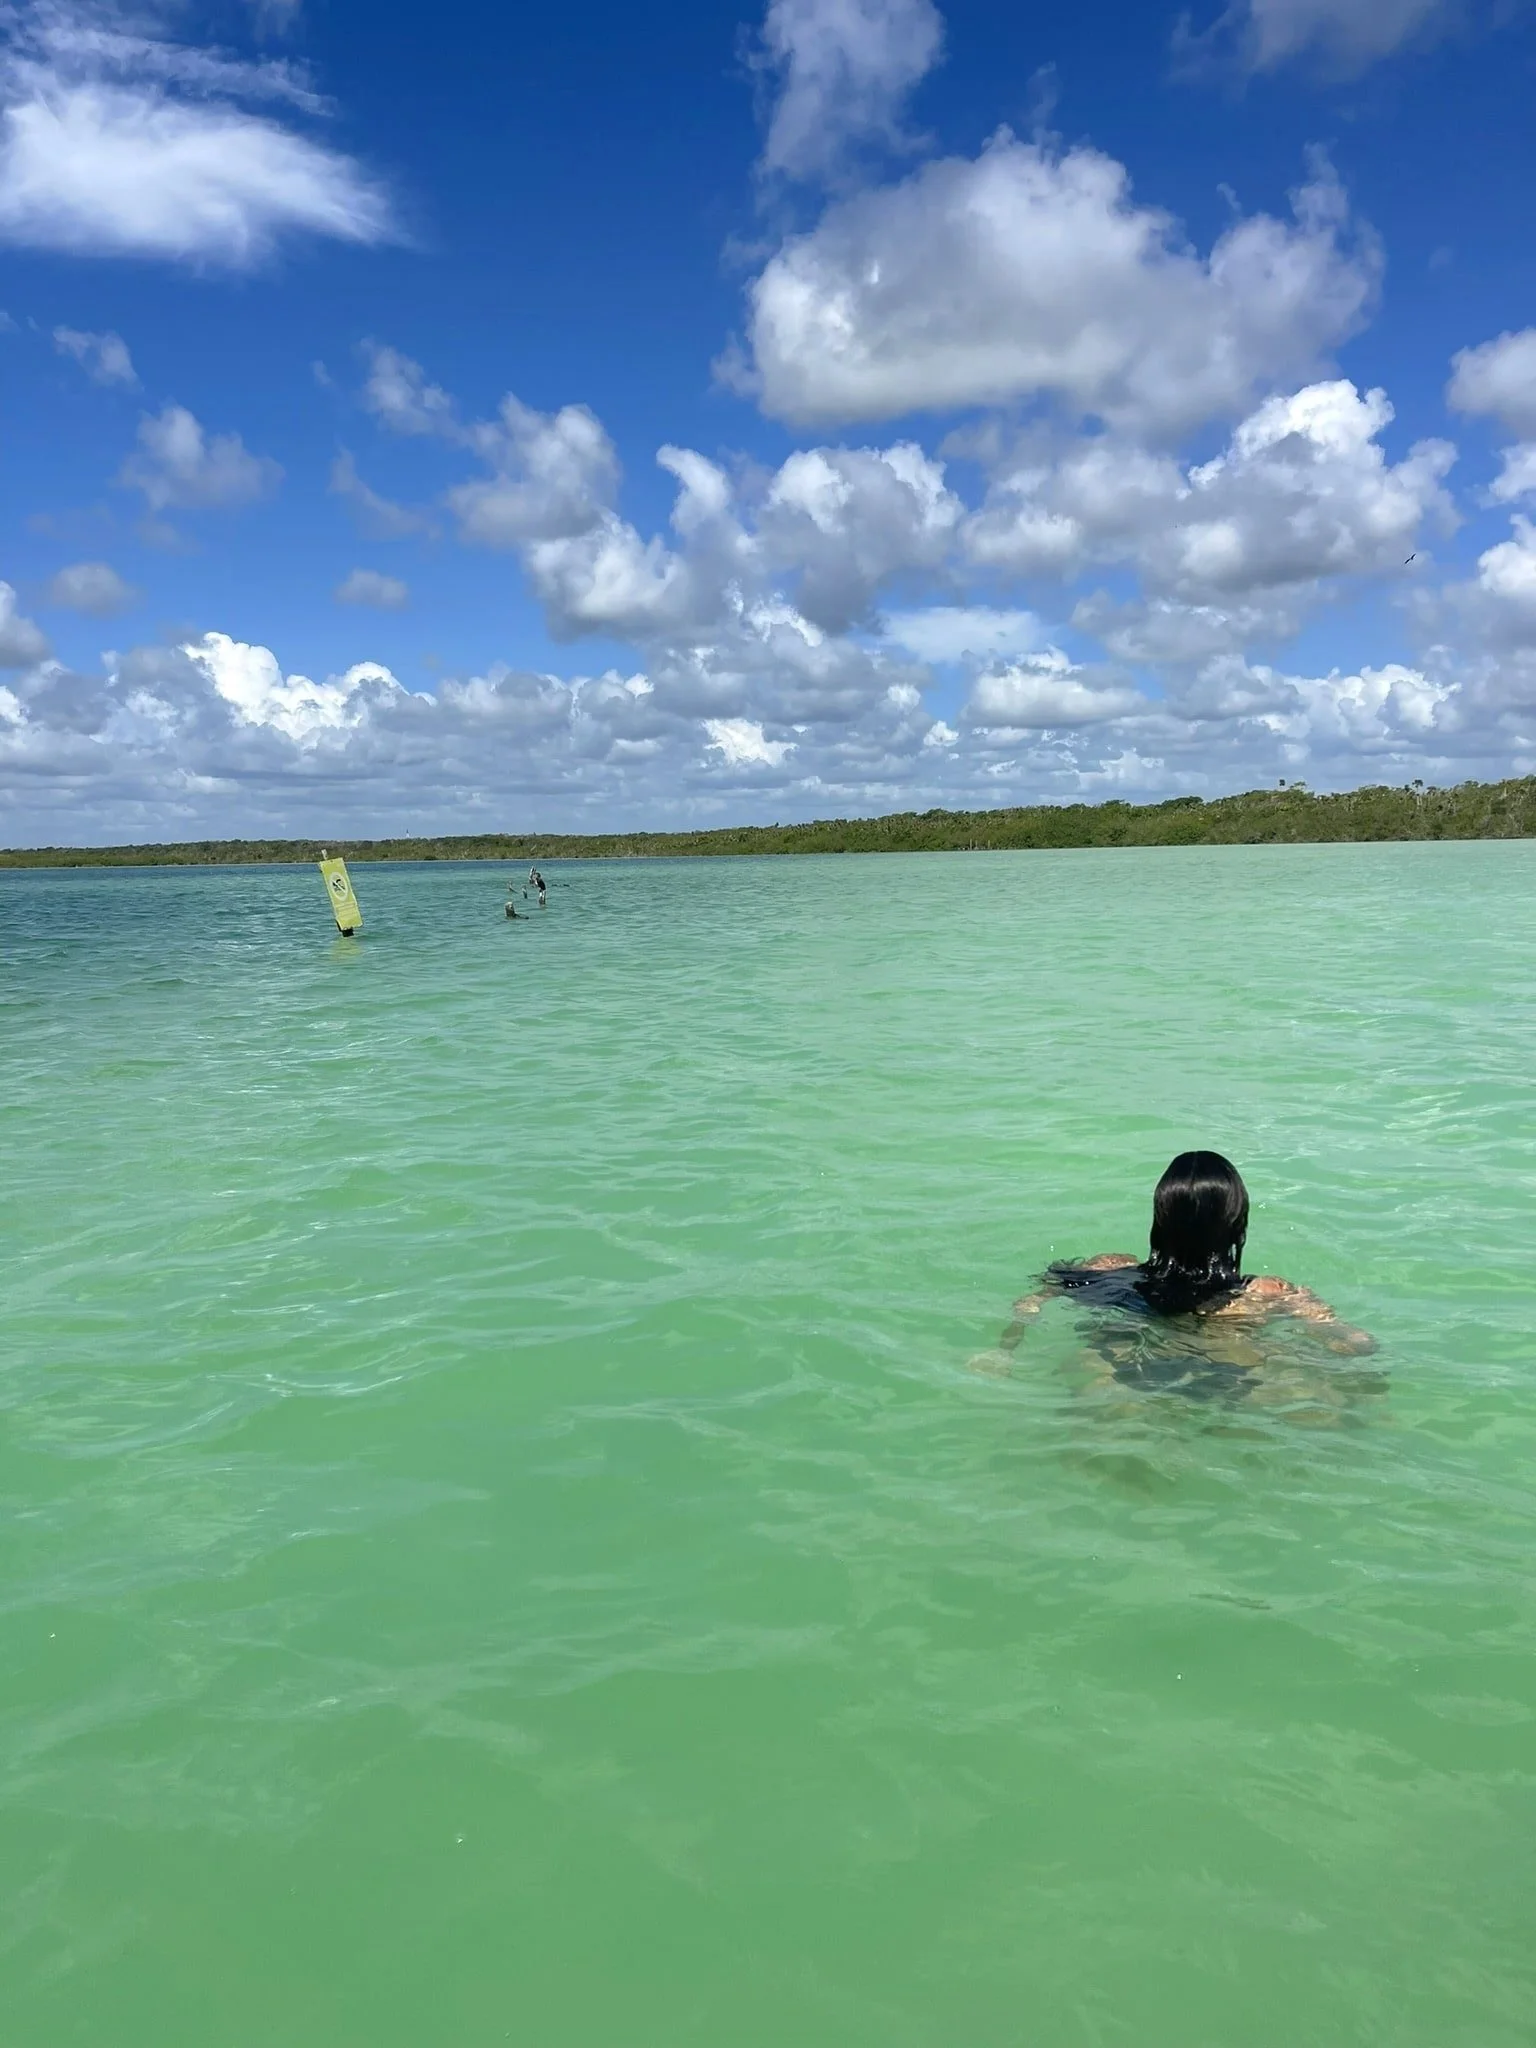
For your third day in Tulum, I recommend spending the day at Laguna de Ka’an Luum, a massive, crystal-clear lagoon with a cenote in the middle. It offers swings, hammocks, photo spots, paddleboards, a viewing tower for lagoon vistas, and more activities. Entry costs 300 pesos and requires a shower before entering. Food and drinks are available for purchase, with nearby bathrooms and abundant bird and butterfly sightings.
I arrived early, around 9:00 AM, and spent 3-4 hours there. It was less crowded during this time—only about 30-50 people—making it an ideal visit. If you prefer fewer crowds, mornings and early afternoons are best, although it does not get too crowded.
Note: Swimming is not permitted in the central cenote area.
Other lagoon options include the Sian Ka'an Biosphere Reserve, which features lagoons and swimming areas, though I did not visit myself. I heard it is family-friendly but involves higher costs, around 1,000 pesos for water activities like floating or boat rides.
Looking for some party vibes? Make a reservation at Neek Tulum by sending them a message on Instagram. Neek Tulum is a trendy restaurant located on a lagoon. It features cocktails, live music, and gastronomy. They often have events going on and even allow pets! Check out their Instagram to understand more of their vibe!
Have an additional day in Tulum? Here are My top 3 Day trip Suggestions:

Chichén Itzá
Chichen Itza is the farthest from Tulum, over a 2-hour drive, but well worth the opportunity to appreciate one of the New 7 Wonders of the World! At the center of the site sits the famous El Castillo pyramid (shown in the image), surrounded by over 20 other unique structures. Unlike Coba, climbing the pyramid is no longer permitted. I spent around 2 hours exploring the area. Many tours are available to visit Chichen Itza but remember that the 643 pesos entrance fee is seldom included. If you plan to head here on your own, I recommend arriving at 8:00 AM to avoid the crowds from the tours.
Coba Ruins
These Mayan ruins are a bit farther from Tulum, about a 50-minute drive away. You can choose a group tour (see below) or venture there independently. The fee to enter Coba Ruins is 100 pesos, and you can plan to spend around 3 hours exploring the sites. ADO has a bus route from Tulum to Coba. To find the schedule, you must head to the Tulum ADO station to ask for it.
Pro Tip: You can climb this one!
#3: Chill out in Bacalar
Bacalar, a still hidden gem and picturesque Mexican town located a couple of hours south of Tulum, is often dubbed the Maldives of Mexico. It is just under 3 hours from Tulum and accessible by rental car, motorbike, group tour, or ADO bus. While a day trip is possible, I believe an overnight stay is ideal to escape the crowded atmosphere of Tulum.
If you plan to head here, I recommend being sure to check out the 'Lagoon of Seven Colors,' a freshwater lake that has varying hues of blue, and the famous club in town 'Los Rapidos,' where you can float or kayak through the small rapids along the stromatolites.
Bacalar is one of the most beautiful and laid-back areas in the Yucatan Peninsula, and I highly recommend taking advantage of your proximity to it during your 3 days here. For a list of the top things to do in Bacalar, click here!
General Information: Tulum
Best Time to Visit:
The best time to visit Tulum for optimal weather and minimal seaweed is from November to April. However, the best deals on accommodations and other expenses are during the low season, which is the opposite of these months.
High Season: December - April
Seaweed Season: April - October
Hurricane Season: June - October
Travel Tip: Tulum is prone to frequent power outages, especially during the windy and rainy hurricane season. I experienced them regularly during my time here.
How to Get to Tulum:
FLYING:
Tulum has a relatively new international airport (TQO), situated approximately 40 minutes from La Veleta and 45 minutes from Aldea Zama and the Tulum Beach/Hotel zone.
To book flights, I suggest looking on Kiwi.com or Skyscanner.com for the best flight deals. Unlike Google Flights, Kiwi and Skyscanner include regional flights in their search results.
Note: Taxi fares from the airport into Tulum can be pricey.
PRIVATE TAXI:
A private taxi is always an option but can be quite pricey. From Playa del Carmen, I was quoted anywhere from 1200-2000 pesos (70-120 USD) by drivers.
ADO BUS:
ADO is the largest Mexican bus company throughout the country, and most routes are safe for tourists. You can take an ADO bus from nearly anywhere else in Mexico to get to Tulum. The best routes are from Cancun and Playa del Carmen. Prices vary depending on the time of year and time of departure. My bus from Playa del Carmen was 120 Pesos (around 7 USD) and only took a couple of hours.
COLECTIVO:
A Colectivo is a shared van with other people heading to the same destination you are. They are a form of transport favored by backpackers and travelers with less luggage.
The Colectivo from Playa del Carmen to Tulum can be found under Highway #307, (below Juarez Avenue) near Chedraui. Find the Google Maps location here.
The Colectivo ride costs a little above or below 40 pesos and stops near the Tulum Ruins and the ADO bus station. They do not always stop at Tulum Ruins, so if this is your destination, be sure to tell the driver ahead of time and be on the lookout during your drive. You will need to either walk or hire an additional taxi to get to your accommodation.
Note: Colectivos can be small, cramped, and timely. Sometimes they will wait for a full van before departing. They do not always have working air conditioning. If you have a lot of bags or a large bag, they may turn you down for more passengers instead (more money for the driver).
Mode of Transport in Tulum:
Options: Taxi, bicycle, motorbike/ATV. If you are going to be here long term, your best option is to purchase one of these outright because of how overpriced rentals are here. Tulum is not very walkable, with everything being spread out and still under development. Each section of Tulum, such as Aldea Zama, is walkable on its own. However, walking between areas, such as walking to Tulum Beach, is not always advisable due to heat and safety concerns.
Bicycle: A bicycle is the cheaper option, but it can be quite difficult with the lack of infrastructure in some areas, such as La Veleta. However, there are bike lanes on most main roads. Bicycles cost, on average, about 150-200 pesos daily. Longer-term rentals offer a better chance at discounts. Bike locks are necessary here.
Taxi: If you're here long-term, relying on taxis to get around isn't feasible due to high prices. I've only used one taxi during my time in Tulum, from the ADO bus station to my stay in La Veleta. The fee was 200 pesos.
Motorbike/ATV: This is probably your best option for getting around Tulum on its bumpy, unpaved dirt roads. However, they can be quite costly. I was quoted anywhere from 400 pesos (rarely) to 800 pesos per day for a motorbike. ATVs are more expensive. In addition to the base fee, many places require a deposit starting at 2,000 pesos plus your passport.
Car: If you prefer, can you rent a car here.
Note: Rental places are known for scamming tourists, and motorbikes and bicycles are known to be stolen. I recommend doing your research ahead of time, reading reviews, and having a way to lock your rental up at night. I used a bicycle lock to secure my motorbike kickstand to a small tree outside my accommodation. I always put my helmet in the locked compartments on the motorbike.
Where to Stay:
There are four main areas in Tulum to stay:
You can help support my travel blog by clicking and booking through the links! You can also find hotel deals at Agoda and Hostel World!
La Veleta (I stayed here): Best for long-term visitors who want a luxury stay at a good price and some quiet. You need a form of transport to move about here.
Best Backpacker/Hostel Option: Maui Hostels Tulum (Expedia) (Booking.com)
Best Low-Budget: Little Gem Hotel Tulum La Veleta (Expedia) (Booking.com)
Best Mid-Budget: Hotel Boutique TerraNova (Expedia) (Booking.com)
Best Luxury: Hotel Muaré (Expedia) (Booking.com)
Aldea Zama: Known as the spot where the majority of digital nomads and expats live, mixed in with some locals. It is a safe and modern neighborhood with many cozy cafes, dining options, grocery stores, gyms, and more. You will still need transportation to get to the beach and tourist attractions.
Best Backpacker/Hostel Option: Mayan Monkey (Expedia) (Booking.com)
Best Low-Budget:
Best Mid-Budget: Naj Tulum (Expedia) (Booking.com)
Best Luxury: Copal Tulum Hotel (Expedia) (Booking.com)
Tulum Centro: Best for travelers and backpackers on a hostel budget or those seeking immediate access to local action. Transportation is still necessary to reach the beach area and main attractions of Tulum, this area offers plenty of food options, grocery stores, shopping, and more. For me, this area exuded an authentic Tulum vibe and felt like the heart of the action.
Best Backpacker/Hostel Option: Moonshine Tulum Hotel & Hostel
Best Low-Budget: Los Arcos Hotel or Boutique Hotel Posada 06 Tulum
Best Mid-Budget: Botånica Tulum
Best Luxury:
Layla Tulum - Adults Only (Expedia) (Booking.com)
Tulum Beach Area: Best for short-term, luxury travelers who want to be on the beach and not have to leave the area if they don't want to. There are lots of food options, clubs for night owls, and other things to do. You would need transport to visit the ruins and cenotes.
Best Backpacker/Hostel Option: Selina Tulum (Booking.com) (Expedia)
Best Low-Budget: Diamante K
Best Mid-High Budget:
Best Luxury:
Mi Amor Boutique Hotel - Adults Only (Booking.com) (Expedia)
Note: If I could do Tulum differently I would stay in Tulum Centro or Aldea Zama.
Food Recommendations:
Carlito Burrito (La Veleta)
El Bajon Vegano (Tulum Centro)
Burrito Amor (Tulum Centro)
Raw Love (Tulum Centro)
Find even more food recommendations, here!
IS IT SAFE?:
This is a huge debate with Mexico in general, and it all depends on what you will be doing and where you will be going. I want to preface by saying that I do not drink, wander around after 7:00 PM, or engage in any illegal activities. I have heard some absolute horror stories of people's experiences in Tulum that left me in shock. However, I have not experienced any safety issues whatsoever while here.
Get an eSIM—so you have cell service while you travel around Tulum. I always use Airalo for my eSim
Never travel without the right insurance in case of any sickness, injuries, or theft. Safety Wing is by far the best travel insurance. It has saved me numerous times by covering hospital visits when I was sick during my travels in Asia.