Cenote Scuba Diving in Tulum: A Journey Beneath The Surface

Exploring a cenote is a must for anyone visiting Tulum and the Yucatán Peninsula. However, the most epic way to experience a cenote is by scuba diving in one. This thrilling yet meditative experience is something every diver should try at least once in their life. From finning through the caverns in Dos Ojos to diving deep into the depths of El Pit, I will cover everything you need to know about cenote scuba diving in Tulum. Let’s dive into it!
Disclaimer: This post contains affiliate links. If you click through and make a purchase, my blog may receive a commission at no additional cost to you.
Cenote Scuba Diving in Tulum
El Pit
Tulum is booming with cenotes, having over 100 scattered throughout the town. Initially, I was not too keen on paying 250-400 pesos just to swim in what essentially is a hole filled with water. However, while researching which cenotes might be worth visiting during my month in Tulum, I stumbled across the idea of scuba diving in a cenote. THIS seemed like something worth paying for. It transformed that hole filled with water into an opportunity to explore the true beauty of a cenote: stalagmites, stalactites, secret caverns, and underwater life that has existed for millions of years! It promised a priceless experience.
Sustainable Tourism: Cenotes contain fragile ecosystems that can be easily disrupted by touching, kicking, or removing formations, and even by leaving waste behind. Please travel respectfully so generations to come can continue to explore and enjoy these natural wonders.
The Cenotes I Chose & Why:
El Pit:
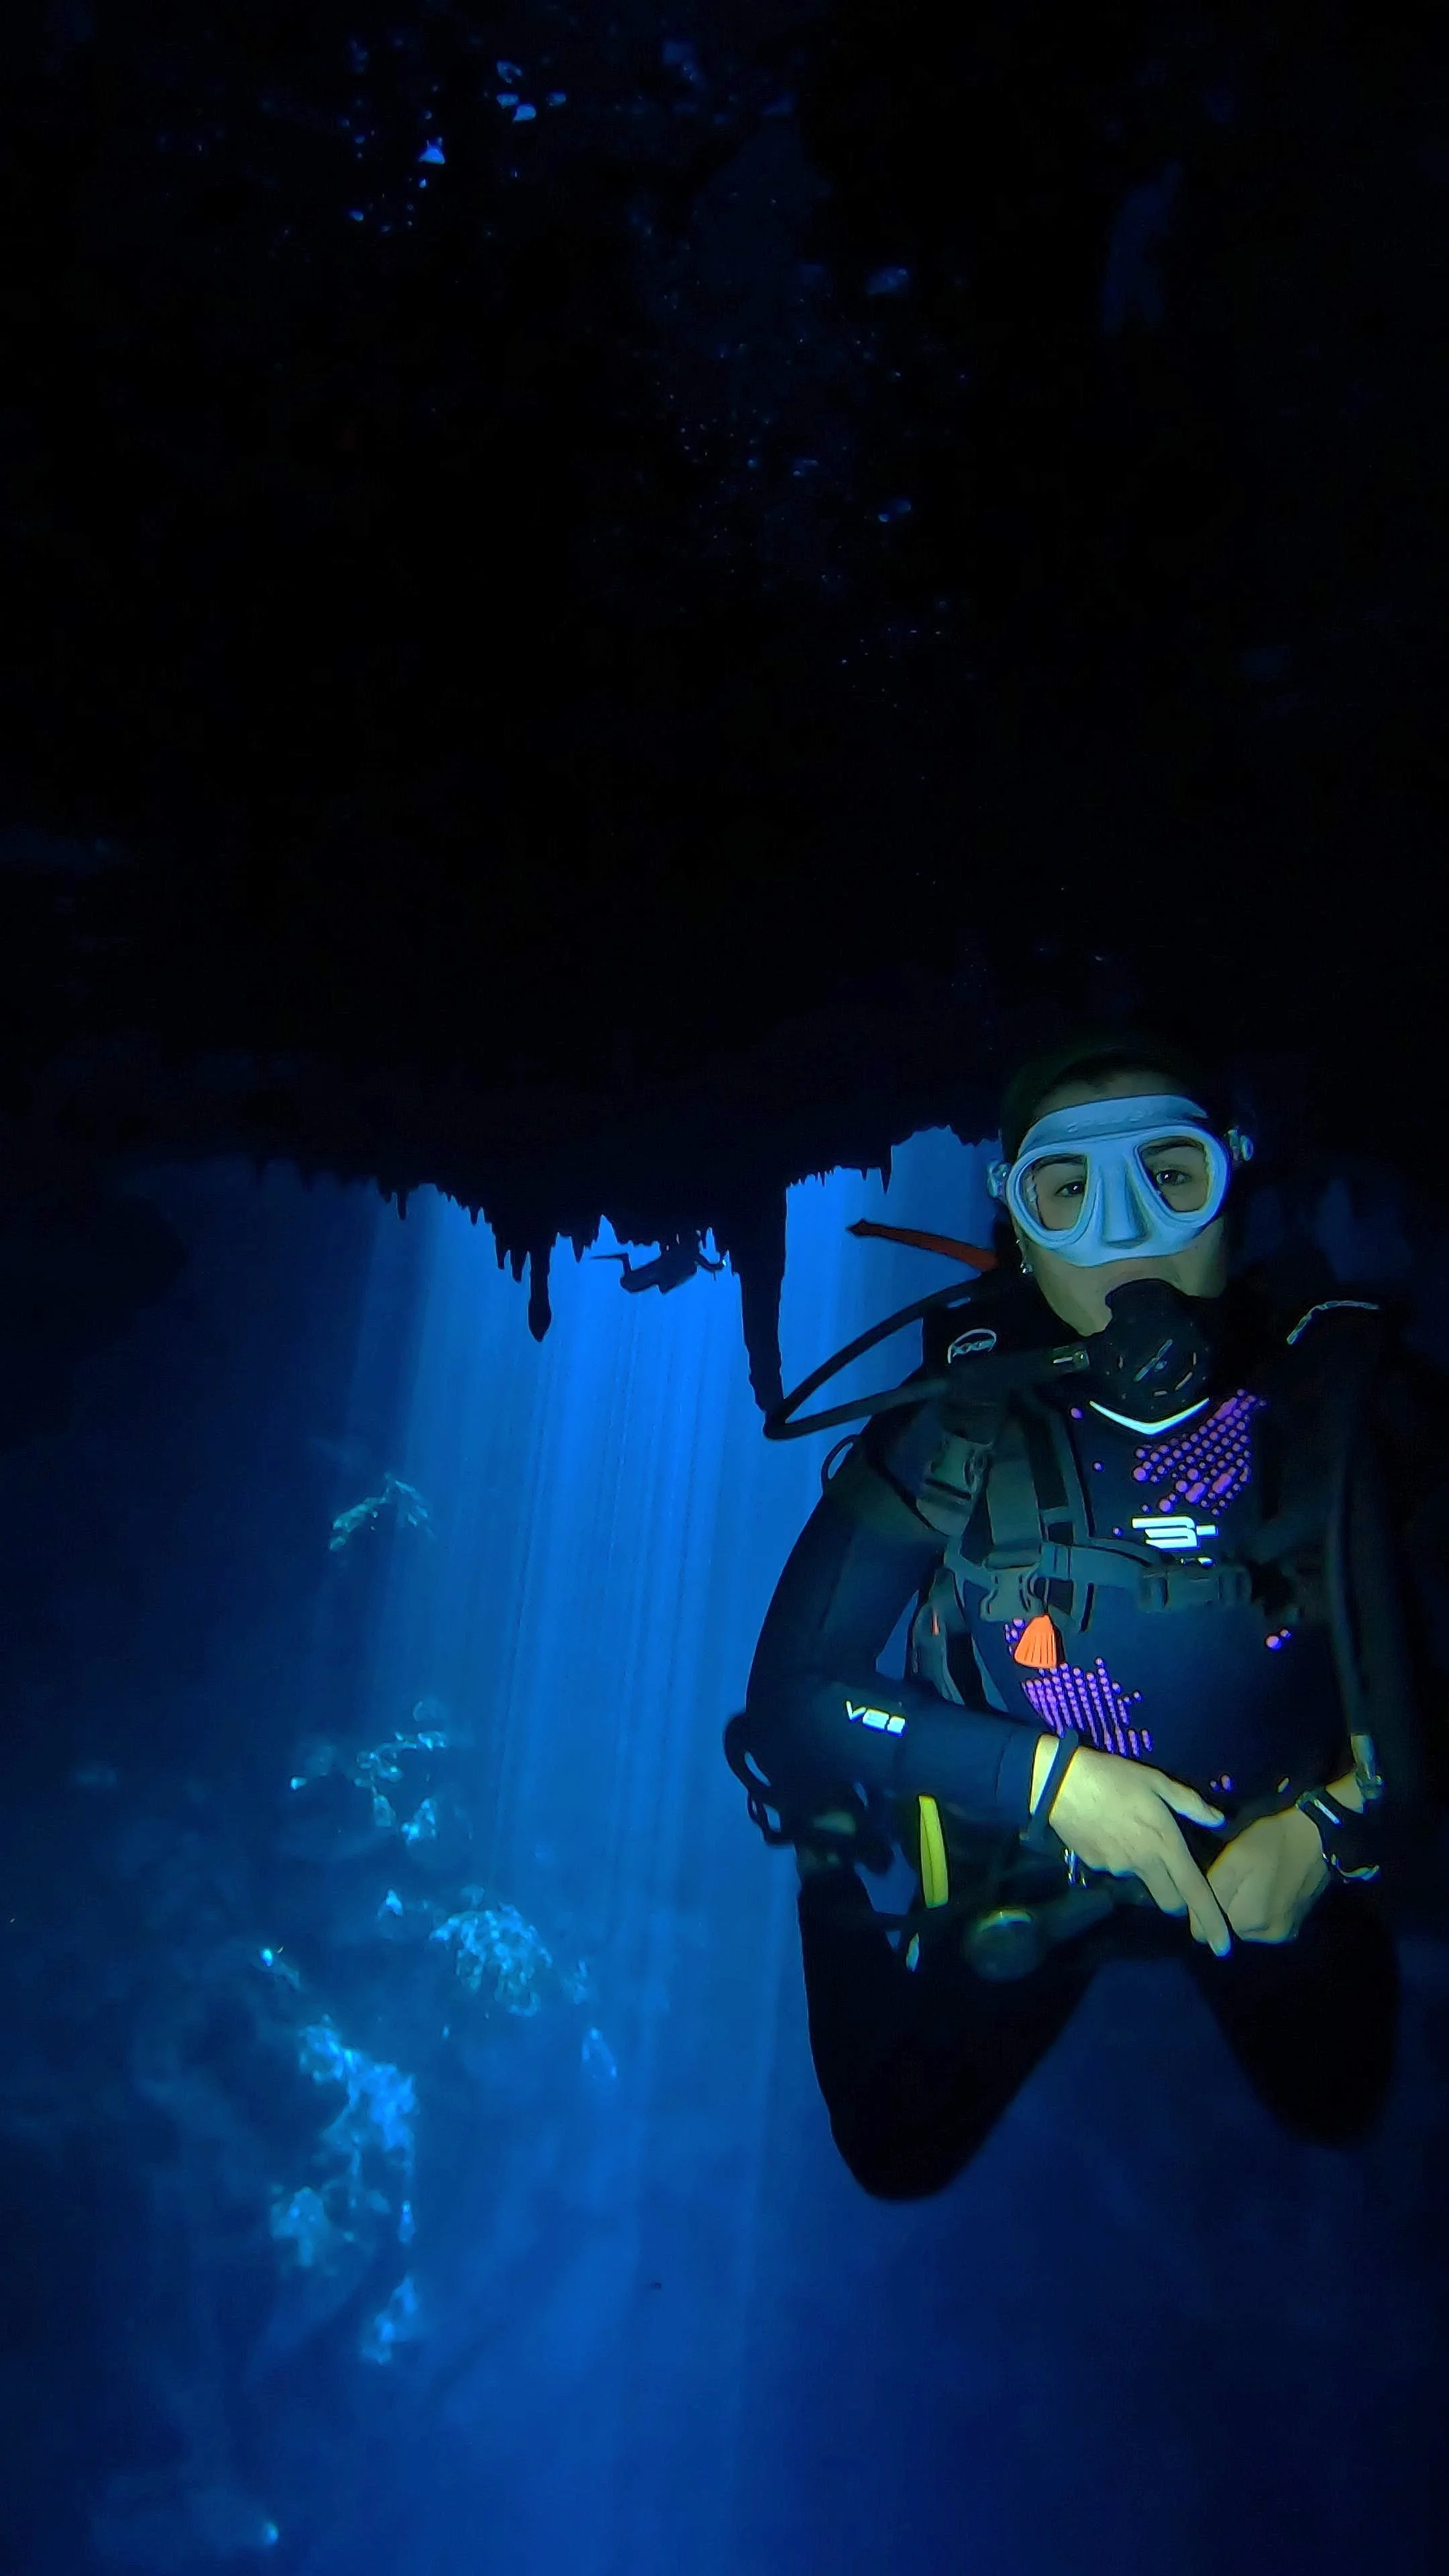
I chose to dive in El Pit because it was the cenote that scared me the most. You essentially scuba dive 30-40 meters down into a pit of darkness, with sections appearing blurry from the saltwater and freshwater mixing. I also wanted to see a hydrogen sulfide cloud—an eerie green cloud-like shape formed closer to the bottom half of the pit.
Dos Ojos:
I chose Dos Ojos because I wanted something entirely different from El Pit. This cenote allows you to swim through caverns and smaller openings within the cave system, providing a unique and contrasting experience.
Certification Level Needed:
An advanced open-water certificate, with your last dive within the past year, is required for diving in these two cenotes. Not all cenotes require advanced open-water certification.
The Company I Dove With:
The Cenote Guy - they had so many 5-star reviews, the best pricing, and seemed to have the most experience and information available.
Price of The Dives:
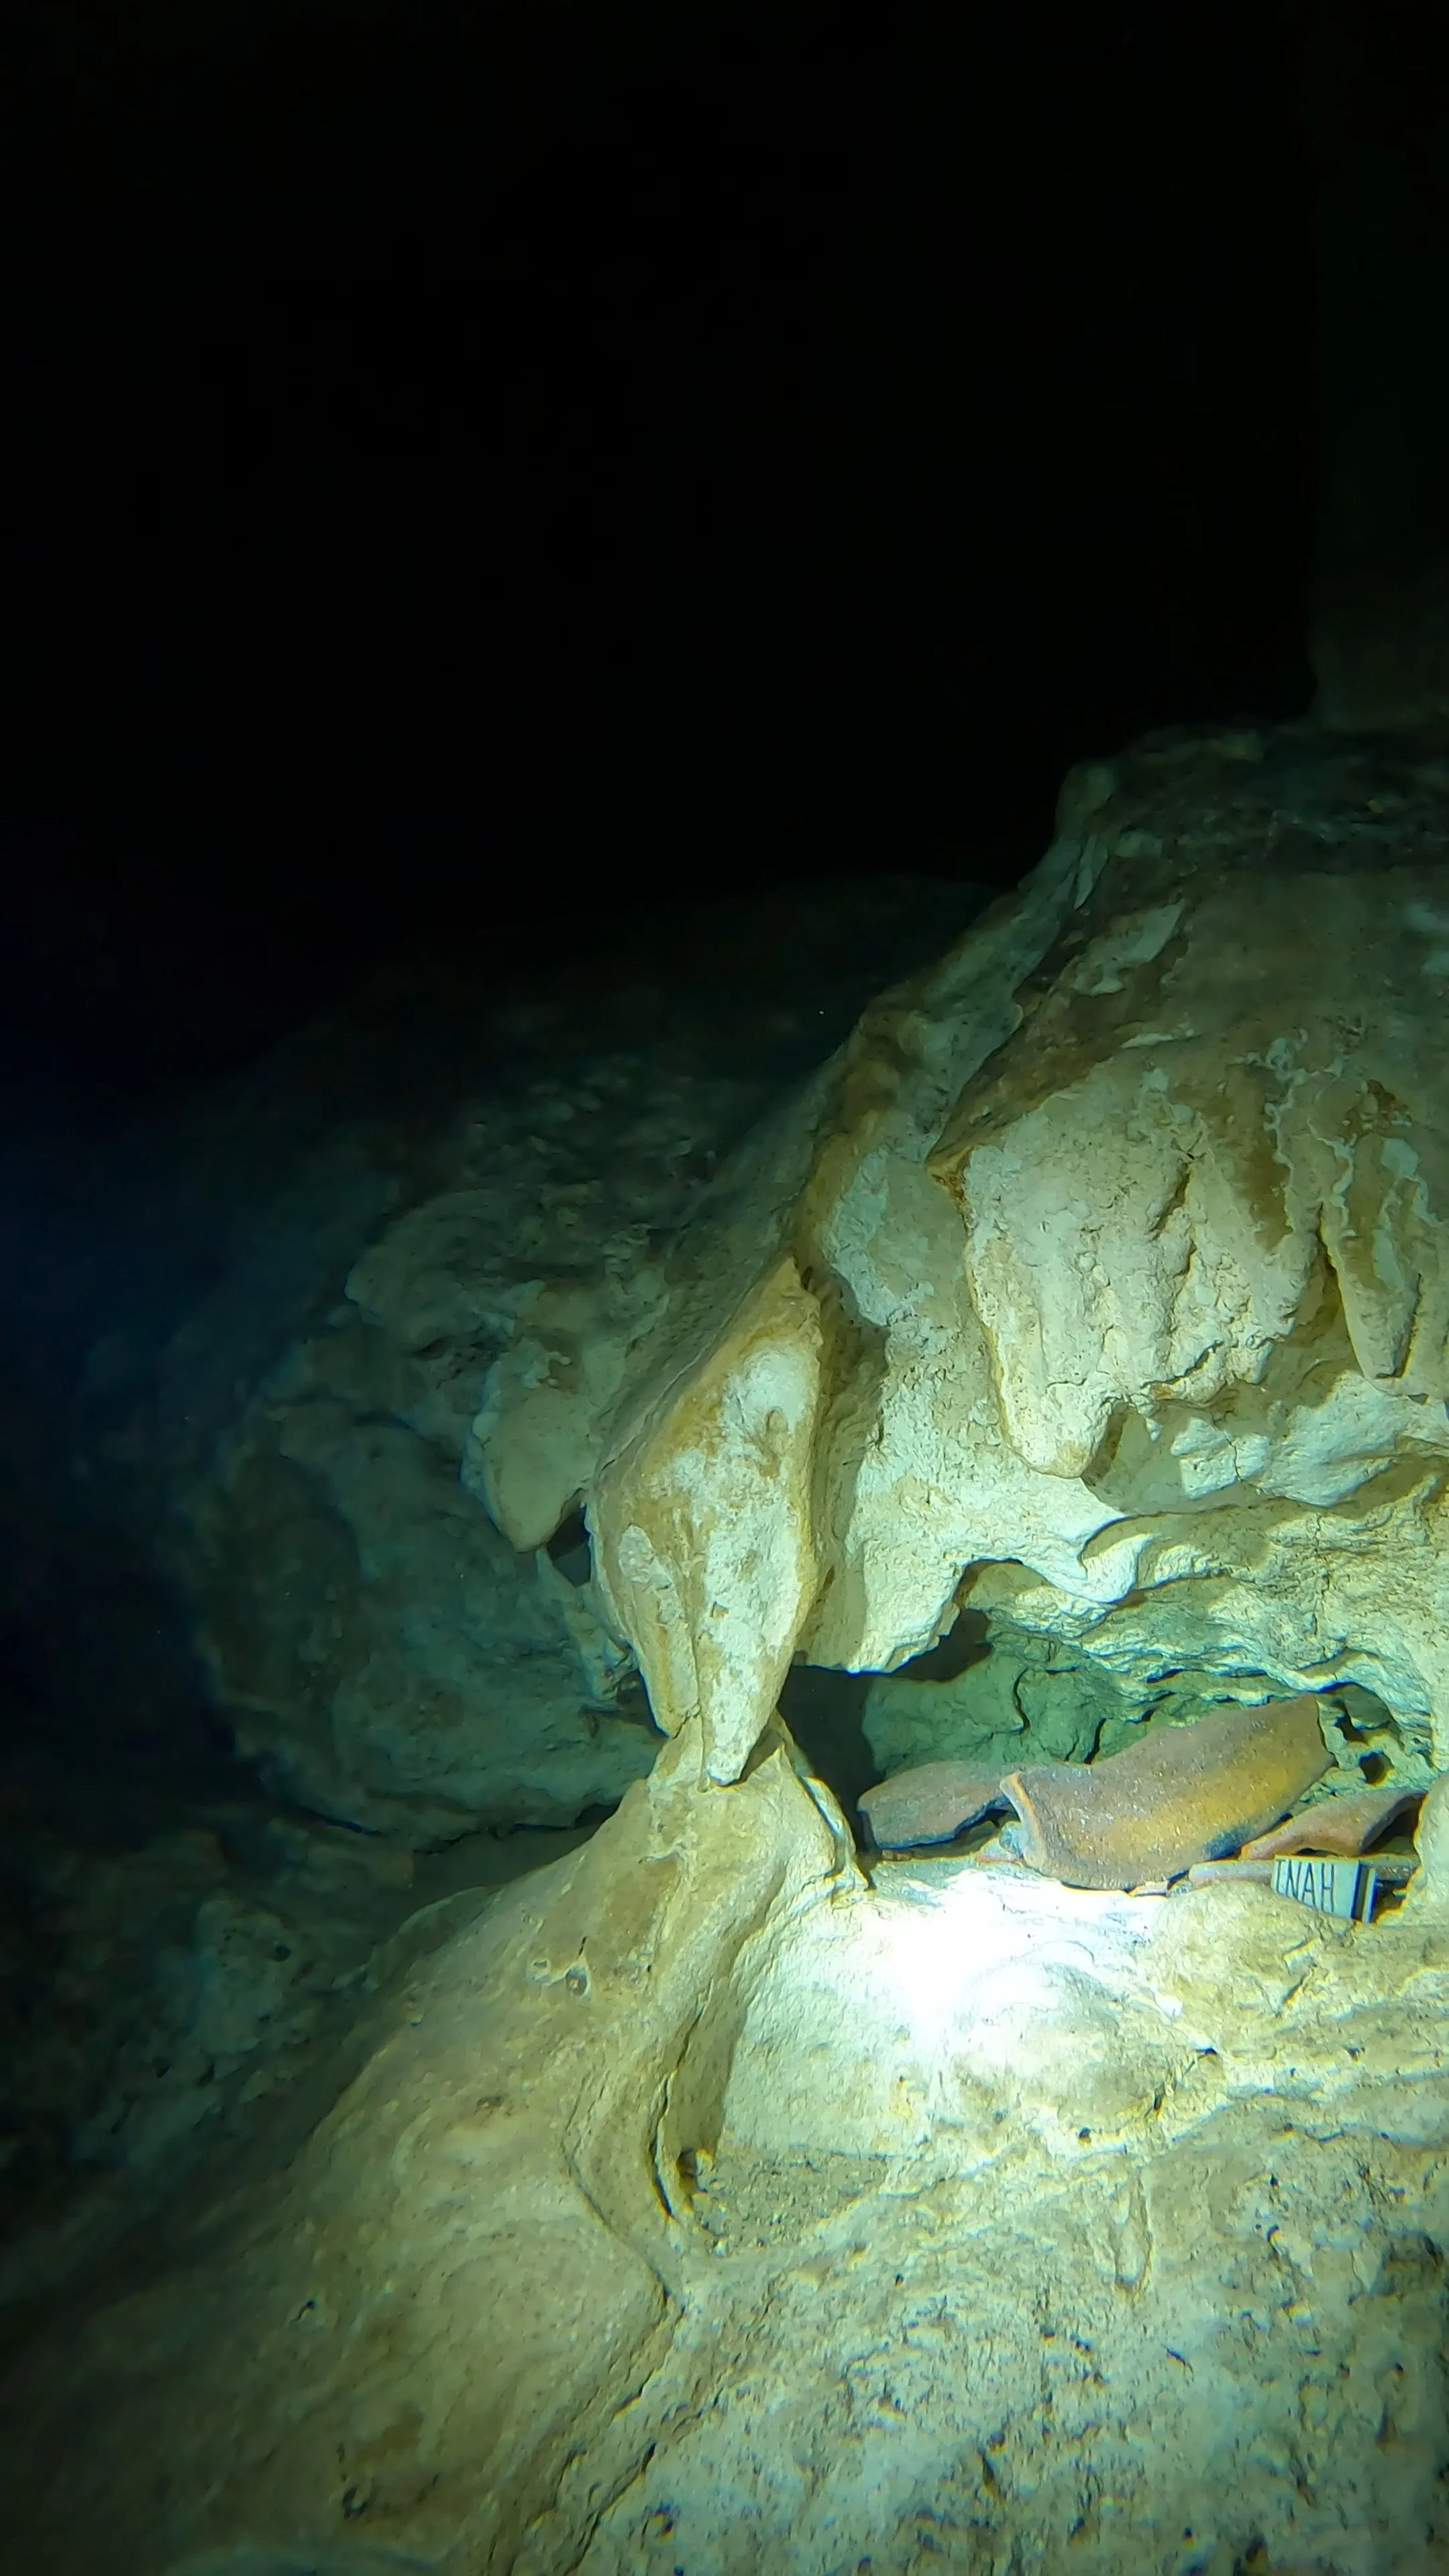
Pottery found at the bottom of El Pit - It is believed that Mayans broke pottery and dropped in the Cenotes as part of a spiritual sacrifice.
The trip cost 160 USD, which covered transport from Tulum or Playa Del Carmen, a certified guide, full gear (including weights, flashlights, and tanks), snacks, lunch, water, and a guarantee of a maximum group size of 4 people. Our guide, Sebastian, even offered vegan and gluten-free snack and lunch options at no extra charge to accommodate my dietary preferences. He provided various equipment options and genuinely cared about our well-being and comfort. The waters of the cenotes are quite cold, so anticipate wearing a 5mm to 7mm wetsuit.
An additional 33 USD for the entrance fees into the cenotes was not included.
Length of day and Dives:
We were scooped up around 9:00 AM and finished around 3:00/3:30 PM.
The dive in El Pit was around 53 minutes.
The dive in Dos Ojos was around 65-75 minutes.
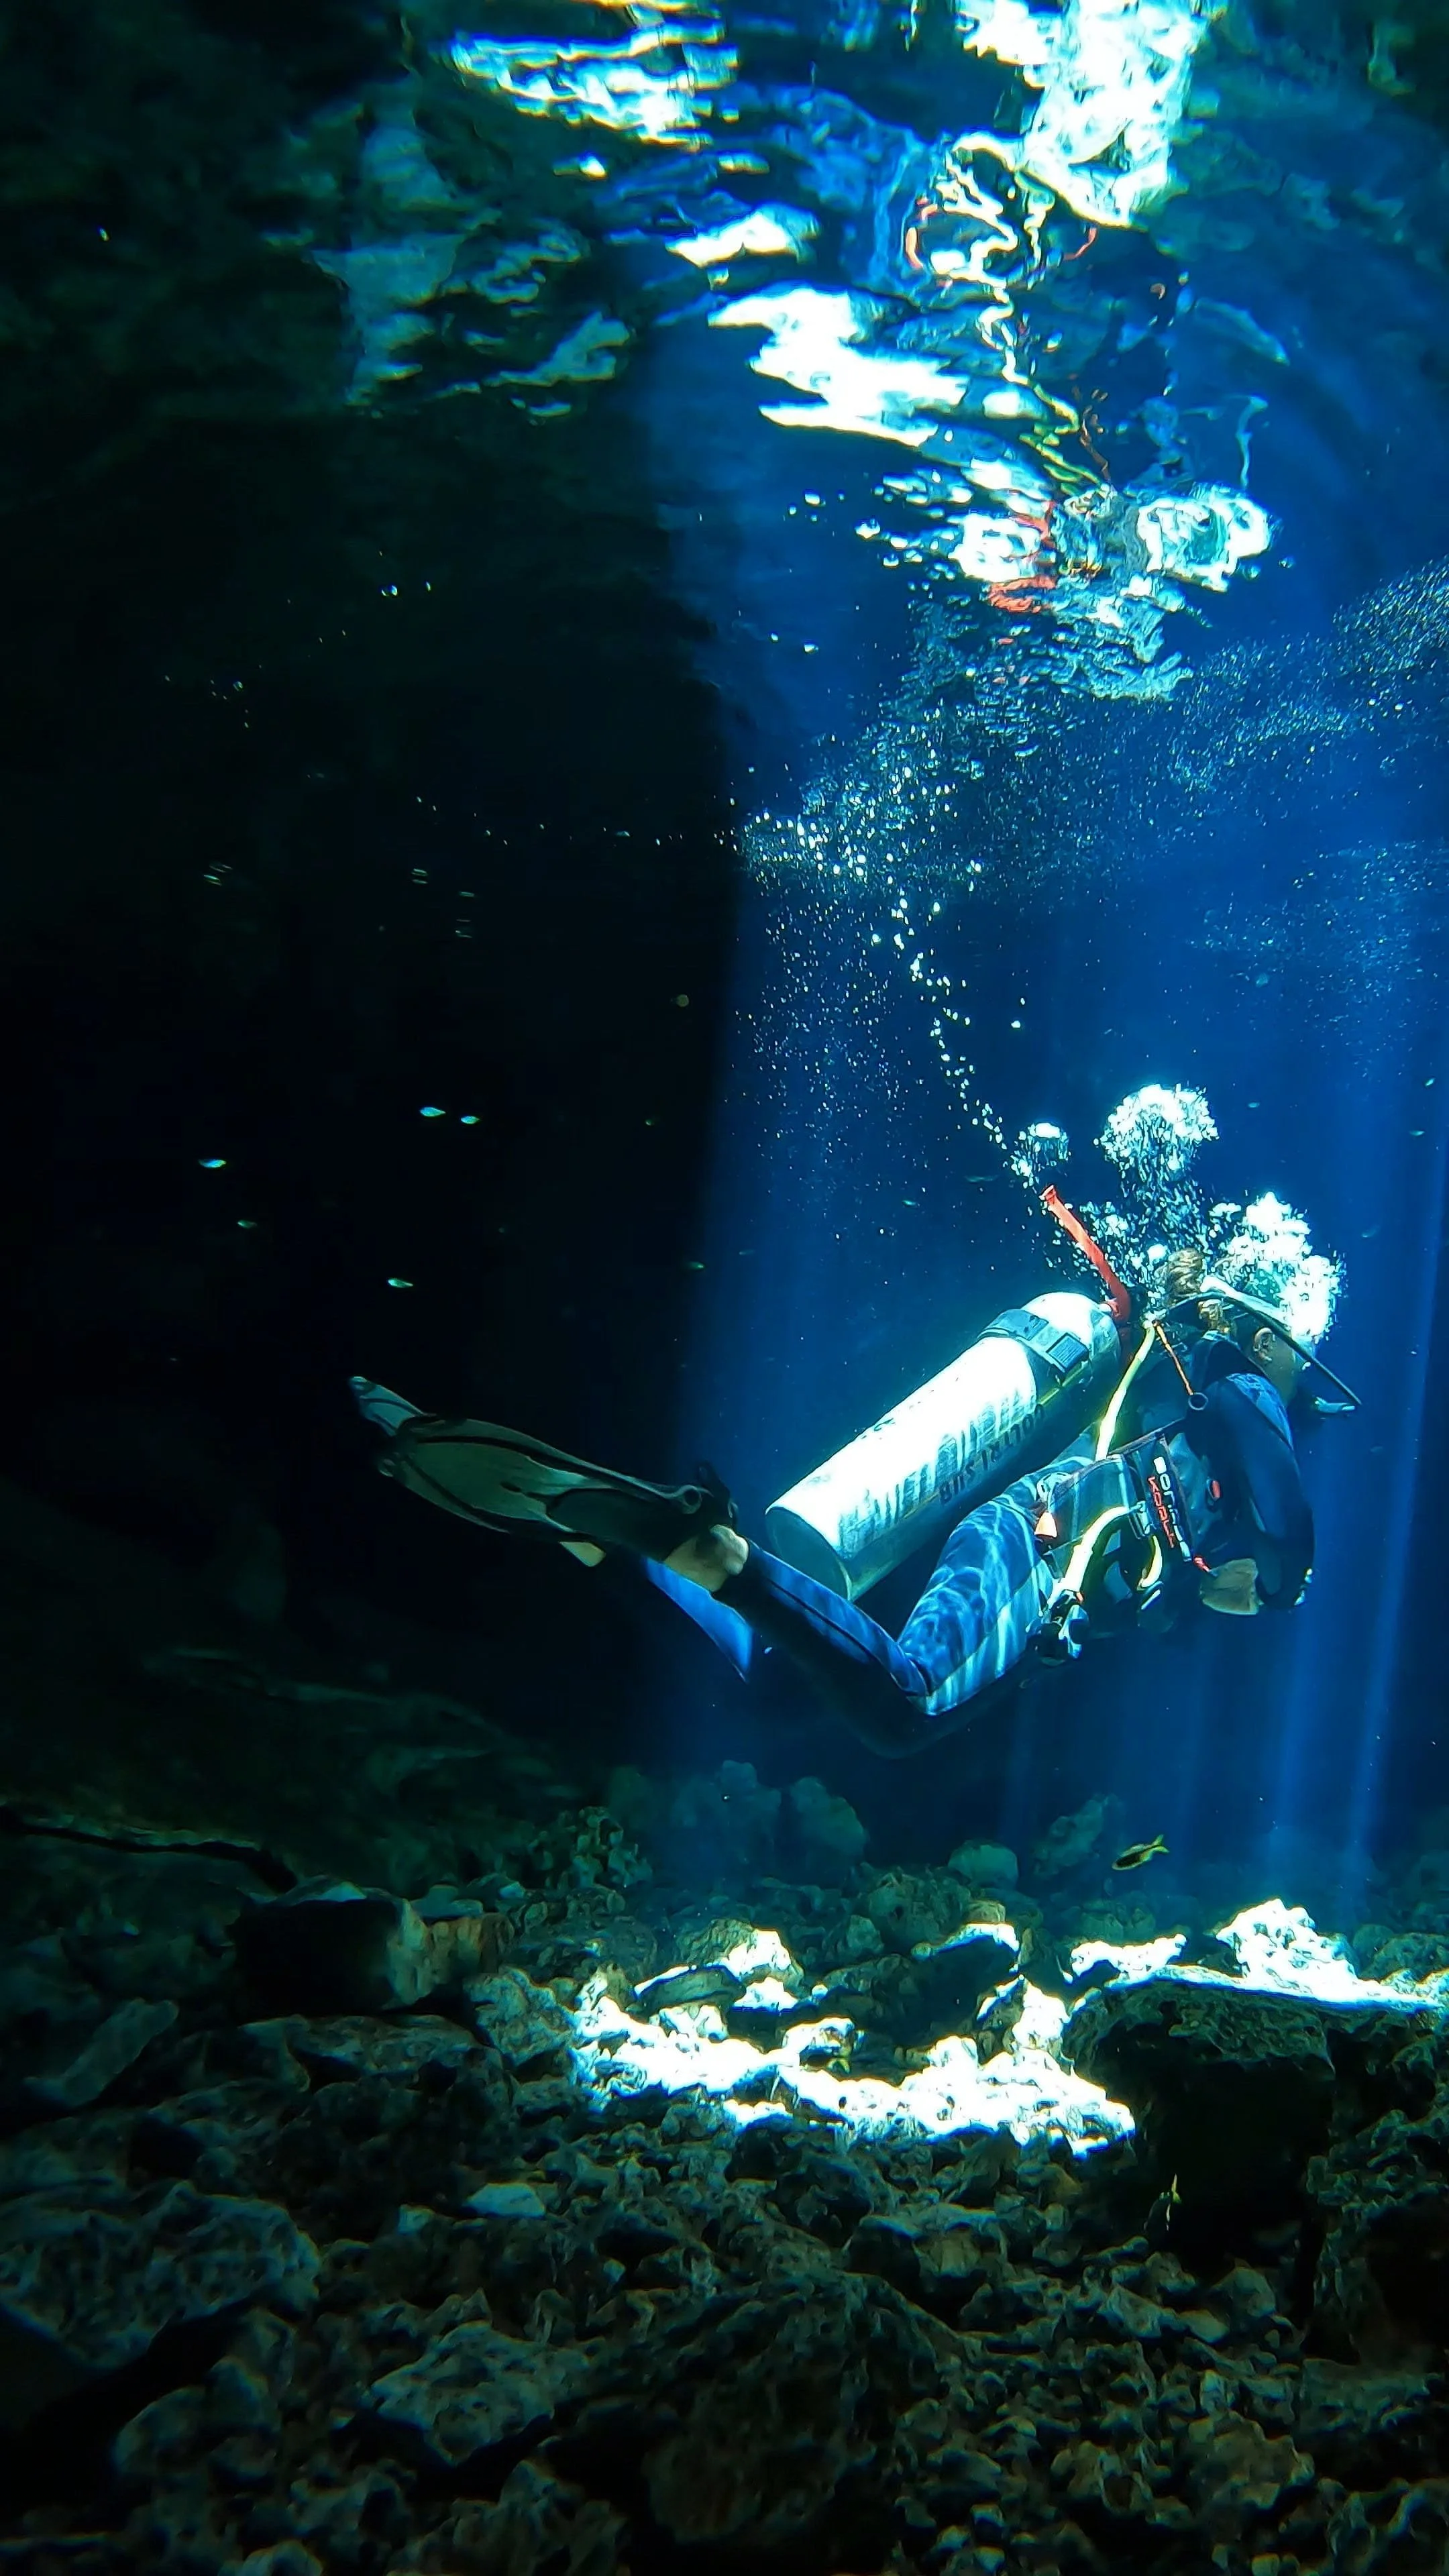
My Experience:
As mentioned, this was an epic adventure, unlike anything I had ever experienced in my life. Our guide, Sebastian, was incredibly informative throughout the trip. He explained the history and significance of cenotes, and how new ones are formed. Before each dive, he would guide us to the cenote for photo opportunities and then gather us around a large banner detailing the cenote's features. He carefully explained what we would encounter during the dive and how he would communicate important details underwater. After gearing up, we would then descend into the cenotes.
Cenote Scuba Dive #1: El Pit

El Pit is known for its deep vertical walls and has one of the deepest underwater cave systems. It features a halocline and a hydrogen sulfide cloud.
I will admit that I nearly backed out of El Pit because of how daunting it was once in the water, but I still did it. My point? PUSH YOURSELF, the dive is worth it!
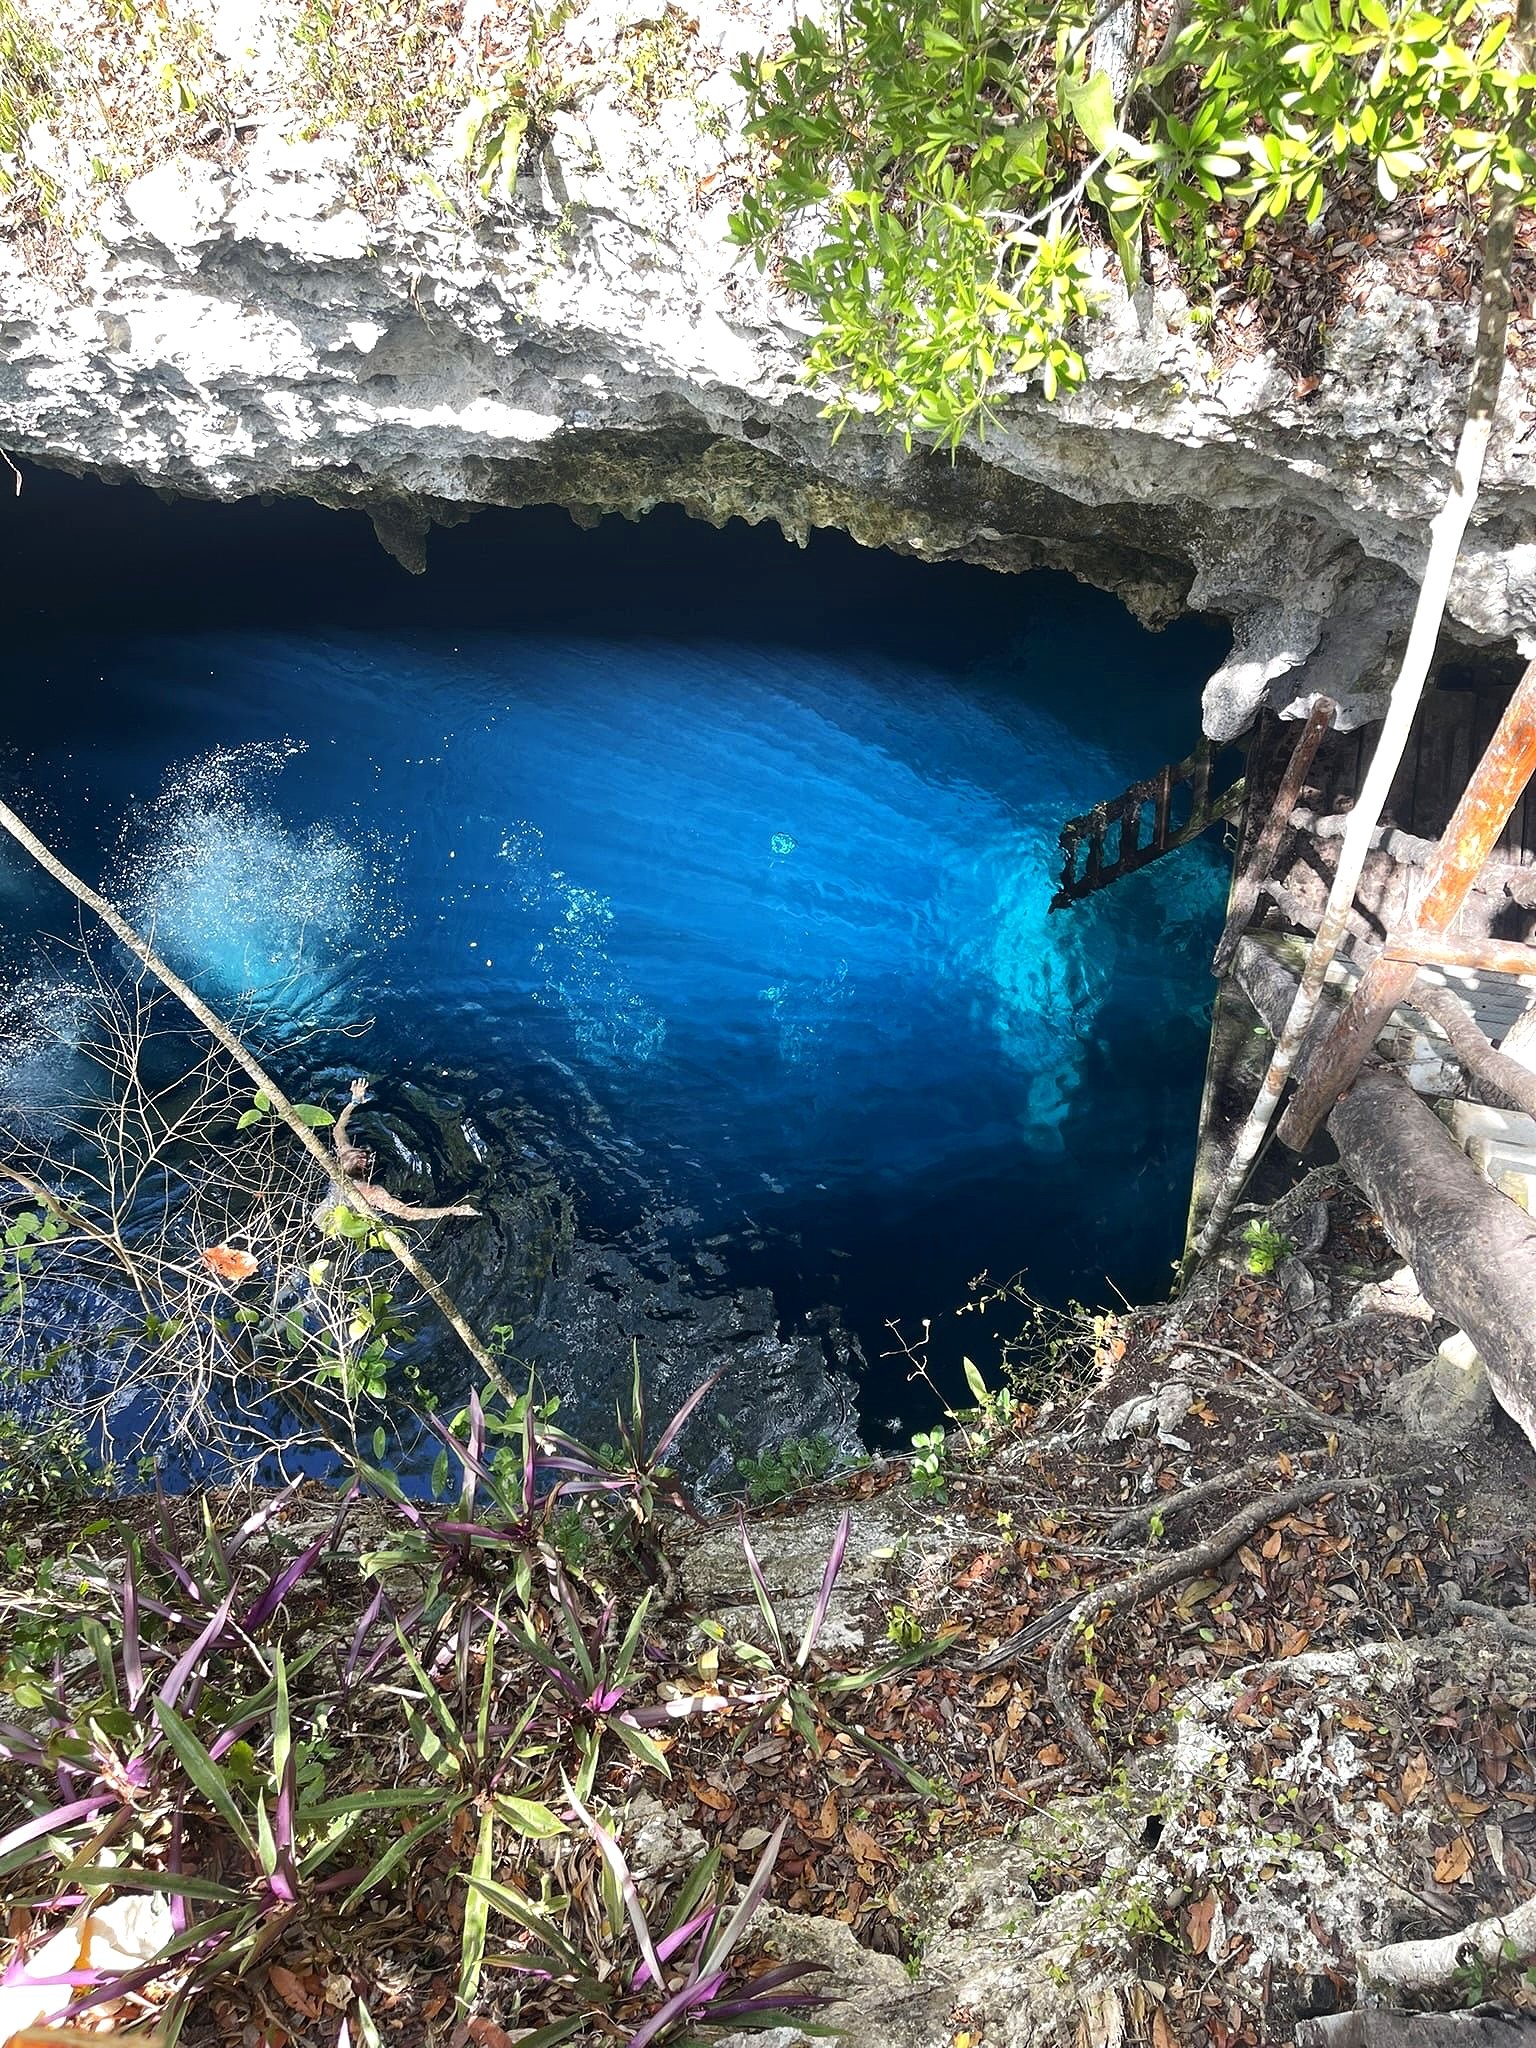
You will need to climb down steep stairs to access the platform where you will find another ladder to enter the water. When you enter the water and look down, you see nearly nothing besides the vast opening of the pit. Sebastian was very accommodating, waiting and helping to calm my nerves before descending. For anyone who feels anxious or unsteady, simply rotate yourself to face the wall of El Pit and use that as a reference point as you descend. This can make you feel like you are just diving down a reef in the ocean.
Halfway down El Pit, I was greeted by 15 feet of blurriness due to the fresh water and salt water combining. I could only see my blurry hand in front of my face due to a phenomenon known as the halocline. But once through this layer, you enter another crystal-clear deep blue section, surrounded by stalagmites and stalactites. This area is much darker. Looking up, you can see a ray of sun shining down, reflecting deep into the water. Looking below, you can see a hydrogen sulfide, green cloud-like fog with large branches sticking up from it. It is like a dream and truly breathtaking. Words do not do this picture-perfect moment justice.
To finish the dive, we made our way around the bottom, slowly rising to explore the different variations in the walls and carvings of El Pit.


In Between Dives: Immediately after diving at El Pit, we stripped off our equipment and enjoyed water, lunch, snacks, and some chit-chat while watching iguanas creep around. Then, we headed to the second dive.
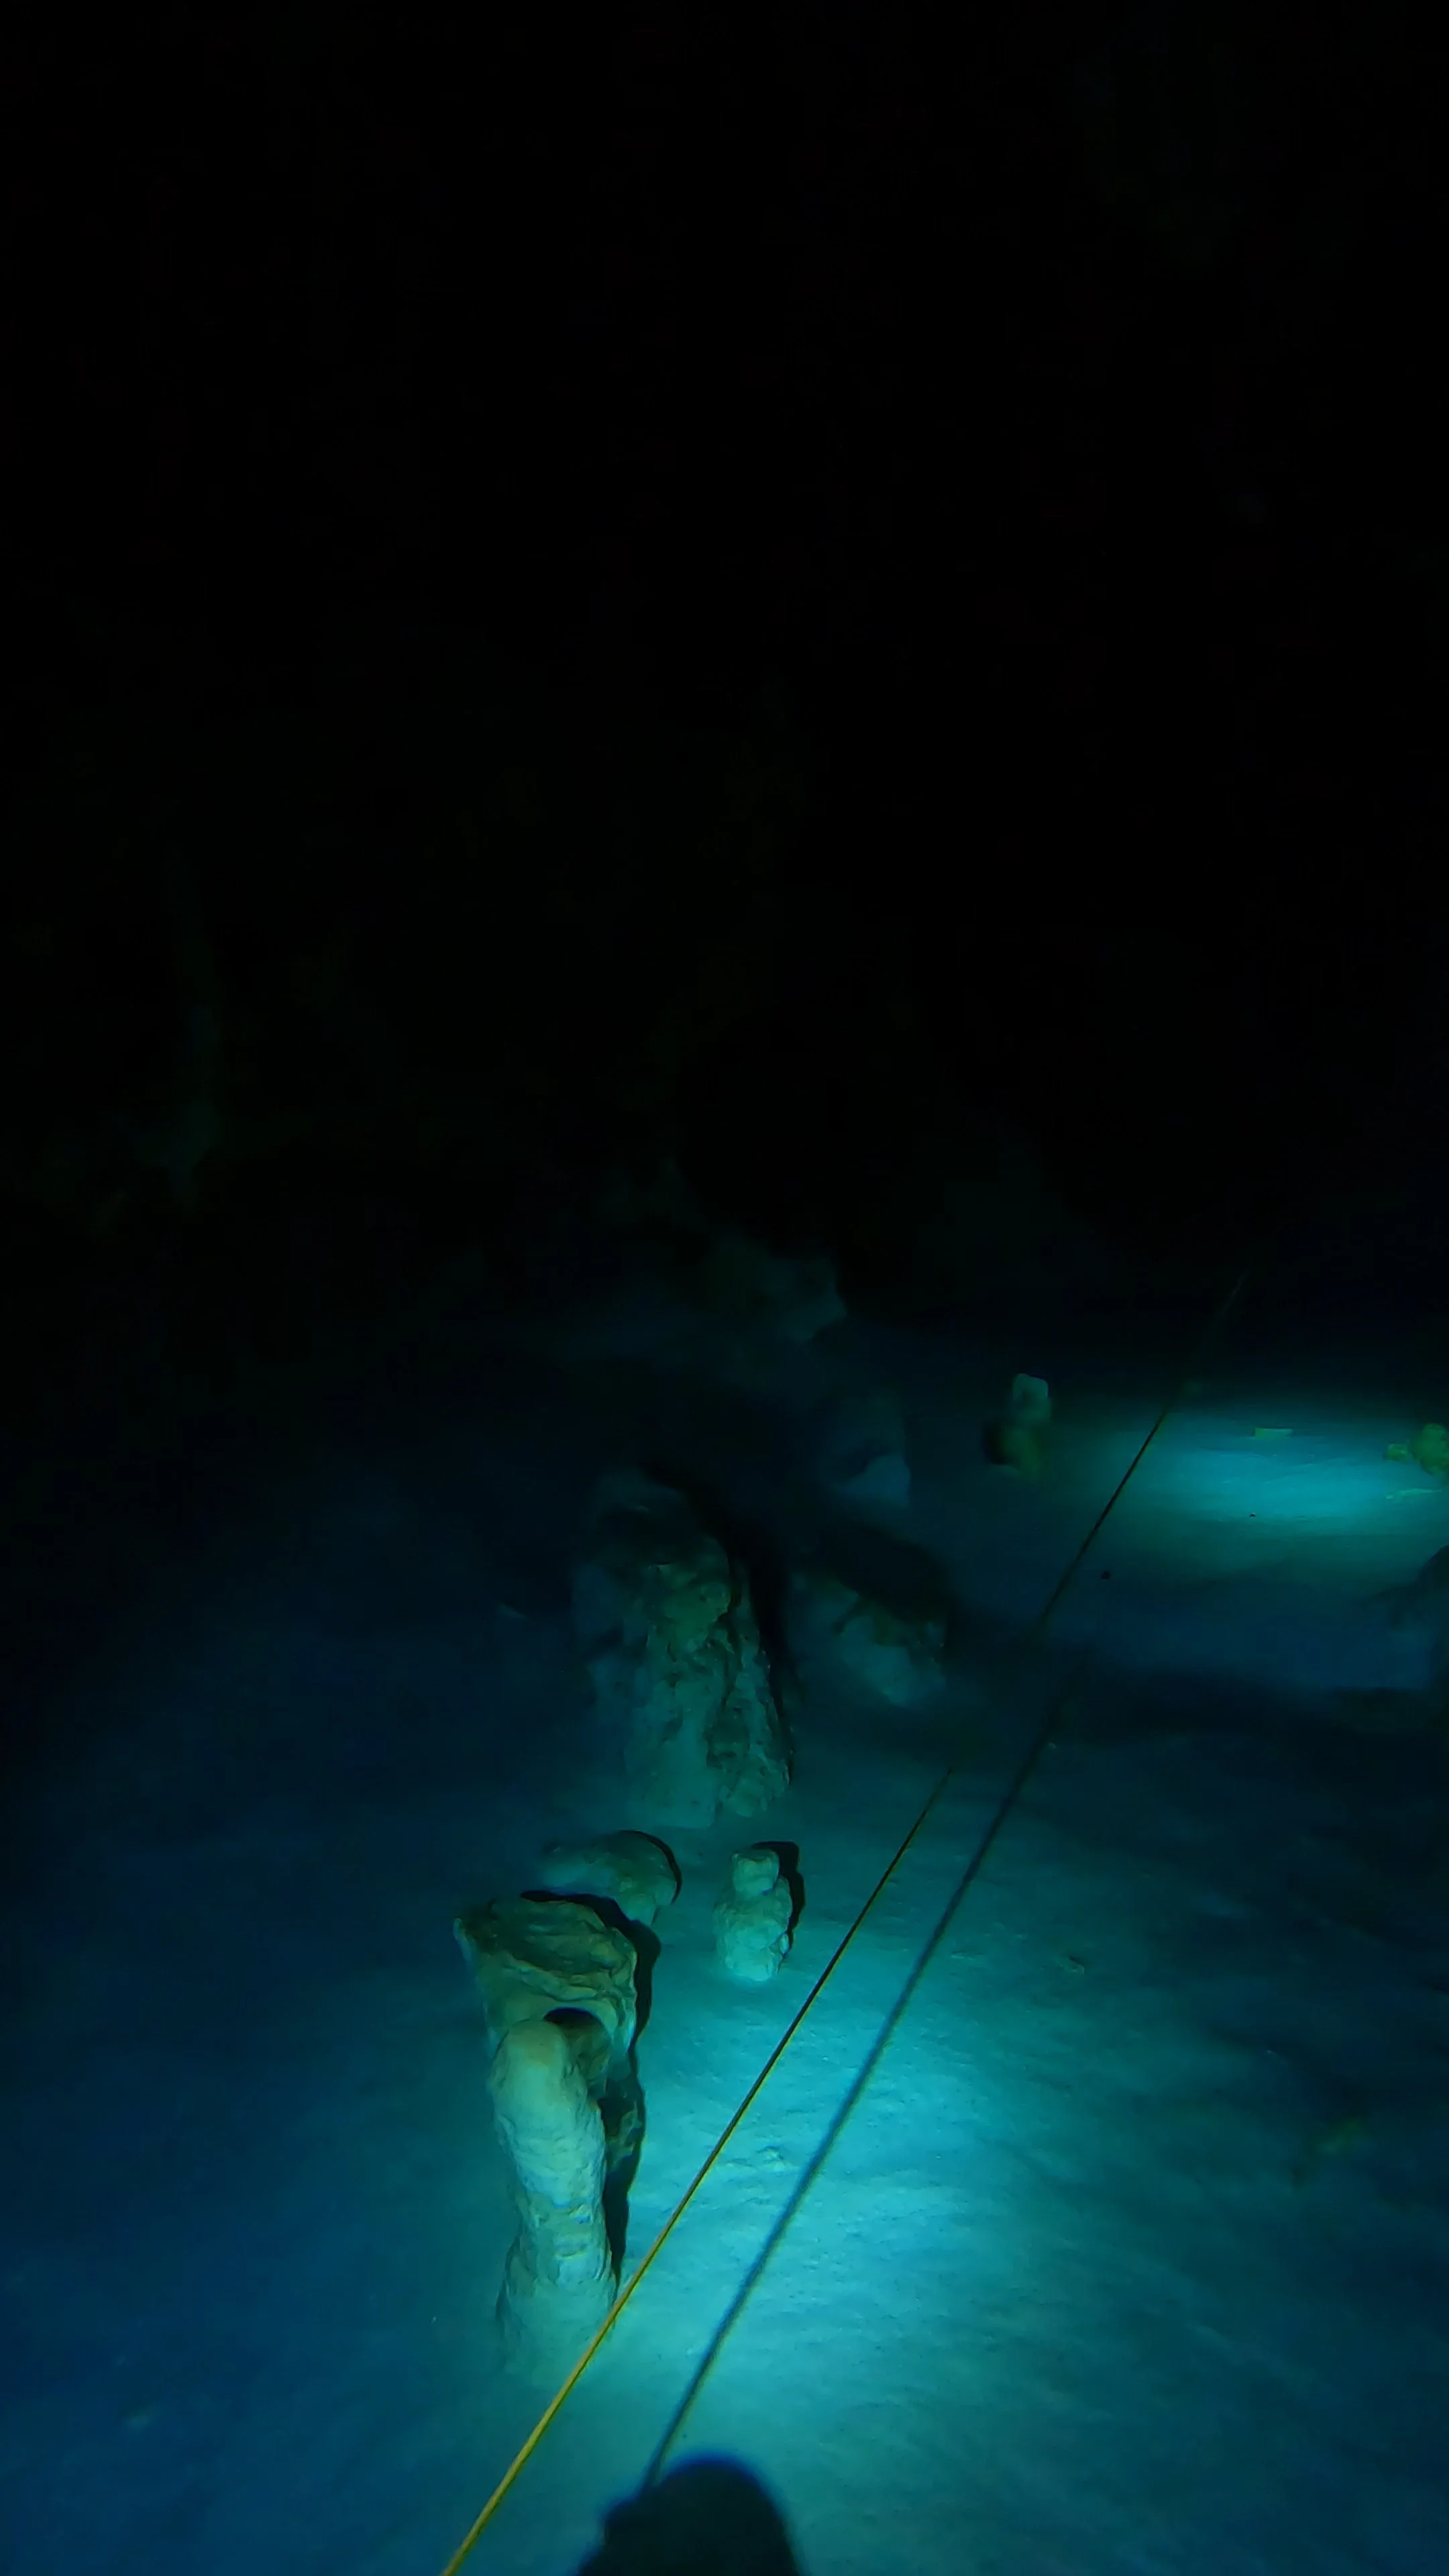
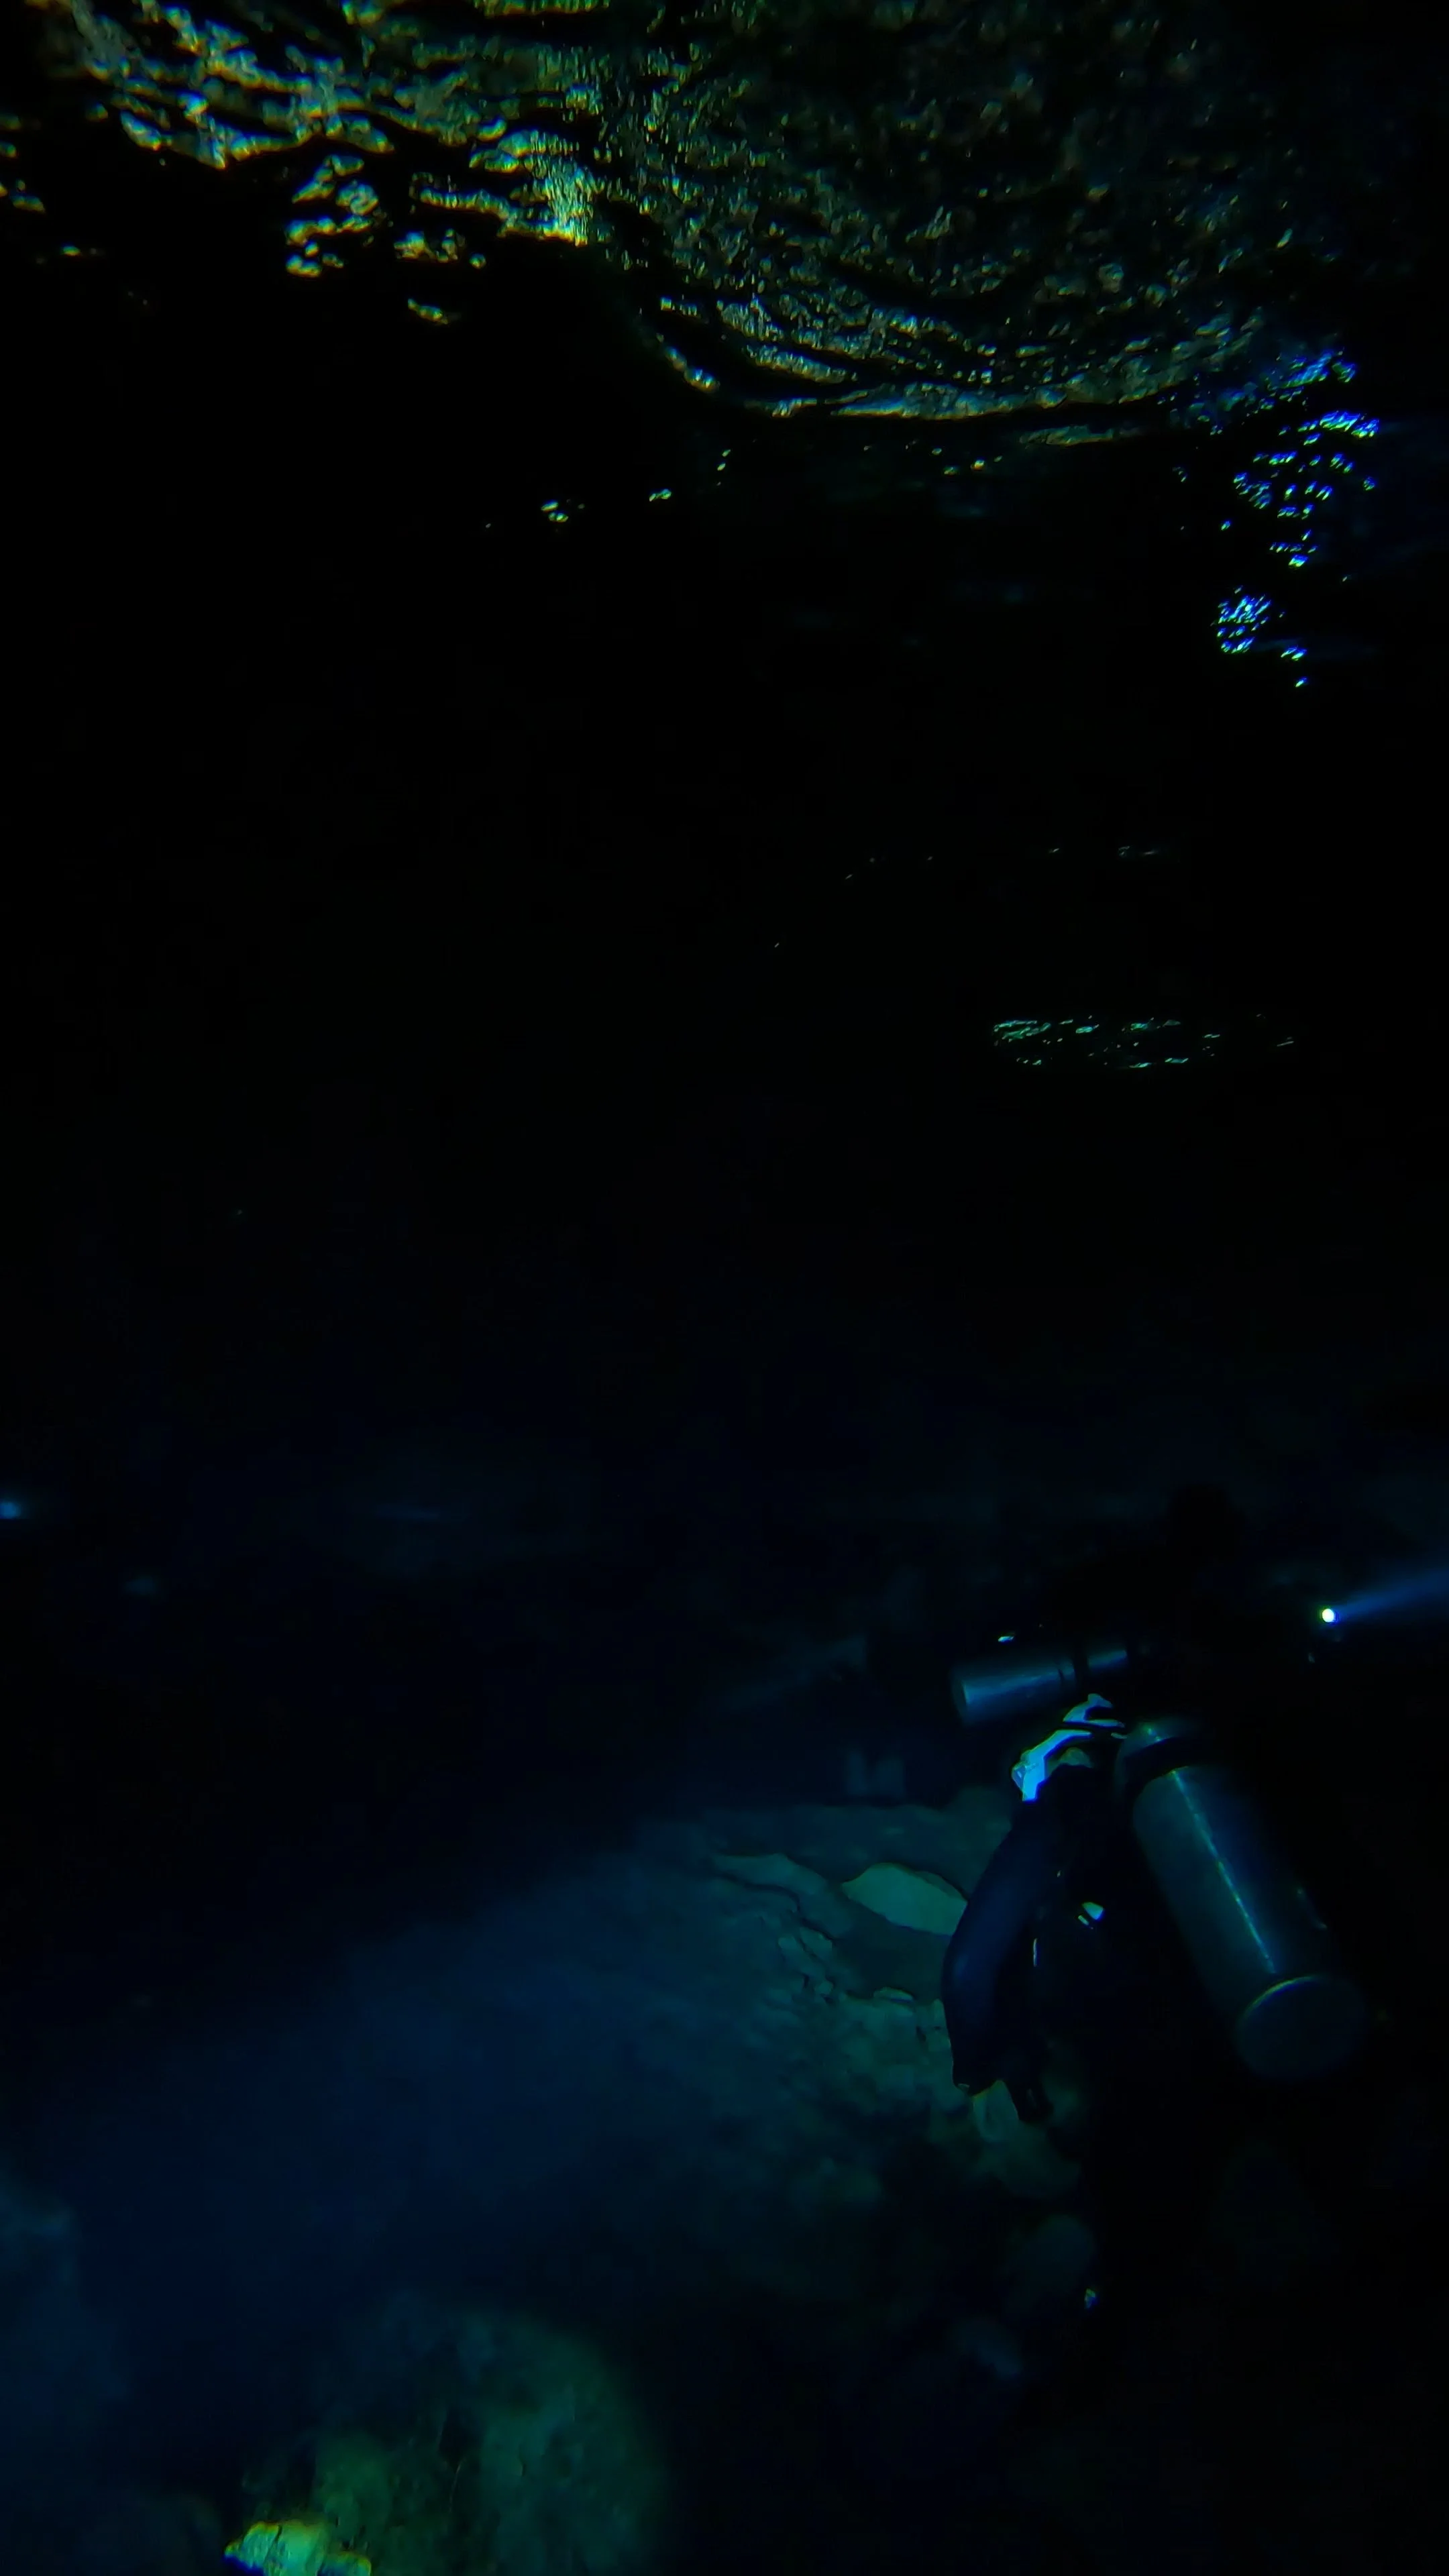
Cenote Scuba Dive #2: Dos Ojos - The Bat Cave


The Bat Cave is part of the Dos Ojos cave system and requires impeccable buoyancy control due to its low overhead. It is known for being home to thousands of bats!
This cenote looked more like a large cave opening with crystal-clear water within it. We began our dive by entering the water via a platform, followed by a ladder. Throughout the dive, we explored tunnel-like stretches of the cave with a yellow rope guiding our way. The inside was pitch black, illuminated only by our flashlights. Fifteen minutes into the dive, we ascended to a cave opening that was home to thousands of bats. We then descended again and continued the dive, discovering unique small areas illuminated by sunlight streaming through openings in the cenote above and admiring the distinctive rock formations and the secret underwater life that exists there. Sebastian showed us an area of The Bat Cave where only certified cave divers can enter.
The Bat Cave was an entirely different experience from El Pit, making this the perfect duo for a cenote scuba dive.
I cannot recommend taking advantage of cenote scuba diving in Tulum enough. It was one of my top diving experiences and one of the best things I did throughout the Yucatán Peninsula.
Looking for some more information for your next trip to Tulum? Head here for a complete Travel Guide.
General Information: Tulum
Best Time to Visit:
The best time to visit Tulum for optimal weather and minimal seaweed is from November to April. However, the best deals on accommodations and other expenses are during the low season, which is the opposite of these months.
High Season: December - April
Seaweed Season: April - October
Hurricane Season: June - October
Travel Tip: Tulum is prone to frequent power outages, especially during the windy and rainy hurricane season. I experienced them regularly during my time here.
How to Get to Tulum:
FLYING:
Tulum has a relatively new international airport (TQO), situated approximately 40 minutes from La Veleta and 45 minutes from Aldea Zama and the Tulum Beach/Hotel zone.
To book flights, I suggest looking on Kiwi.com or Skyscanner.com for the best flight deals. Unlike Google Flights, Kiwi and Skyscanner include regional flights in their search results.
Note: Taxi fares from the airport into Tulum can be pricey.
PRIVATE TAXI:
A private taxi is always an option but can be quite pricey. From Playa del Carmen, I was quoted anywhere from 1200-2000 pesos (70-120 USD) by drivers.
ADO BUS:
ADO is the largest Mexican bus company throughout the country, and most routes are safe for tourists. You can take an ADO bus from nearly anywhere else in Mexico to get to Tulum. The best routes are from Cancun and Playa del Carmen. Prices vary depending on the time of year and time of departure. My bus from Playa del Carmen was 120 Pesos (around 7 USD) and only took a couple of hours.
COLECTIVO:
A Colectivo is a shared van with other people heading to the same destination you are. They are a form of transport favored by backpackers and travelers with less luggage.
The Colectivo from Playa del Carmen to Tulum can be found under Highway #307, (below Juarez Avenue) near Chedraui. Find the Google Maps location here.
The Colectivo ride costs a little above or below 40 pesos and stops near the Tulum Ruins and the ADO bus station. They do not always stop at Tulum Ruins, so if this is your destination, be sure to tell the driver ahead of time and be on the lookout during your drive. You will need to either walk or hire an additional taxi to get to your accommodation.
Note: Colectivos can be small, cramped, and timely. Sometimes they will wait for a full van before departing. They do not always have working air conditioning. If you have a lot of bags or a large bag, they may turn you down for more passengers instead (more money for the driver).
Mode of Transport in Tulum:
Options: Taxi, bicycle, motorbike/ATV. If you are going to be here long term, your best option is to purchase one of these outright because of how overpriced rentals are here. Tulum is not very walkable, with everything being spread out and still under development. Each section of Tulum, such as Aldea Zama, is walkable on its own. However, walking between areas, such as walking to Tulum Beach, is not always advisable due to heat and safety concerns.
Bicycle: A bicycle is the cheaper option, but it can be difficult with the lack of infrastructure in some areas, such as La Veleta. However, there are bike lanes on most main roads. Bicycles cost, on average, about 150-200 pesos daily. Longer-term rentals offer a better chance at discounts. Bike locks are necessary here.
Taxi: If you are here long-term, relying on taxis to get around isn't feasible due to high prices. I've only used one taxi during my time in Tulum, from the ADO bus station to my stay in La Veleta. The fee was 200 pesos.
Motorbike/ATV: This is probably your best option for getting around Tulum on its bumpy, unpaved dirt roads. However, they can be costly. I was quoted anywhere from 400 pesos (rarely) to 800 pesos per day for a motorbike. ATVs are more expensive. In addition to the base fee, many places require a deposit starting at 2,000 pesos plus your passport.
Car: If you prefer, can you rent a car here.
Note: Rental places are known for scamming tourists, and motorbikes and bicycles are known to be stolen. I recommend doing your research ahead of time, reading reviews, and having a way to lock your rental up at night. I used a bicycle lock to secure my motorbike kickstand to a small tree outside my accommodation. I always put my helmets in the locked compartments on the motorbike as well.
Where to Stay:
There are four main areas in Tulum to stay:
You can help support my travel blog by clicking and booking through the links! You can also find hotel deals at Agoda and Hostel World!
La Veleta (I stayed here): Best for long-term visitors who want a luxury stay at a good price and some quiet. You need a form of transport to move about here.
Best Backpacker/Hostel Option: Maui Hostels Tulum (Expedia) (Booking.com)
Best Low-Budget: Little Gem Hotel Tulum La Veleta (Expedia) (Booking.com)
Best Mid-Budget: Hotel Boutique TerraNova (Expedia) (Booking.com)
Best Luxury: Hotel Muaré (Expedia) (Booking.com)
Aldea Zama: Known as the spot where the majority of digital nomads and expats live, mixed in with some locals. It is a safe and modern neighborhood with many cozy cafes, dining options, grocery stores, gyms, and more. You will still need transportation to get to the beach and tourist attractions.
Best Backpacker/Hostel Option: Mayan Monkey (Expedia) (Booking.com)
Best Low-Budget:
Best Mid-Budget: Naj Tulum (Expedia) (Booking.com)
Best Luxury: Copal Tulum Hotel (Expedia) (Booking.com)
Tulum Centro: Best for travelers and backpackers on a hostel budget or those seeking immediate access to local action. Transportation is still necessary to reach the beach area and main attractions of Tulum, this area offers plenty of food options, grocery stores, shopping, and more. For me, this area exuded an authentic Tulum vibe and felt like the heart of the action.
Best Backpacker/Hostel Option: Moonshine Tulum Hotel & Hostel
Best Low-Budget: Los Arcos Hotel or Boutique Hotel Posada 06 Tulum
Best Mid-Budget: Botånica Tulum
Best Luxury:
Layla Tulum - Adults Only (Expedia) (Booking.com)
Tulum Beach Area: Best for short-term, luxury travelers who want to be on the beach and not have to leave the area if they don't want to. There are lots of food options, clubs for night owls, and other things to do. You would need transport to visit the ruins and cenotes.
Best Backpacker/Hostel Option: Selina Tulum (Booking.com) (Expedia)
Best Low-Budget: Diamante K
Best Mid-High Budget:
Best Luxury:
Mi Amor Boutique Hotel - Adults Only (Booking.com) (Expedia)
Find more on where to stay in Tulum, here!
FOOD RECOMMENDATIONS:
Carlito Burrito (La Veleta)
El Bajon Vegano (Tulum Centro)
Burrito Amor (Tulum Centro)
Raw Love (Tulum Centro)
IS IT SAFE?:
This is a huge debate with Mexico in general, and it all depends on what you will be doing and where you will be going. I want to preface by saying that I do not drink, wander around after 7:00 PM, or engage in any illegal activities. I have heard some absolute horror stories of people's experiences in Tulum that shocked me. However, I have not experienced any safety issues whatsoever while here.
Get an eSIM—so you have cell service while you travel around Tulum. I always use Airalo for my eSim.
Never travel without the right insurance in case of any sickness, injuries, or theft. Safety Wing is by far the best travel insurance. It has saved me numerous times by covering hospital visits when I was sick during my travels in Asia.