Mount Batur at Kintamani, Bali: Your Complete 2025 Guide to the Sunrise Trek
Welcome to Mount Batur at Kintamani, Bali!
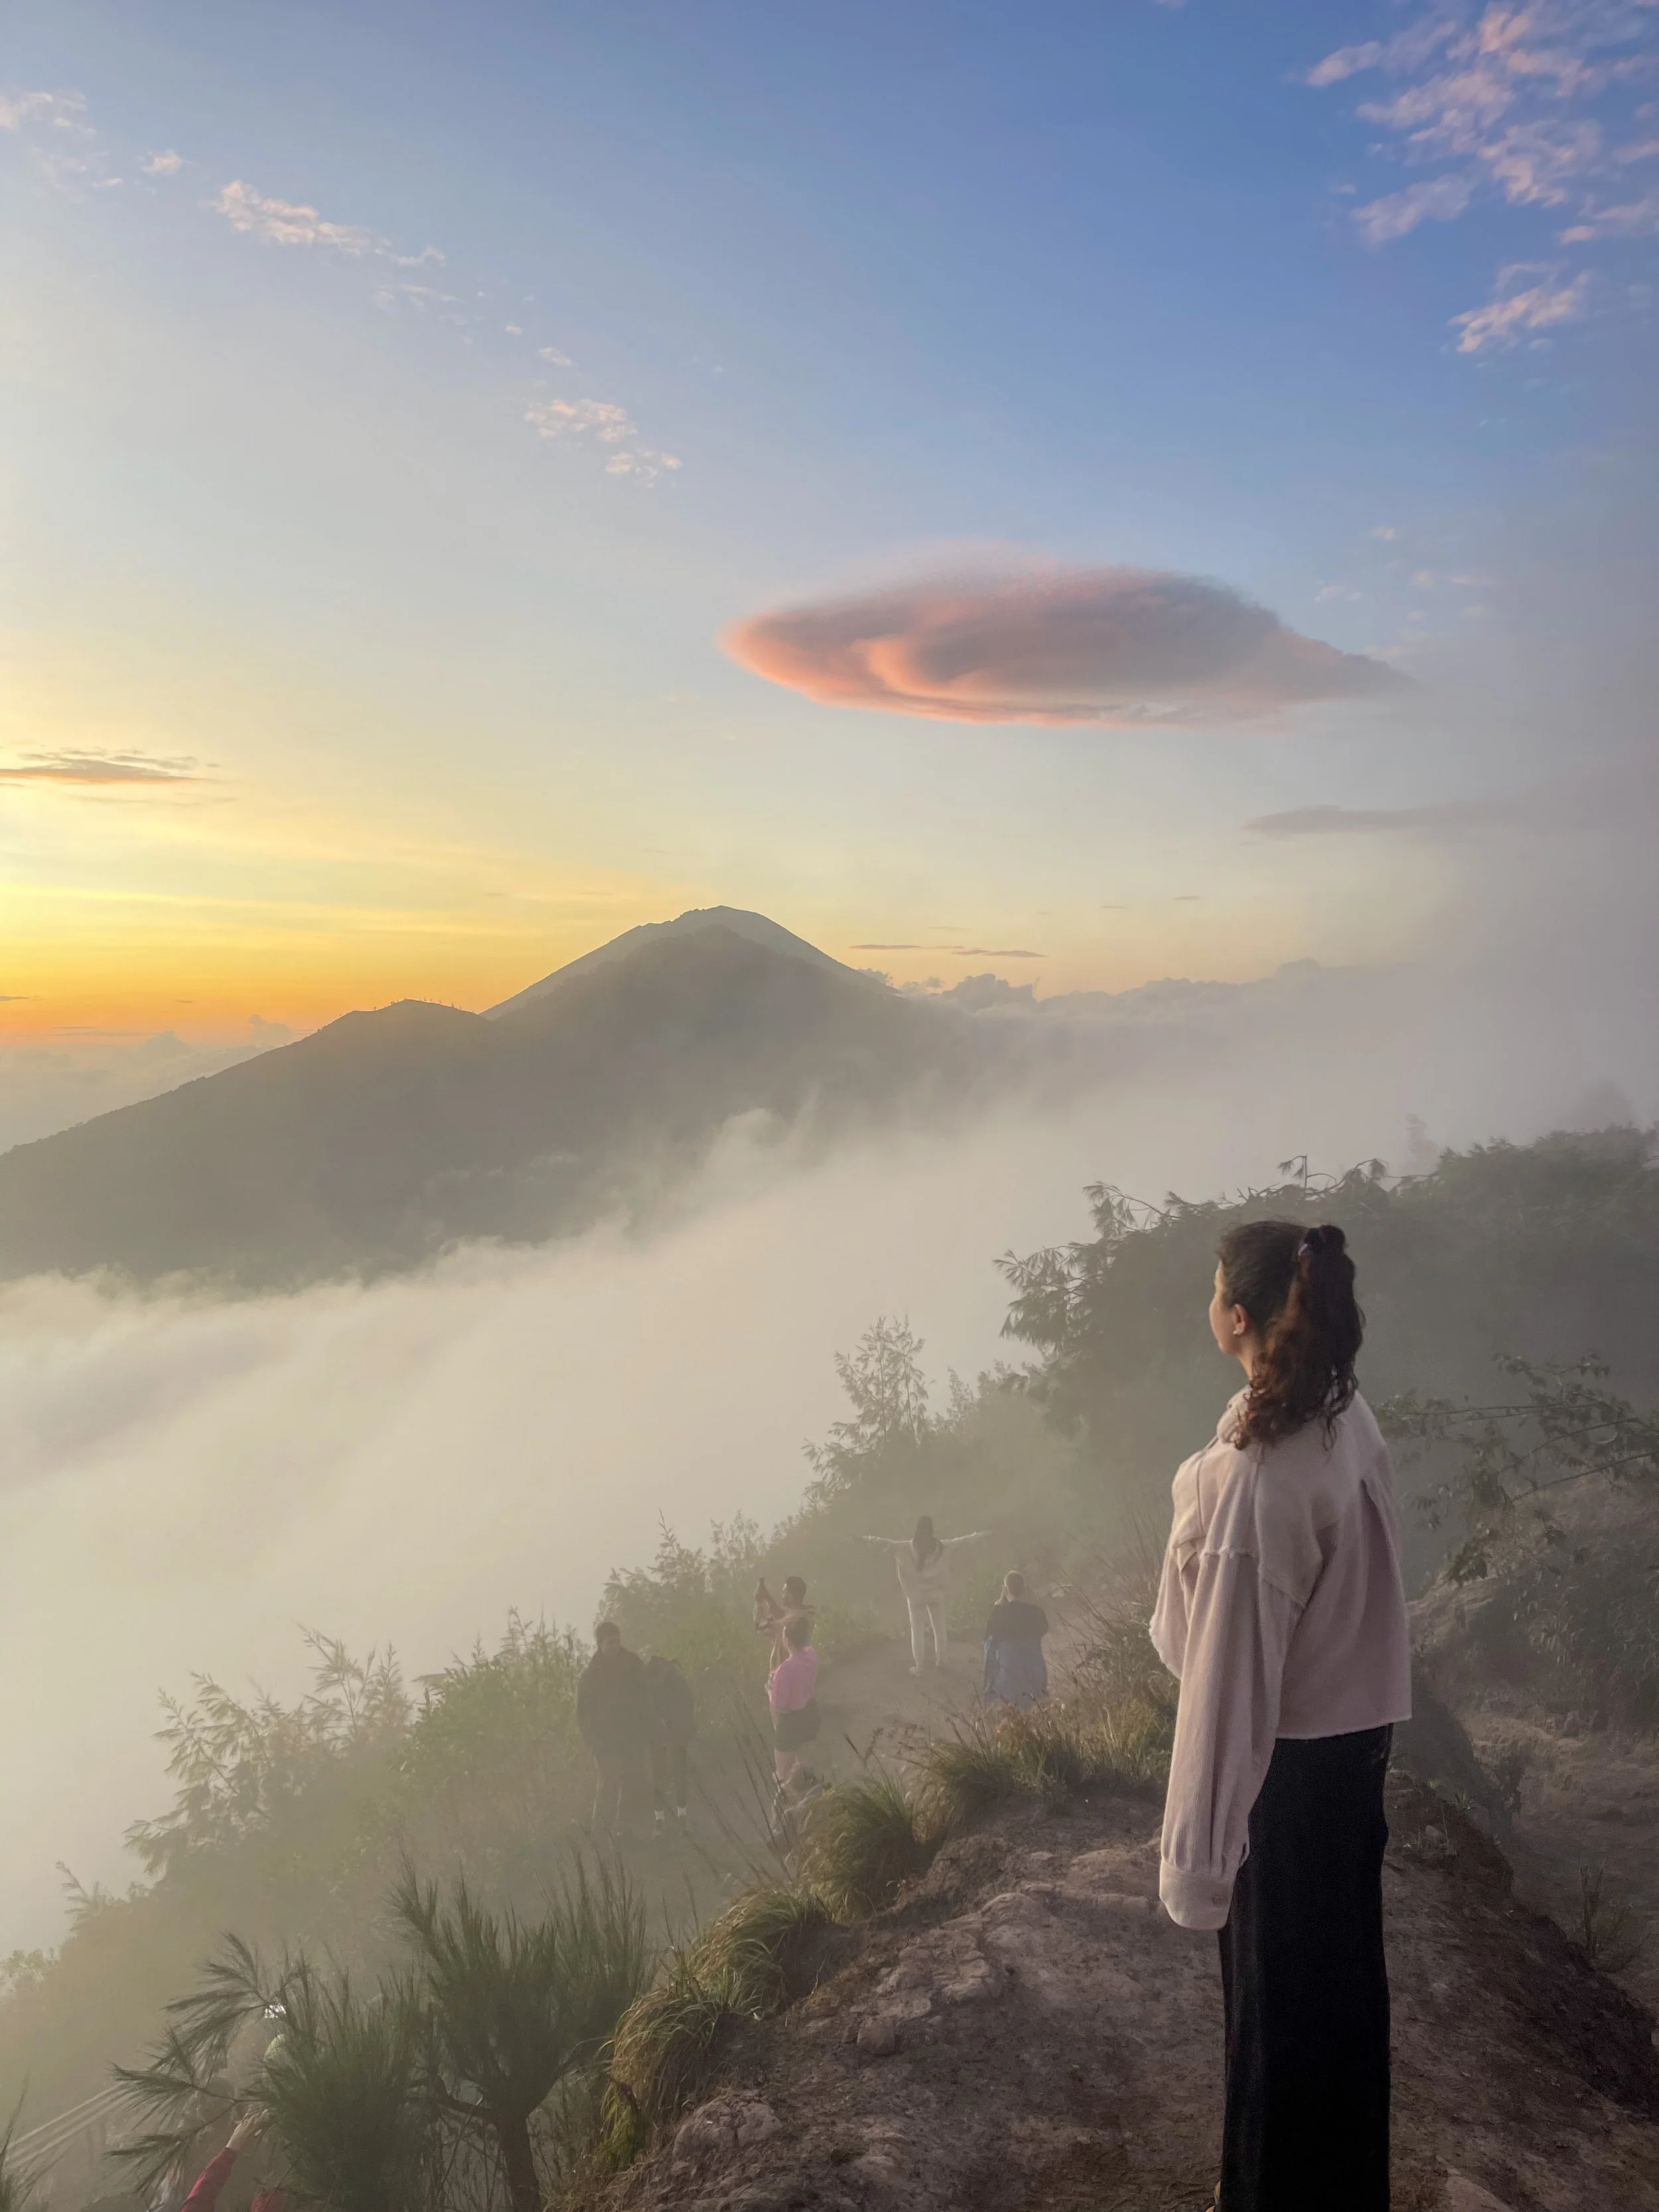
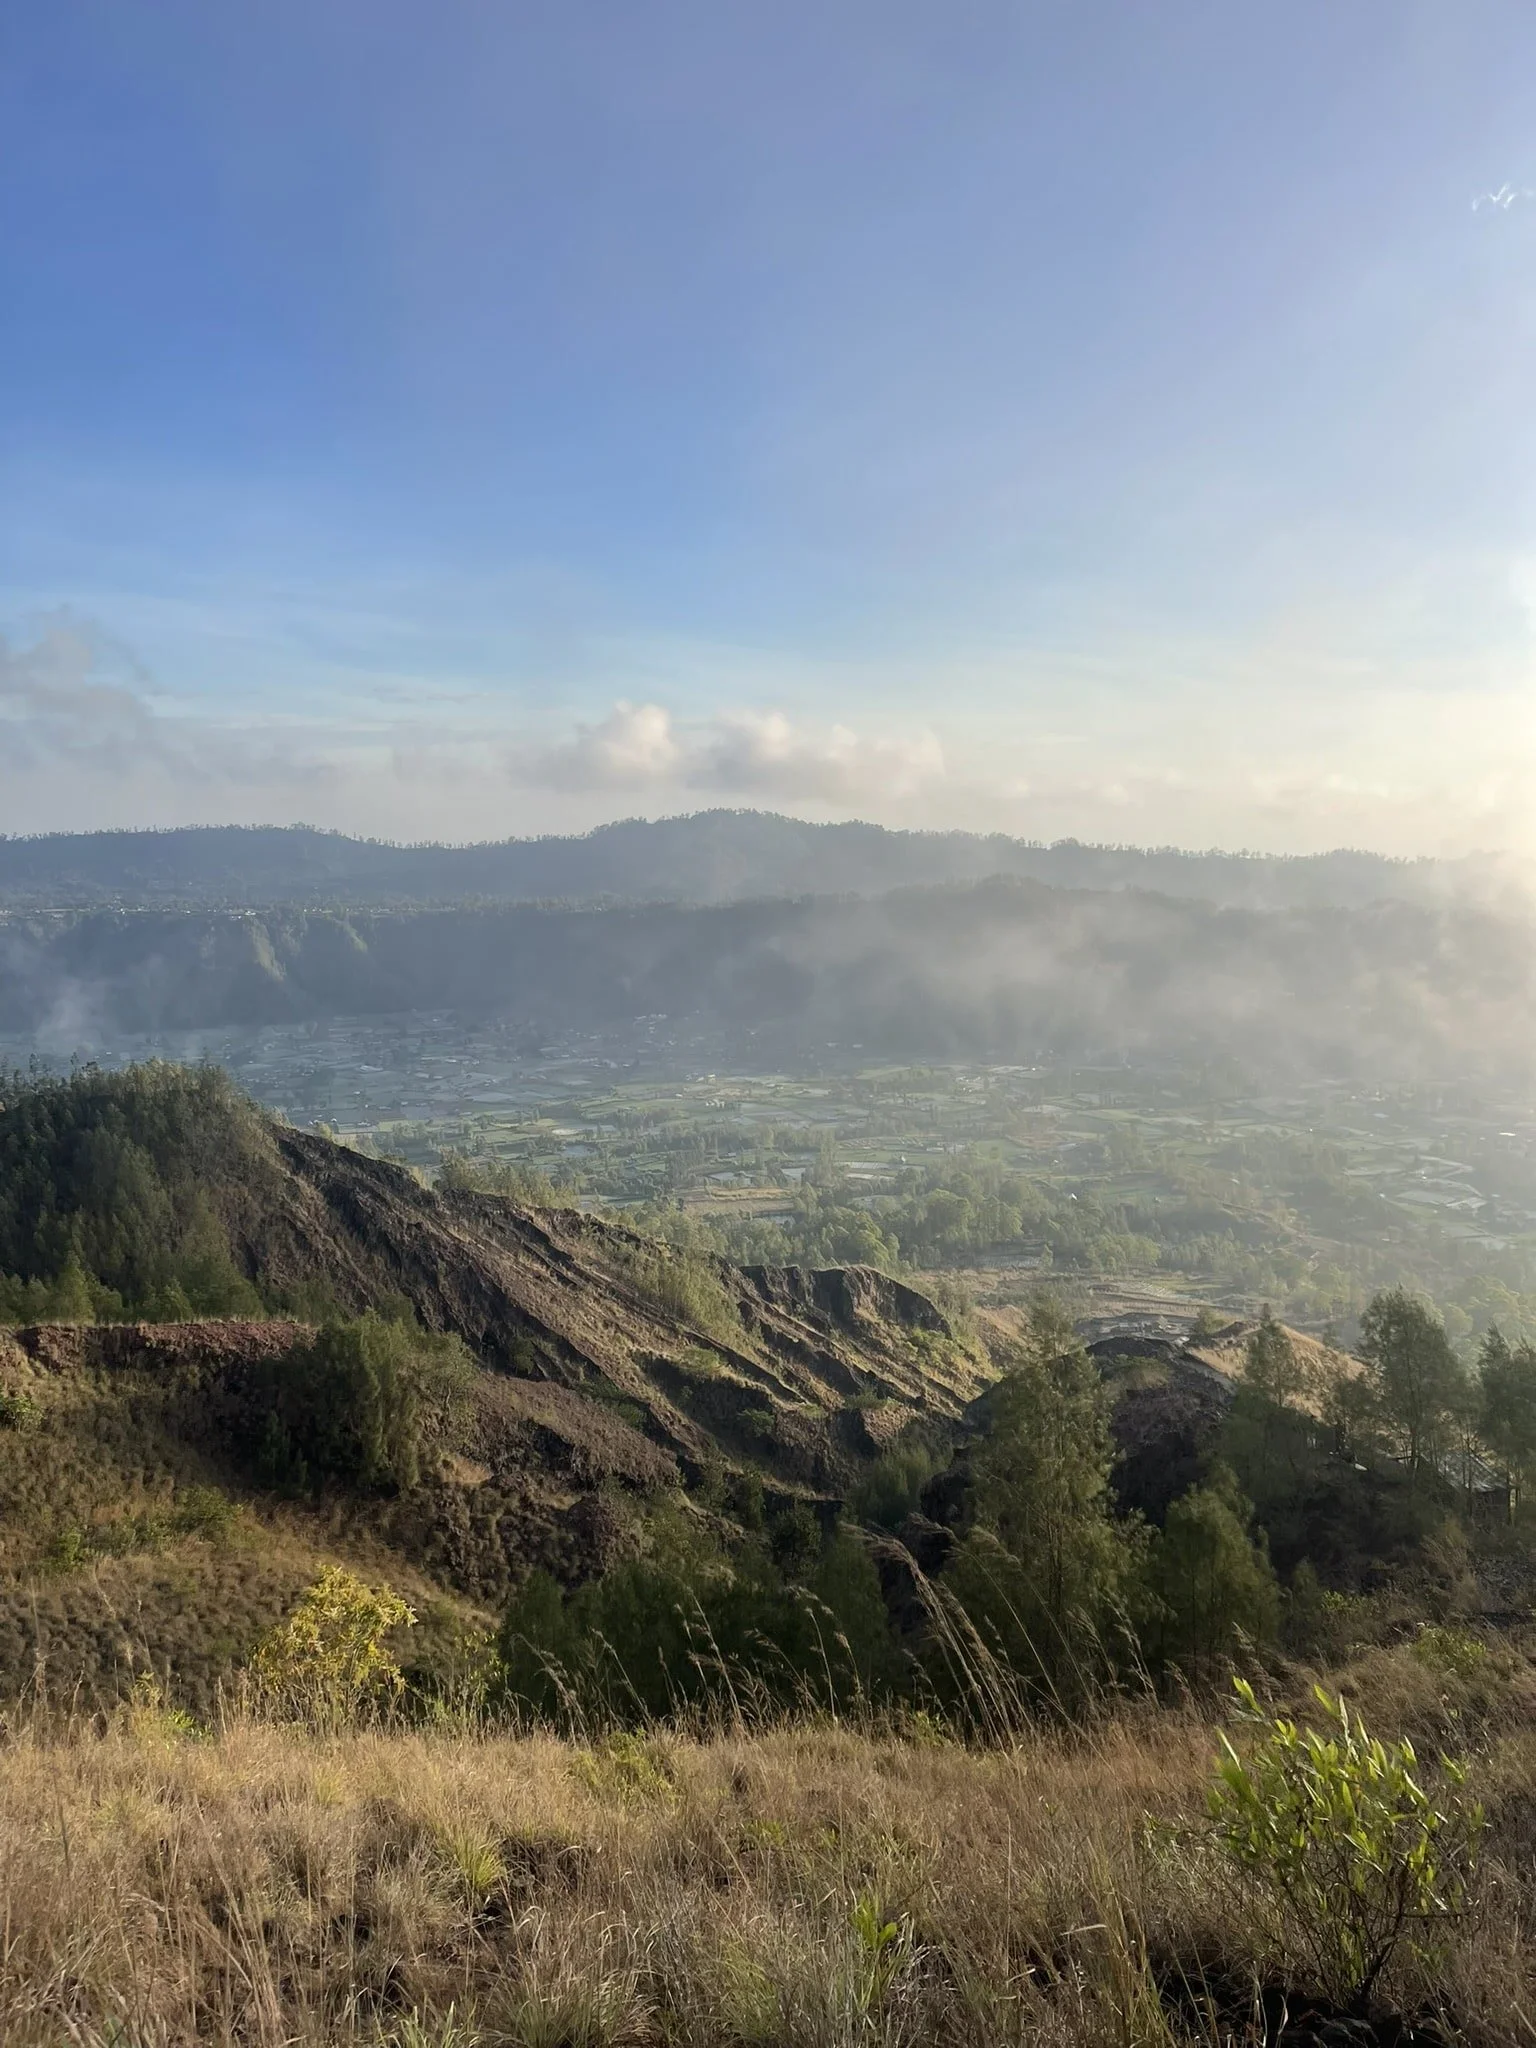
Mount Batur is one of the most popular and accessible sunrise volcano hikes, not just in Bali but in all of Indonesia. Although waking up in the early hours of the morning is not for a lot of people (including me), I do believe this trek is worth setting your morning alarm for. The sunrise at the top is a dreamy mix of orange and yellow hues rising over Kintamani, Batur’s crater, and lake, and if you are lucky, a view of Rinjani and Agung in the backdrop.
For an unforgettable Mount Batur trek, this guide covers everything—from where to stay and the best tours to insider tips on avoiding the crowds. Get ready to conquer the volcano summit with confidence!
Oh & as always practice sustainable tourism while traveling please :)
Disclaimer: This post contains affiliate links. If you click through and make a purchase, my blog may receive a commission at no additional cost to you.
Mount Batur At Kintamani Trekking Guide
Note: If you are looking for general information on where to stay in Kintamani, how to get around, and more, scroll to the bottom for details on this!
About Batur:
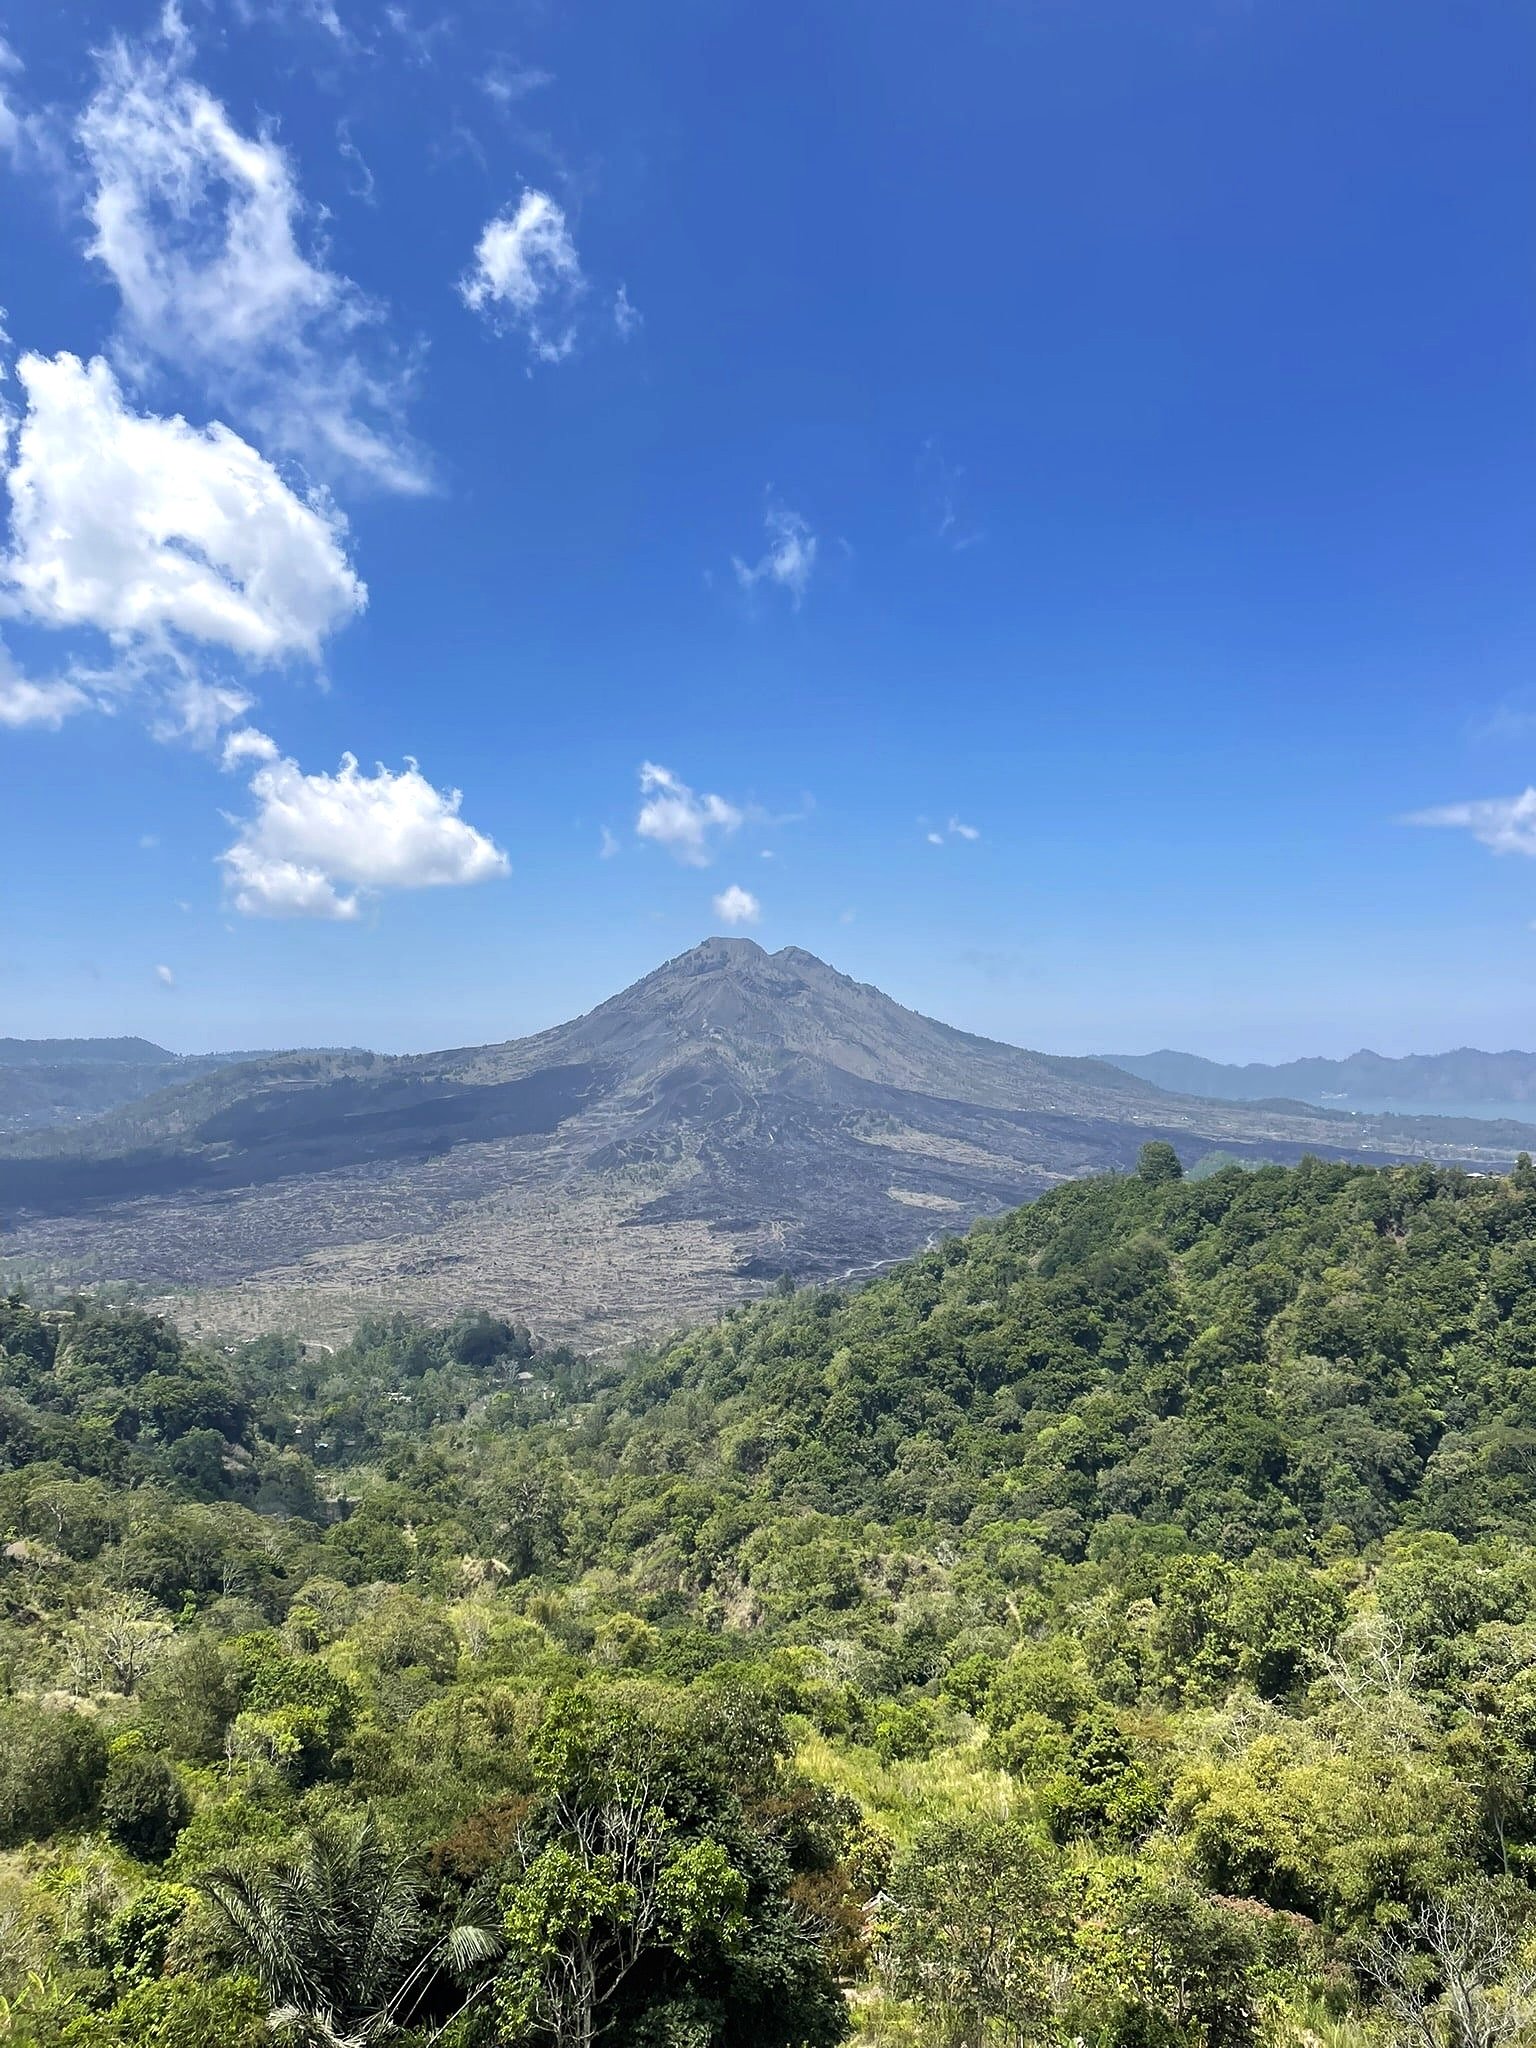
Mount Batur is an active volcano in the Kintamani region that is widely popular for sunrise trekking. It is the island’s second-largest volcano after Mount Agung, standing at 1717 meters (5,633 feet) above sea level.
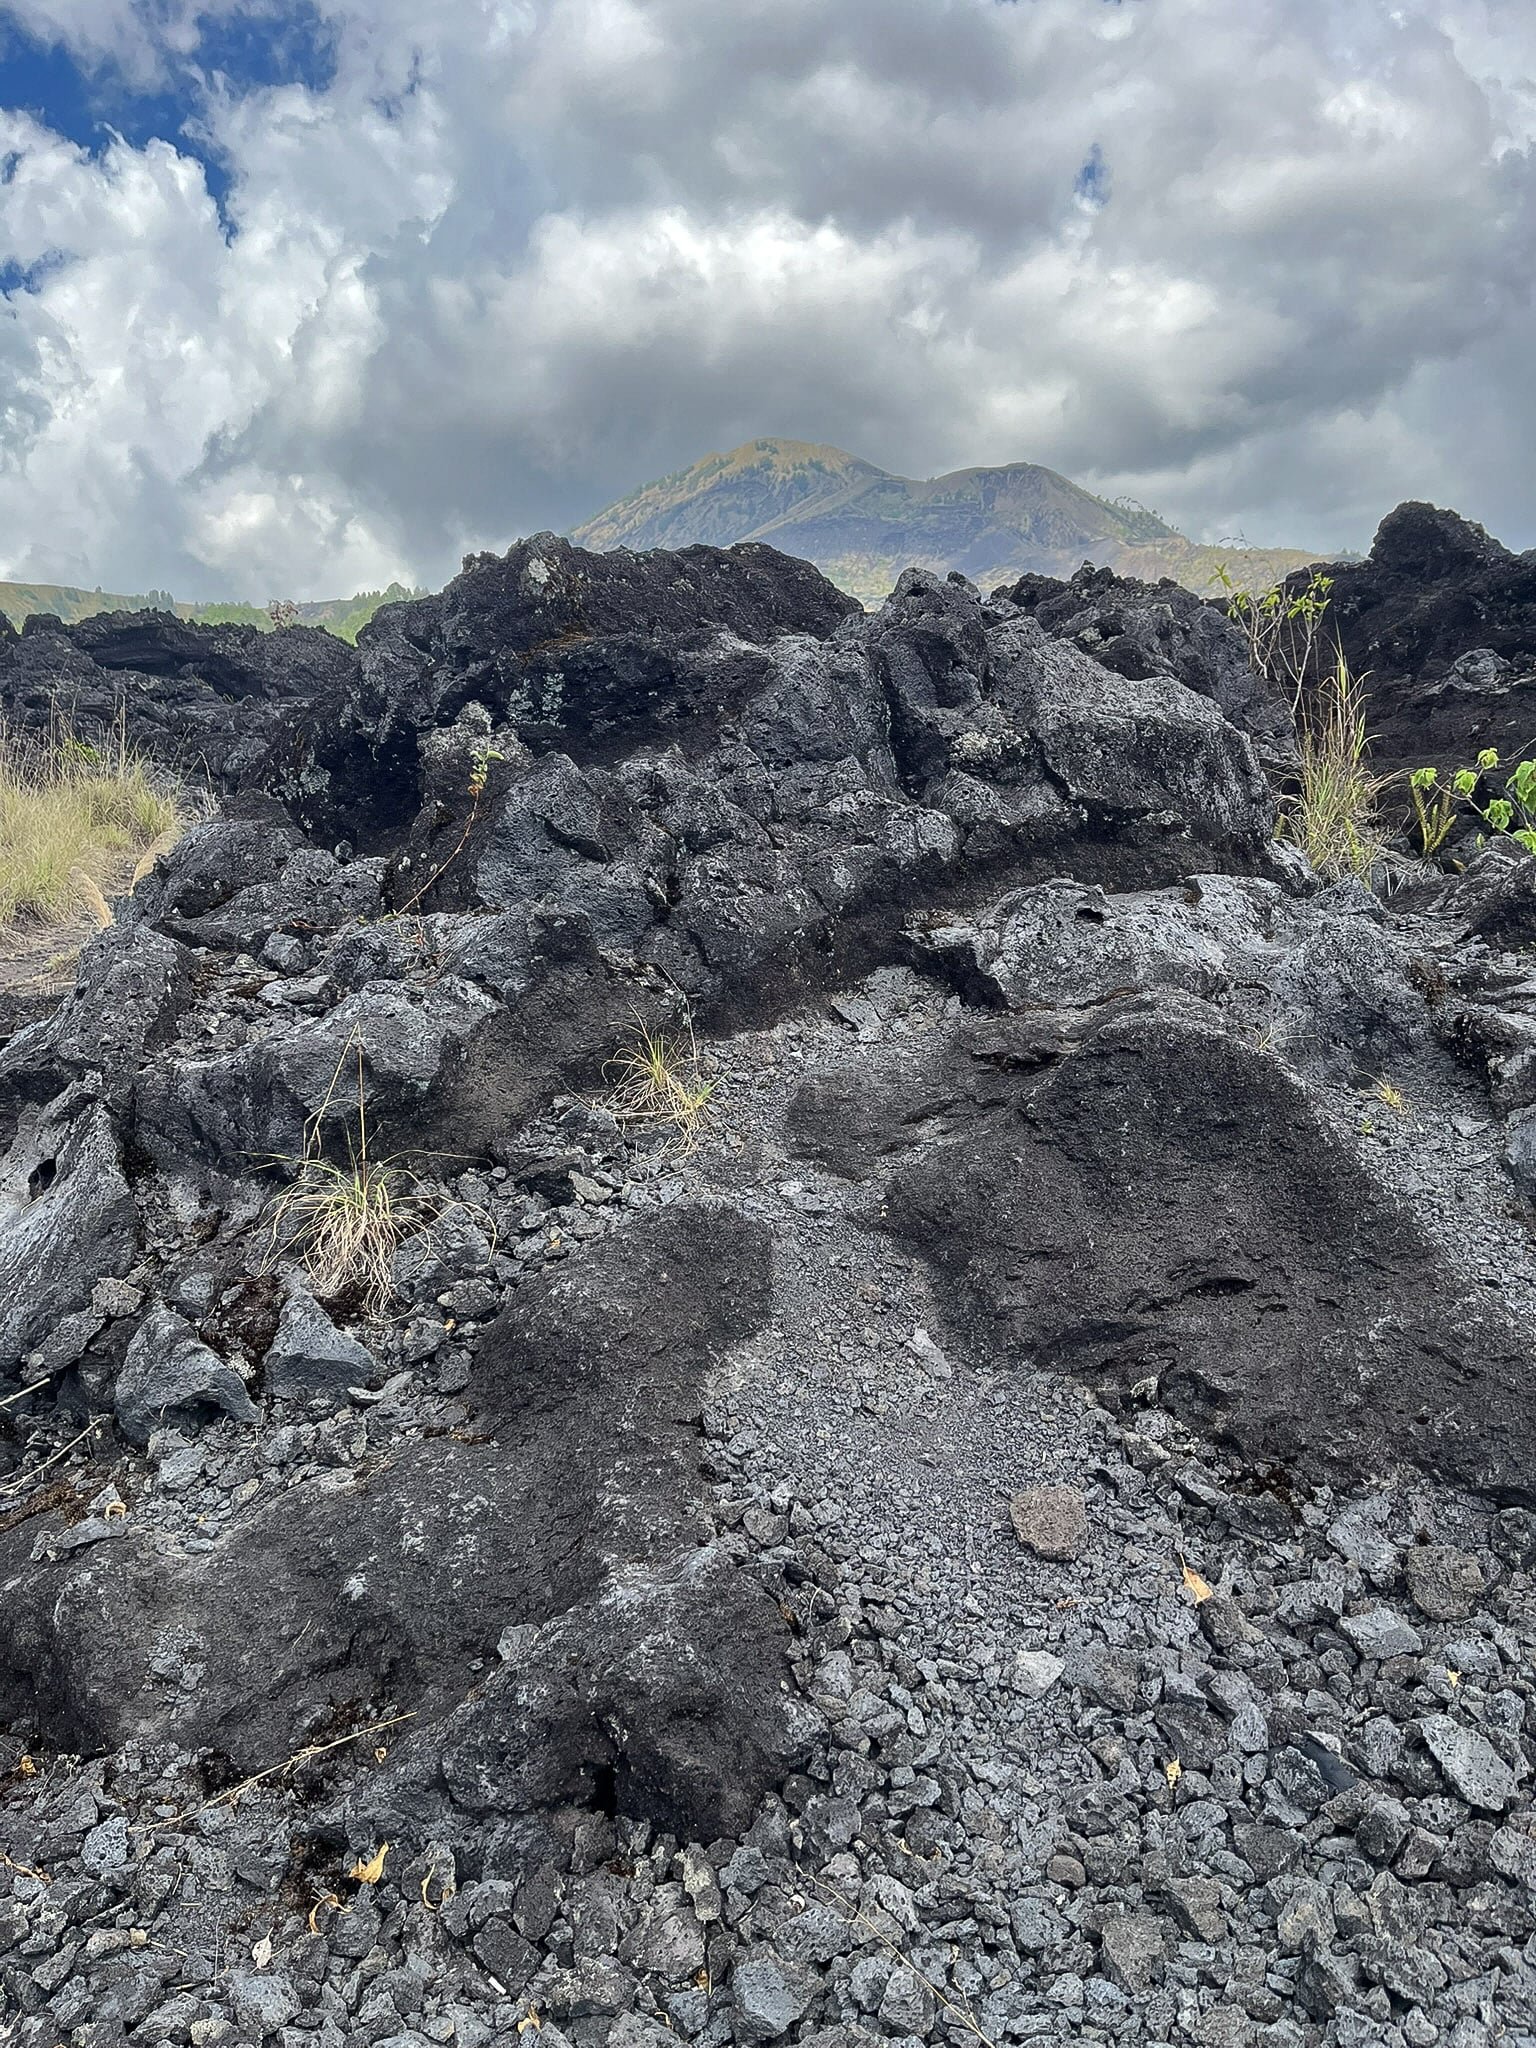
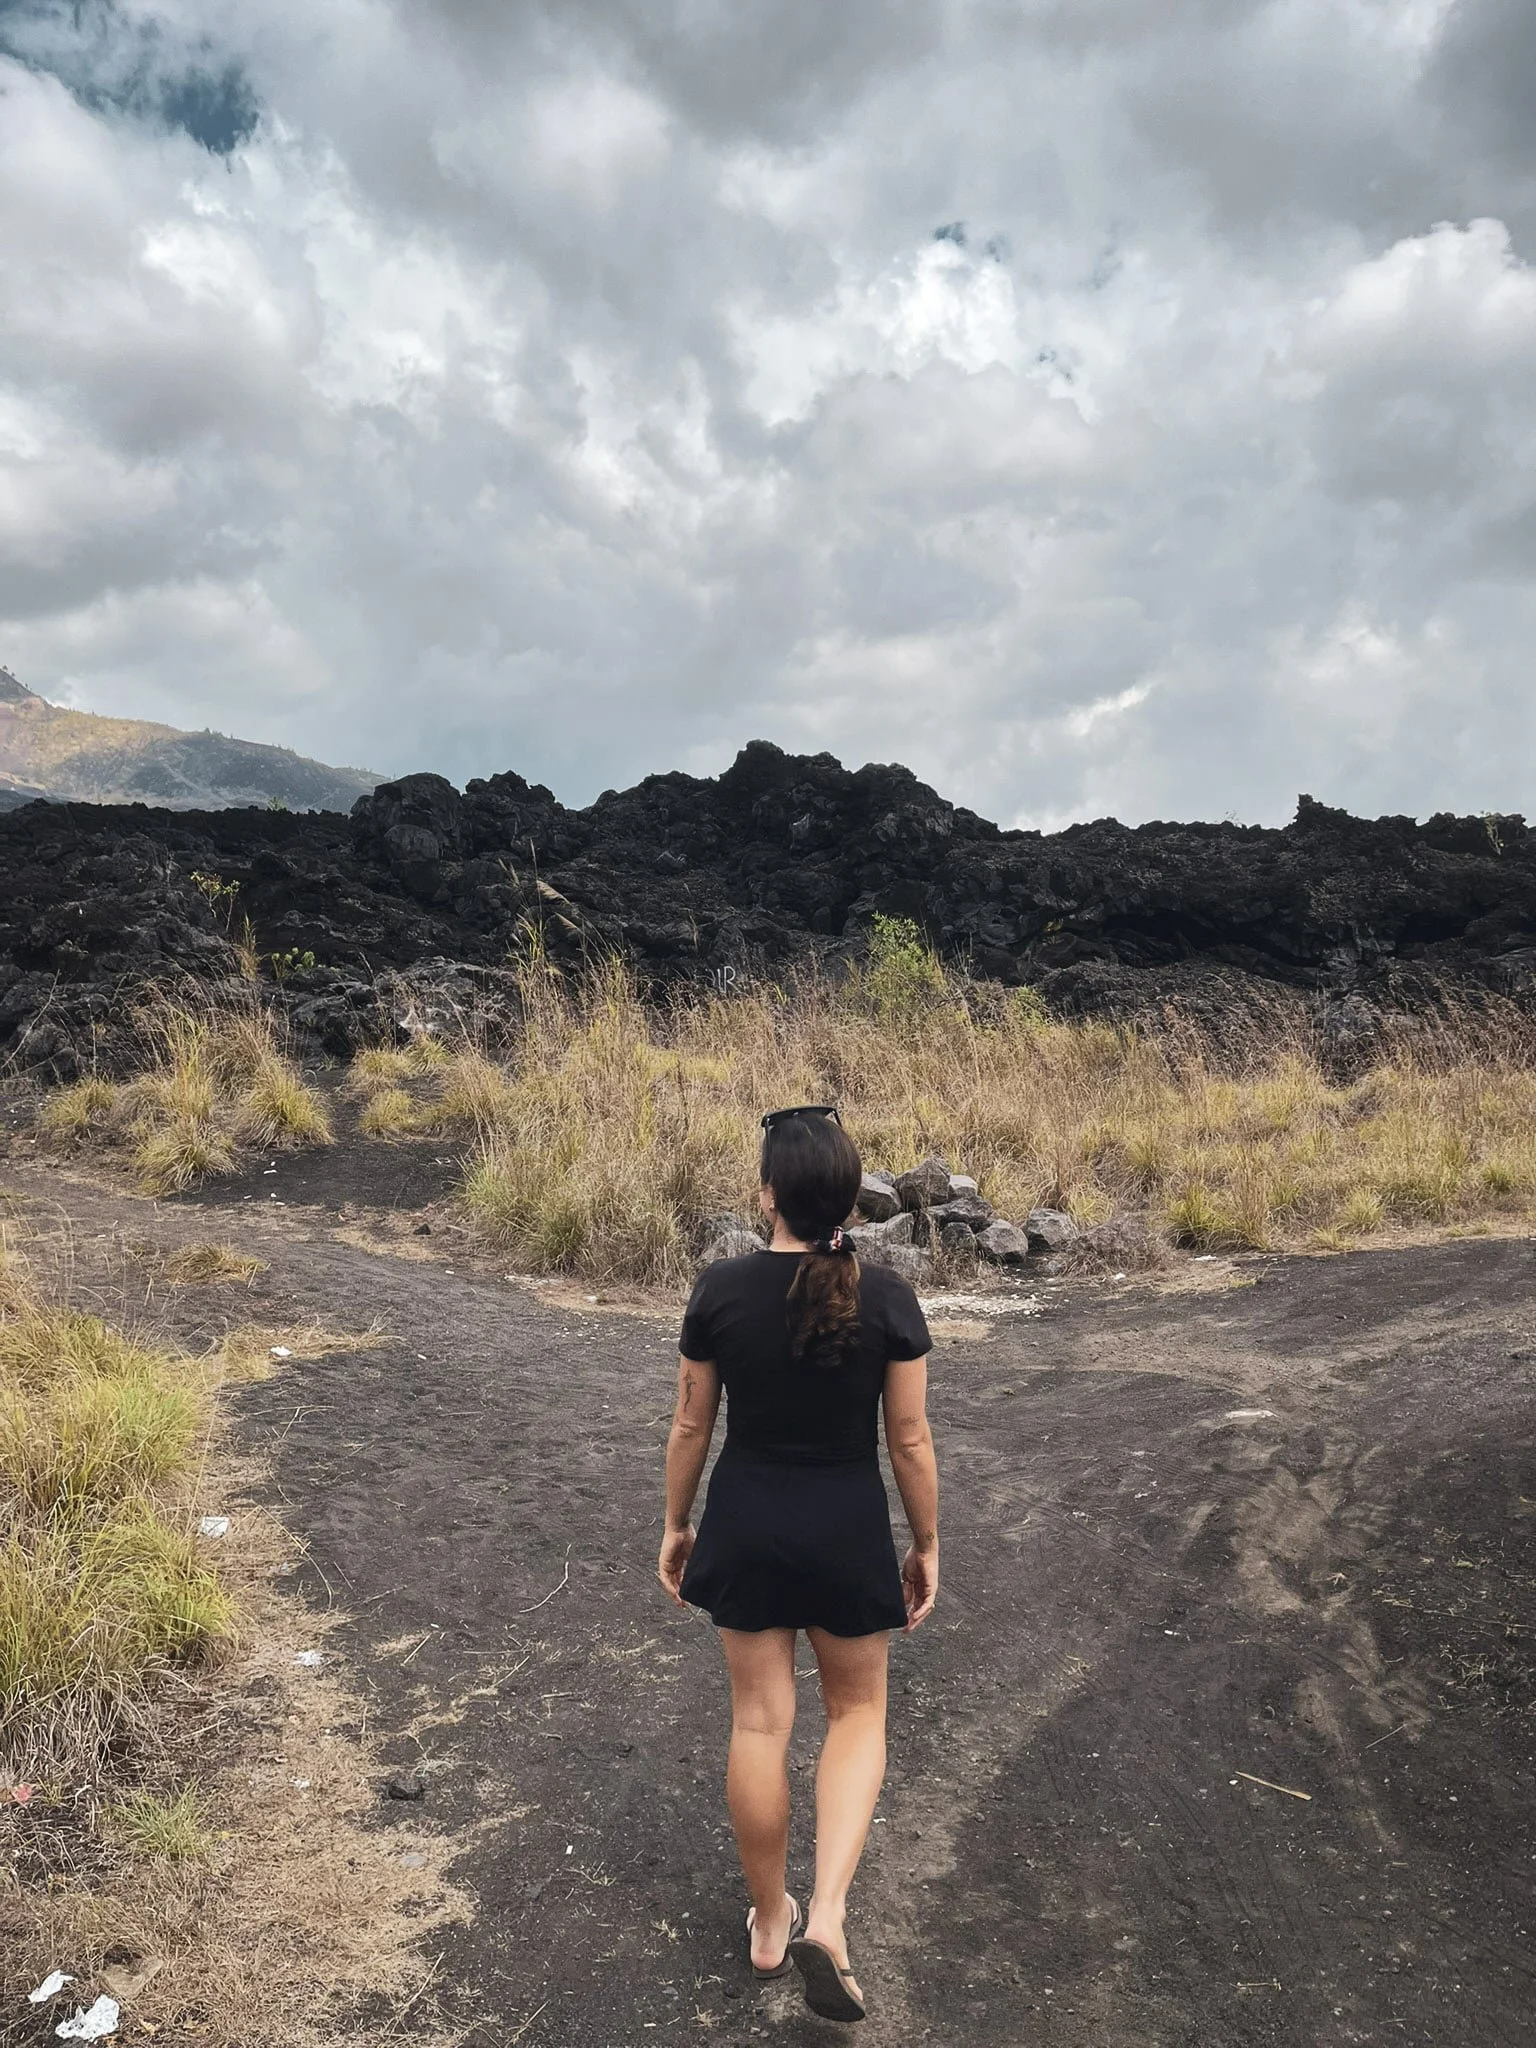
Batur has erupted over 26 times, with the most recent eruption occurring in 2000. Its most powerful eruptions occurred in the mid-1900s. In 1926, Batur erupted from August 2 to September 21, covering nearly the entire village below. In 1963, it erupted again, creating a large lava field that remains visible and is still visited today.
Location:
Batur sits in the Kintamani region on the Pacific Ring of Fire. The exact location is here.
When To Visit:
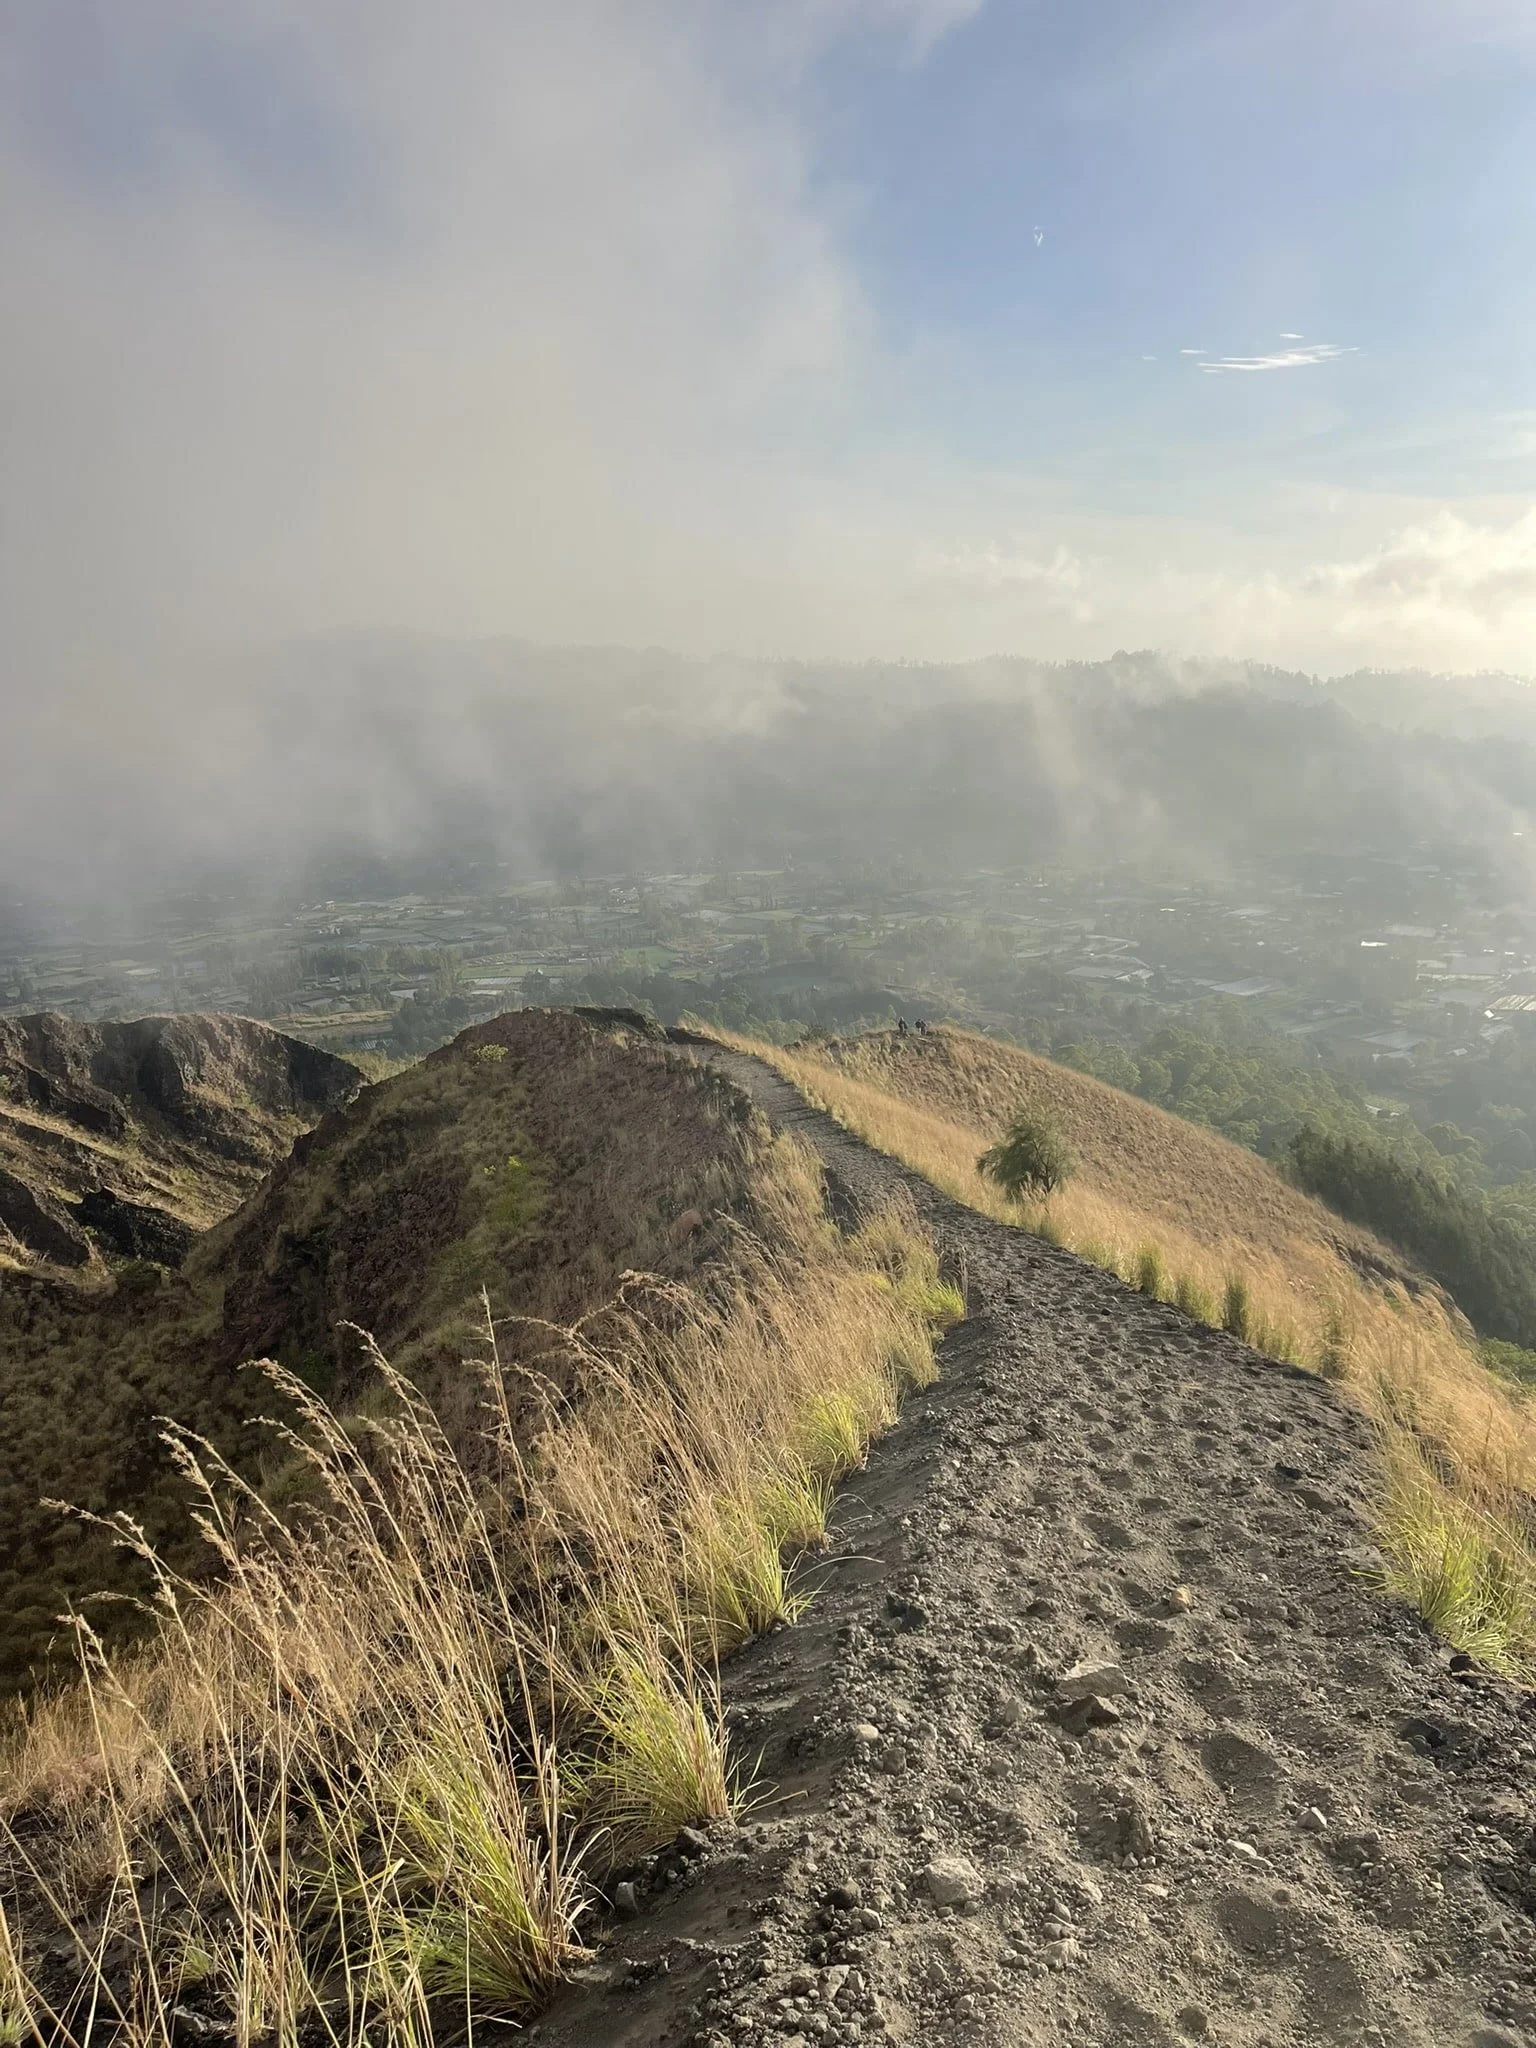
Kintamani’s rainy season is from November to March, but the region is rainiest, with a decrease in visibility from December through March. I do not recommend visiting during the rainy season because the trail can become slippery and dangerous, especially while hiking in the early morning when it is still dark. Most of the trail is loose rock and volcanic dried ash, which is already a bit slippery with the wrong shoes, never mind while wet.
June through September is technically the best time to hike Batur, however, it is also high season. There are over 600 climbers per day for sunrise during these months. For an attempt at trekking with fewer people around, consider going right before or after the rainy season (October/Early November and April/May).
Where To Stay:
The best area to stay for the Batur sunrise trekking and the best views of the volcano is in the Kintamani region. I recommend either staying in Batur’s crater or along Penelokan Main Road. I chose to stay in the closest area to Batur, within the crater. Penelokan Main Road, on the other hand, runs alongside the crater with incredible views over Batur and its landscape. However, it is technically further from the trekking starting point by around 30 minutes or so. There are also many “Glamping” options, which are quite popular in the area and can be great for stargazing at night.
You can also complete the hike from other areas like Ubud, but you will need to wake up even earlier to arrive at the summit with enough time to hike.
Best Accommodation Options For Every Traveler: Kintamani
Backpacker/Hostel Option: Black Lava Hostel and Lodge (dorm) or Mount Batur Homestay
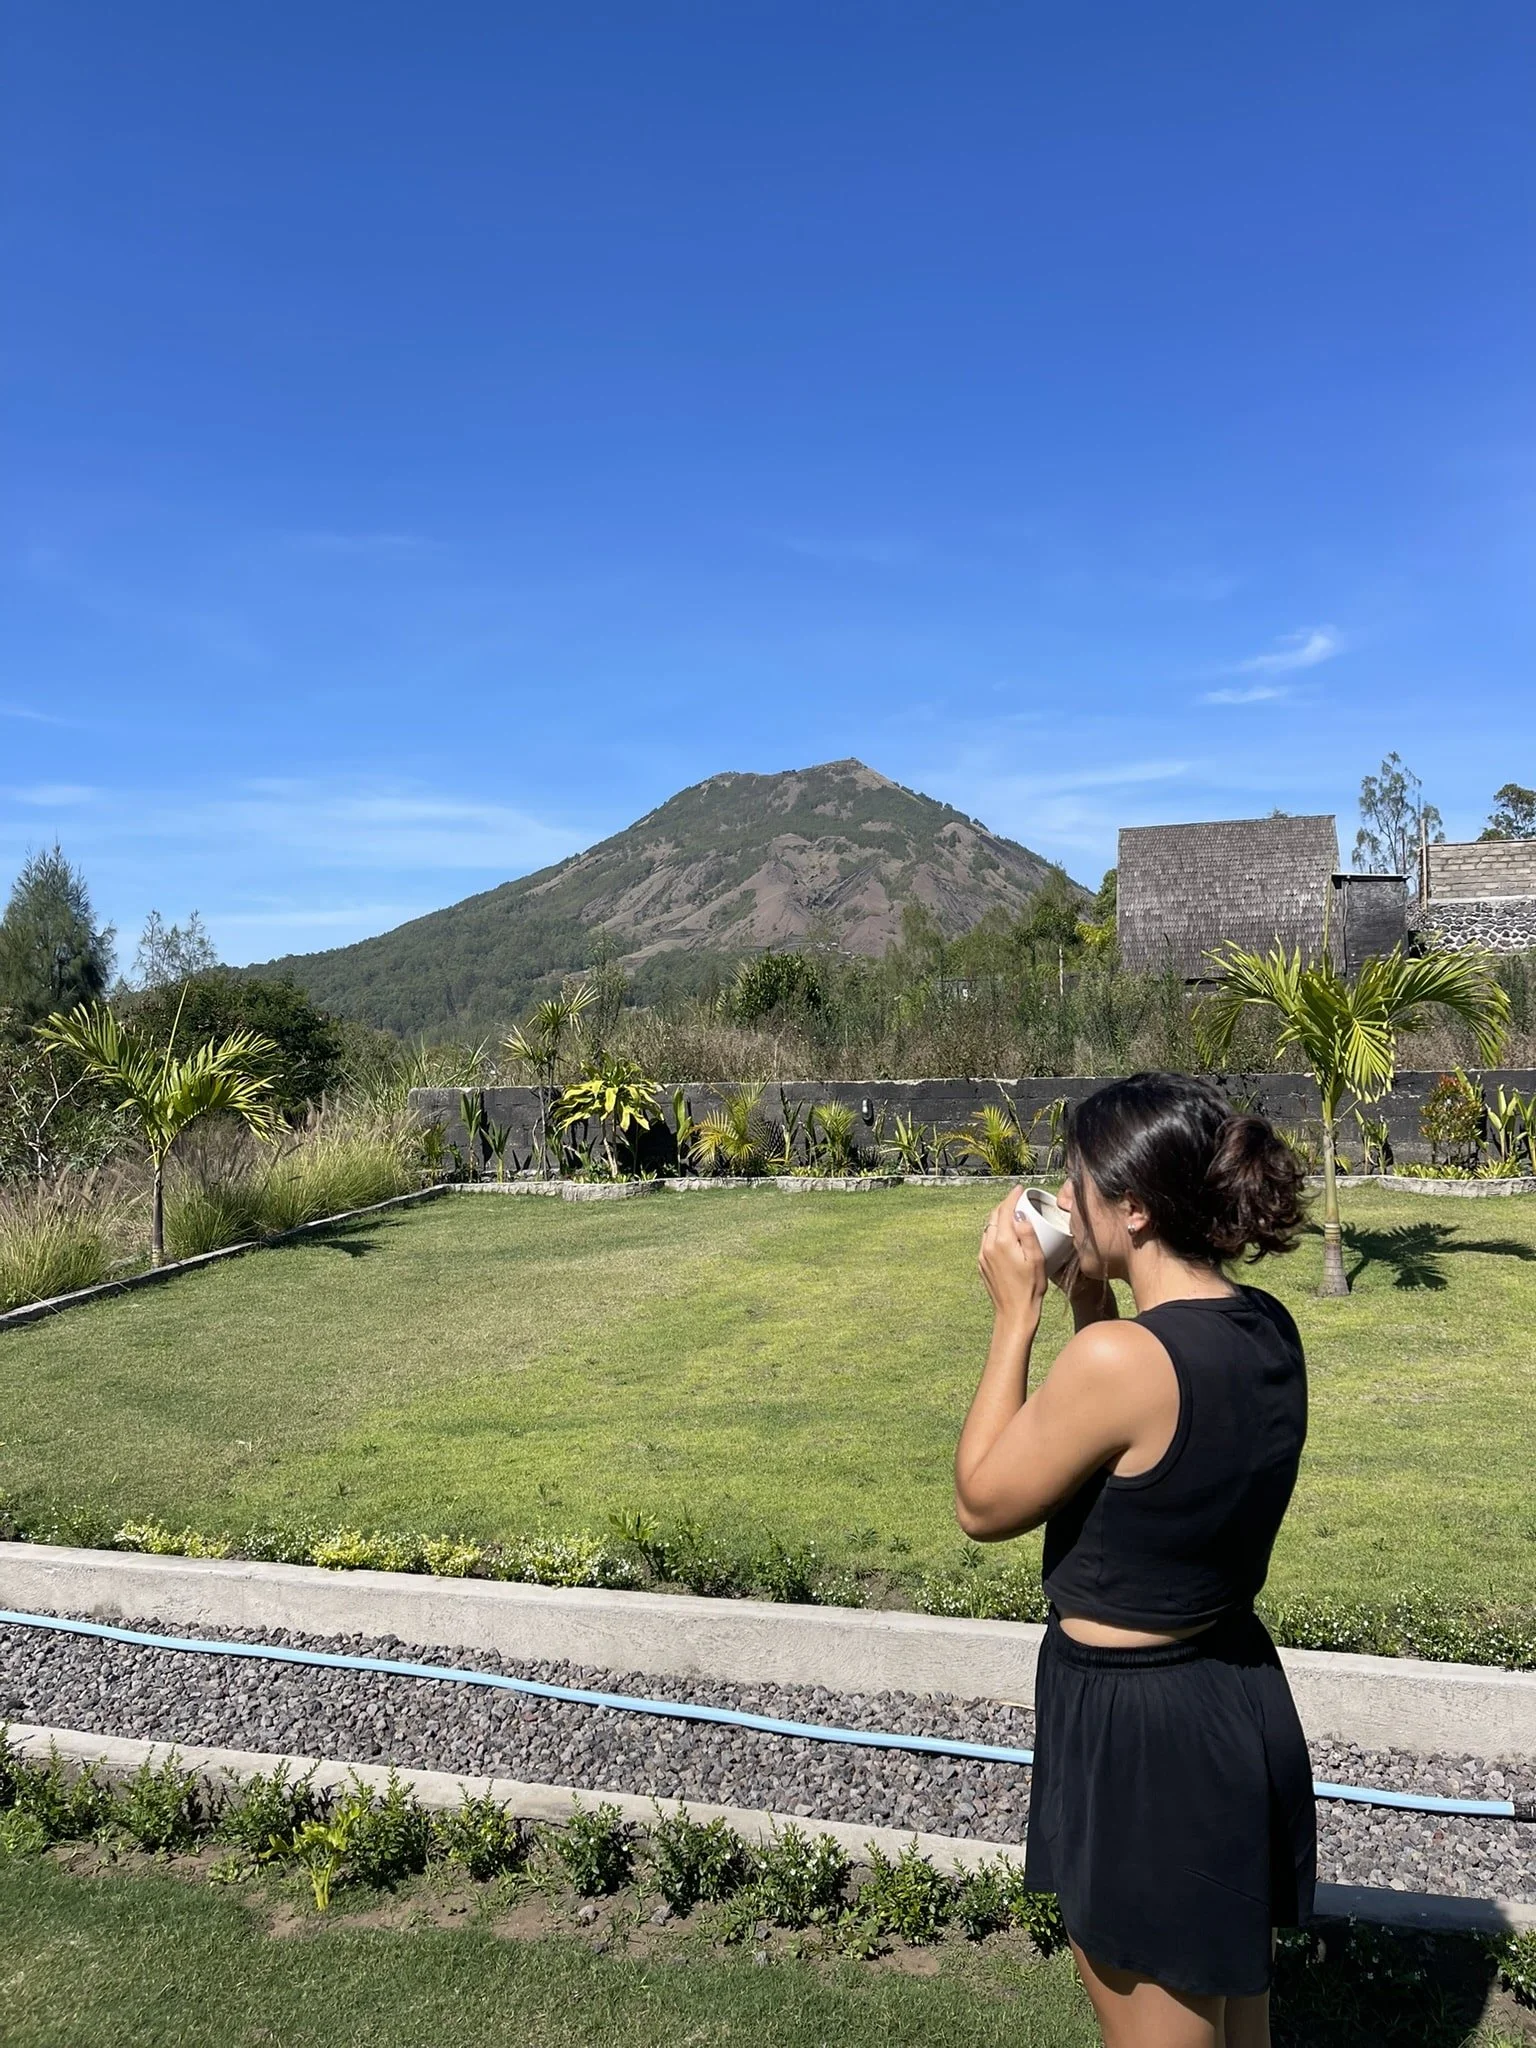
Best Low-Budget: Hillside Bali —I stayed here and I loved it—would recommend it.
Best Mid-Budget: The Lava Bali Villa or Pinggan Caldera or The Breezy Volcano
Best High-End Budget: Tira Vilagna Suites & Spa or Desa Oculus
Glamping: Pinggan Luxury Camp or Toteme Glamping or
You can also find hotel deals at Agoda and Hostel World!
Pro Tip: Kintmani is a relatively colder region when compared to the rest of Bali. You will need warmer clothes, especially in the evenings when the temperatures drop below 18 degrees Celsius (64 Farenheight) with a slight breeze. I wore longer pants and a light coat while I was there. Be sure to check the weather before heading there.
What To Bring:
Warmer Clothes/Layers. As mentioned above, Kintamani is in a chillier region of Bali, and the top of Batur can be COLD. I recommend layering up your clothing to keep cool on the hike up Batur and warm once you are at the top in your sweaty clothing. I layered biker shorts and a t-shirt with longer pants and a light jacket over my top. I was very sweaty on the way up but absolutely freezing on the top of Batur while awaiting the sunrise. I wish I had brought a sweatshirt to wear under my jacket, a hat, and a blanket.
A Blanket! The top of the summit is cold and breezy, and your wet and sweaty clothes will only heighten this. I recommend bringing a cozy blanket to wrap around you and protect you from the breeze. I sure wish I had one. There is a woman at the top selling blankets, but to save money, it is best to bring a backpack with your own blanket.
A Backpack. Your guide will have a bag with some items like water and breakfast for you. However, as with any trek or hike, you should have your own backpack in case of emergencies. I recommend packing some layers for the colder weather, a blanket, extra water, a hat, snacks, and a camera to capture some epic photos. The bag is also great for holding the layers you might take off during the hike up.
Hiking Boots. The terrain up is loose rock and gravel a lot of the way, making slipping quite easy. I recommend wearing hiking boots to give your feet and ankles stability and grip. Athletic or running sneakers with good grip are the second-best option.
Cash. in case you want to buy a snack or beverage at one of the many shops along the route.
Trek Difficulty Level:
Wake up at 4:00 AM, and begin your 1-3 hour long hike under the stars with a guide and flashlight in hand. I had read this hike can take over 3 hours for some, but we managed to finish it in under an hour—though we might have just been lucky with the weather and pace!
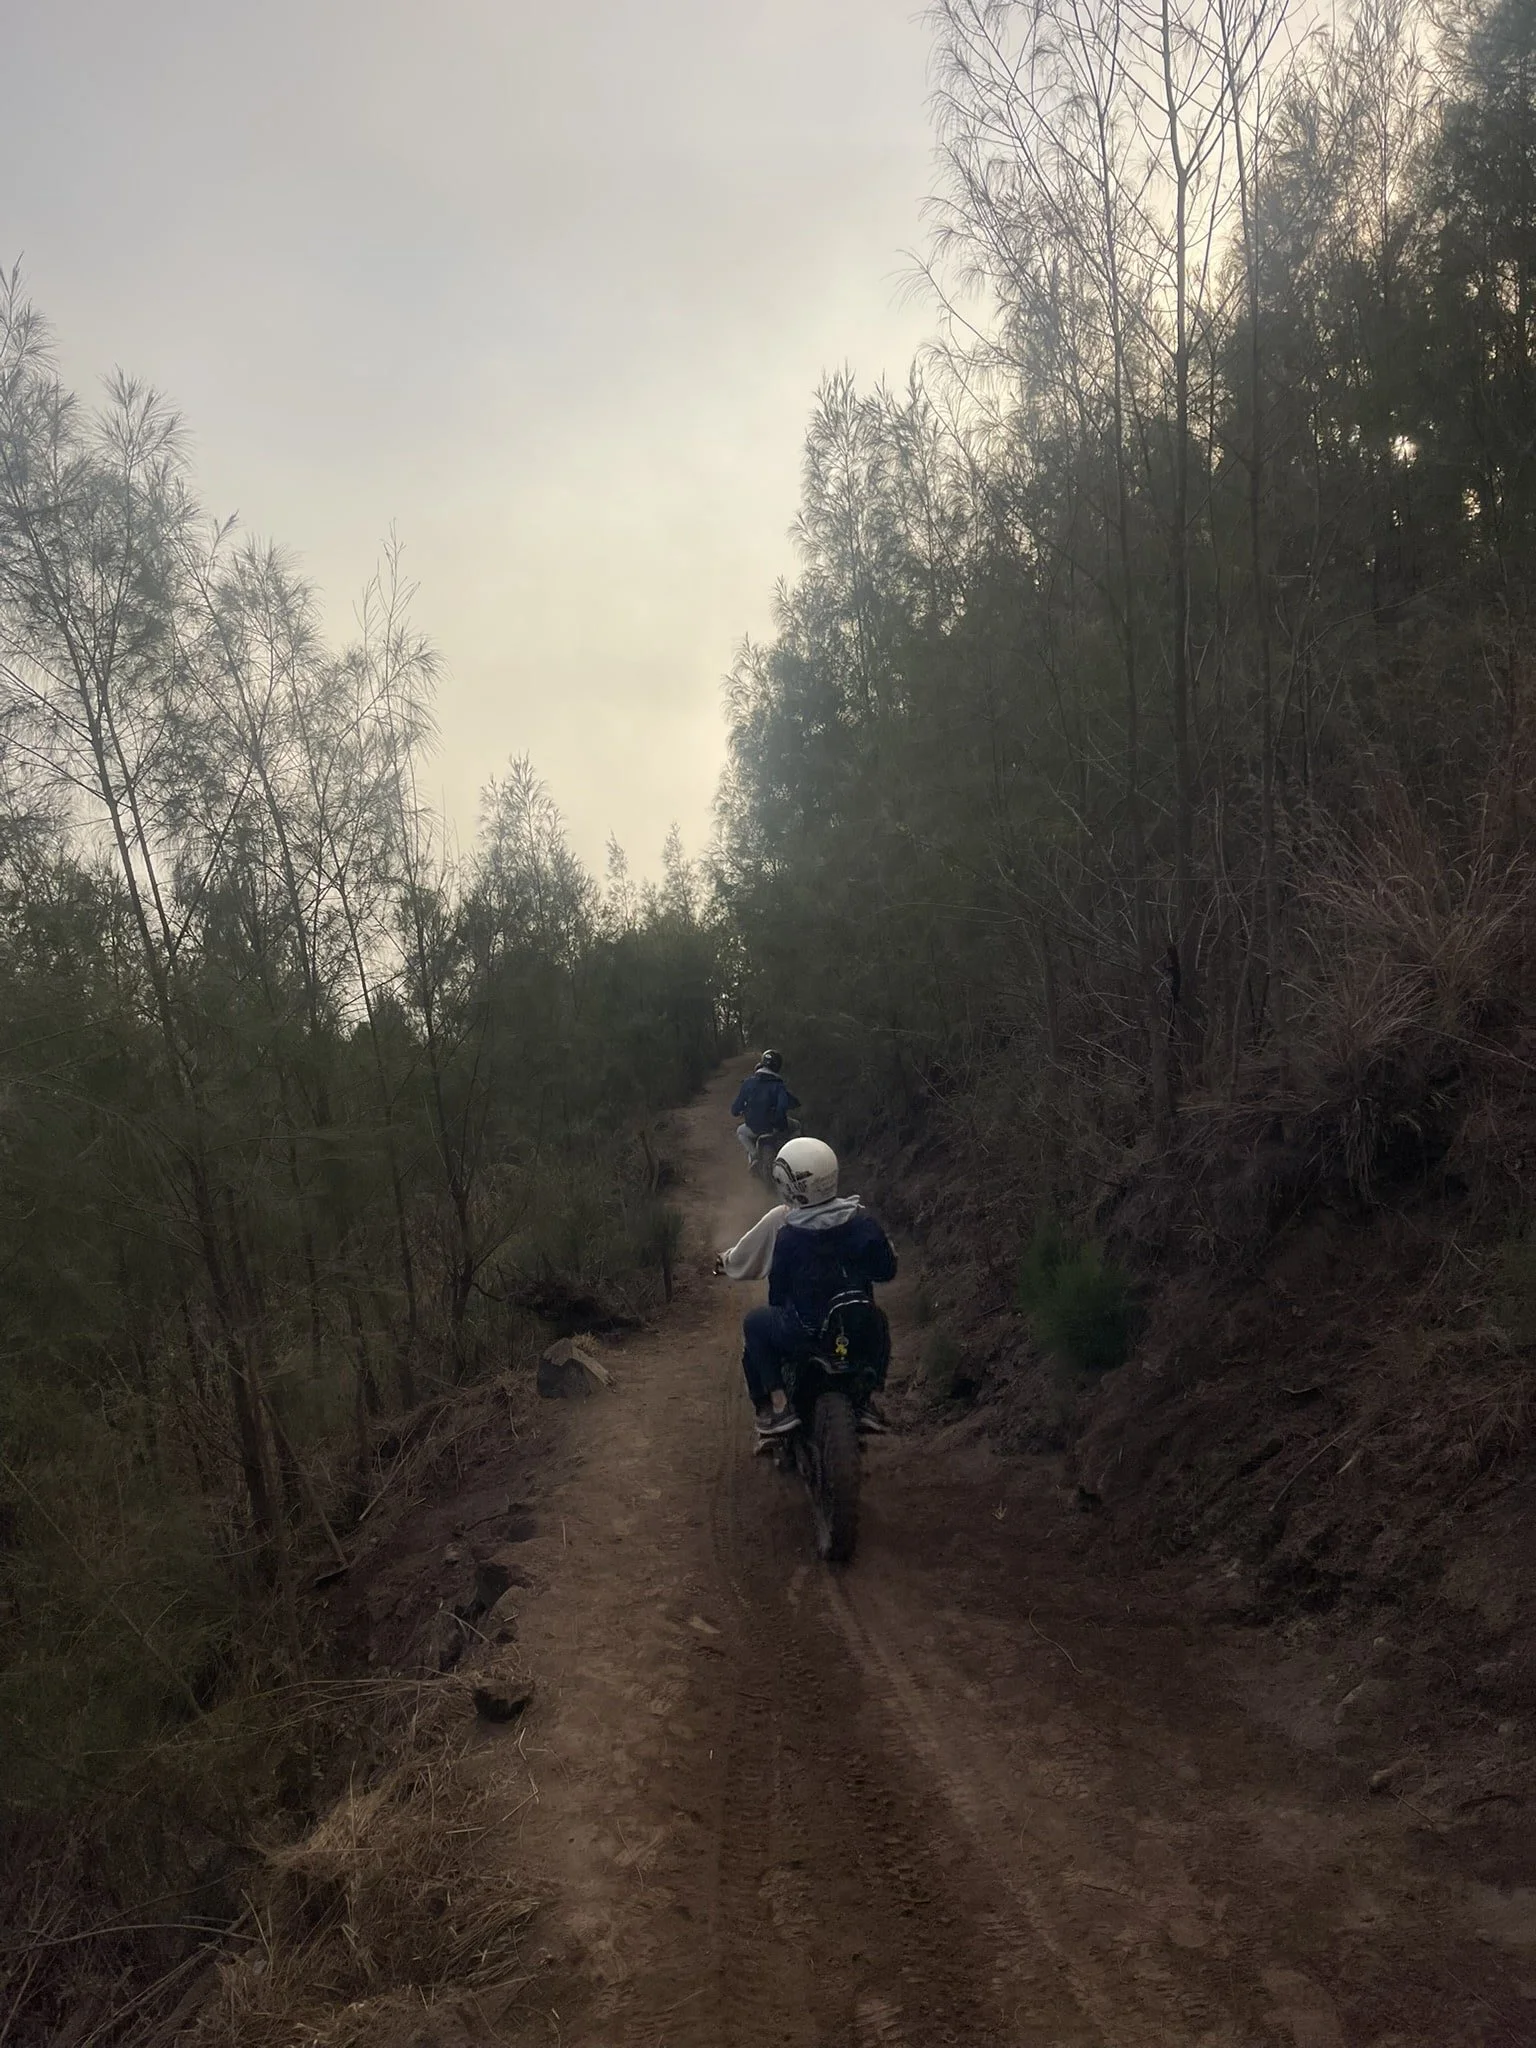
The hike is manageable for all fitness levels and ages, kids too, though it can feel steep and challenging if you do not have much hiking experience. Having grown up hiking the White Mountains in the U.S. (4,000 feet up), this trek felt like a walk in the park for me. If you incorporate regular movement into your life, you should find it entirely doable. Beginning at 4:00 AM gives you nearly 2 hours for the trek, plus you can hire a motorbike to bring you up 70 percent of the hike if you are feeling extra sleepy. Just take your time and go at your own pace. There are plenty of stops along the route, so take advantage of them and enjoy a quick rest on the benches when needed.
The descent is definitely harder on your knees, and slipping on the loose gravel is easier, but the climb down and around the crater is worth the trouble. The views on the way down were my favorite part of the hike. If your knees are giving you trouble, you can hire a motorbike to ride down on the back of!
Batur Altitude: The altitude is 1717 meters (5,633 feet) — however you only trek up 500 meters (1,650 feet) of it.
Distance: The hike is around 5 miles round trip, depending on where you start. Some people take a jeep tour to a later starting point, making it shorter, while others bike up to 70 percent of the summit, further reducing the trek.
How Long It Takes To Walk Up Mount Batur: 1 to 3 hours on average.
Trek Starting Point:
Again, this varies depending on which tour and route you choose. If you opt to trek the entire thing without the jeep, you will start further out and trek 100 percent of the route. If you opt for the jeep tour, you will hike around 70 percent of the climb. If you add on a motorbike ride, you will only trek around 30 percent of the climb.
Do I Need A Guide:
Technically yes, you do need one, I was told it is illegal to hike without. Locals do not appreciate nor like it when people attempt this hike on their own. And honestly, I do not recommend it because of how dark it is. The guide knows the path very well and assures you climb to the top safely. On top of that, the price was only 350,000 IDR (USD 23) and included water, breakfast, a flashlight, and coffee. I LOVED my guide— she was very informative and a fun trekking buddy.
If you prefer a tour with the Jeep, you can find the best option here!
Do I Have To Trek For Sunrise?
Nope! You are free to hike to the summit after sunrise as well.
Tours Options & Fees
There are SO MANY tour options for you to pick from. They usually all include a local English-speaking guide, breakfast on the summit, hot beverage, mineral water, hiking pole, headlamp or flashlight, transport to and from your accommodation to the starting point, and the entrance ticket to Mount Batur and the Kintamani Geopark.
The cheapest option (no Jeep) is around 350,000 IDR (22/23 USD) and includes all the basics I mentioned above. You will begin around 4:00 AM from your accommodation, giving you around two hours to complete the trek. I chose this option because I wanted to hike the entire route and did not mind paying less to walk a little further than where the Jeep brings you.
For additional fees, you can add on a jeep ride, the black lava fields, and a motorbike ride up and down for an easier trek.
The motorbike ride is around 350,000 IDR each way but will bring you VERY close to the summit. You can hire the bike on Batur the day you trek. Be sure to bring some cash if you plan to do so.
Some of the Jeep tours give you the option of trekking up to the top of Mount Batur, and some give you the option of enjoying the sunrise from the Jeep further down Batur.
Mount Batur’s eruptions (more so the major one in 1963) have left fields of dried black lava all over its’ crater, and if you are similar to me, of course seeing lava is a bucket list tick. You can join an ATV tour over the black lava fields as part of your Batur sunrise hike or, if you prefer the free and less bumpy option, you can drive along the roads that run through the lava fields and stop off on the side of the road to get a closer look. I skipped paying to see the black lava fields because you can ride your motorbike along them later in the day and choose a spot to explore. Plus, there is so much black lava along the hike itself, that I did not feel it was worth paying extra. If you are interested in learning more about Batur, its eruption, and the lava, you can head over to Batur Geopark for more history and scientific information on it!
My Experience:
Although waking up in the early hours of the morning is not for a lot of people (including me), I do believe this trek is worth visiting and setting your morning alarm for. The sunrise at the top is a dreamy mix of orange and yellow hues, but be sure to check the weather forecast ahead of time to avoid climbing for a sunrise hidden by the clouds. We did have a cloudy morning but were able to enjoy the sunrise through some of the openings in the clouds.
As mentioned, I found the hike quite easy, and we arrived at the top with an entire hour to spare before sunrise. There are SO many stopping points along the way with benches and shops for you to use. There is no shame in taking a break— I took a few!
Pro Tip: There are no restrooms on the top of Batur, so be sure to go before you leave. The one toilet at the beginning of the hike has a 5000 IDR fee.
You will have a flashlight, courtesy of your guide, to help you see along the route, which was sufficient. A lot of the hike is steep, as you quickly ascend most of the altitude in under 2 miles up. However, there are also some flat sections through the tree line.
I did not find the hike too crowded, but once the sun was starting to rise and the people were arriving atop the summit, WOW, there were a lot of people. I was happy we climbed quickly and found the perfect sunrise spot by 5 AM.
After sunrise, your guide will take you to an area where steam naturally rises from the active volcano. It was pretty interesting to see and felt good for warming up, but it quickly got overcrowded by everyone coming to see it.
The hike down is also incredibly beautiful as you wander through the black lava and rims of the volcano. It was my favorite part of the hike, so take your time, take in the views, and capture some beautiful landscape photos around you. It took about an hour to arrive back at the bottom. At 7:30 AM, we arrived back at our accommodation for a much-needed nap!
Why I skipped the hot springs in kintamani
For some reason, the hot springs near Mount Batur have caught travelers’ attention worldwide. However, in the U.S., hot springs are usually natural phenomena heated by the Earth, or in this case, by a volcano. Disappointingly, the Mount Batur hot springs did not feel like a natural wonder and instead looked like a man-made tourist attraction with little to no upkeep. The grounds and the hot springs (or more so pool water) were dirty and felt unsanitary, which is why I decided to skip both of these attractions, Toya Devasya and Batur natural hot springs.
General Information: Kintamani
BEST TIME TO VISIT:
Rainy Season: November - March | Dry Season: April - October
Kintamani’s rainy season is from November to March, but is rainiest with a decrease in visibility from December - March. I do not recommend visiting at all during the rainy season because the trail can become slippery and dangerous, especially while hiking in the dark morning hours. The majority of the trail is loose rock and volcanic dried ash, which is already a bit slippery with the wrong shoes, never mind while wet.
June to September is technically the best time to hike Batur, however, it is also high season with over 600 climbers per day for sunrise. For an attempt at fewer people you may want to try right before and after the rainy season (October/Early November and April/May).
HOW TO GET TO Kintamani:
Flying: The only airport in Bali is located 67.6 KM (42 Miles) from Kintamani, in the city of Denpasar: Gusti Ngurah Rai International Airport (DPS). When booking my flights around Asia, I always check Skyscanner for the best routes and deals. Not all regional airlines in Asia will populate on Google Flights.
Pro Tip: Many foreigners traveling to Indonesia receive a 30-day Visa on Arrival upon entry for 500,000 IDR (30 USD) that can be extended an additional 30 days for an additional fee. You can find more information on which countries qualify and apply for this VOA online, here.
From the airport, you need to order a taxi or rent a motorbike to reach Kintamani.
The drive can be as short as 1 hour and 40 minutes if you leave before 8:00 AM or after 7:00 PM and as long as 2 hours and 40 minutes. Motorbikes tend to be faster than cars because they can weave around traffic.
Taxi: You can order a local taxi, Grab (rideshare app), or GoJek (rideshare app) from nearly anywhere else in Bali to Kintamani.
Local taxis can be ordered right from the airport or through an accommodation.
Grab is better than GoJek for longer distances (from my experience). I have had GoJek drivers in the past arrive to pick me up, and ask for more money, and when I said no, they have turned around and driven away.
For either app, you can choose to ride in a car or on the back of a motorbike. The motorbike is the cheaper option by far. If you have more bags or are uncomfortable being on the back of a bike weaving through cars for longer hot hours, I do not recommend taking the back seat of a motorbike. You will also have to hold your bags unless they are small enough to fit in the front of the bike.
A car is a more comfortable option, but it can take longer with traffic. Car prices vary a lot depending on the time of day and demand.
Motorbike: Motorbike rental businesses are everywhere in Bali for you to choose from. I will say, some are extremely overpriced and untrustworthy so be sure to read reviews. For my last rental, I used Bikago. They also do bike delivery and pick-up! You can arrange a rental through their website before you arrive. Bali Best Motorcycle is another great option, which you can arrange through WhatsApp.
Be aware that the roads leading to Kintamani are not in perfect condition—the infrastructure in Bali is not great overall. You must be a confident driver, especially during high-traffic times, to navigate around cars and other obstacles. If you have bags, you need to either wear them or place them near your feet while riding.
Always wear your helmet and have your international driver’s license with you in case you are pulled over or stopped by local police. I have only been pulled over once for my friend not wearing a helmet.
MODE OF TRANSPORT IN Kintamani:
The best form of transport in Kintamani is by motorbike. Points of interest are quite spread apart and the area is very hilly, so walking could take too long. Daily motorbike rentals are usually around 80,000/90,000 IDR (per day) for a small motorbike or scoopy. The larger the bike, the more expensive it will be. You will find better deals for longer-term rentals versus daily. Be sure to negotiate pricing, as some places will just throw out a more expensive price to see if you will take it. As mentioned, I rent my bike from Denpasar.
There are local taxis around, which you can usually hire from your accommodation or through Grab/Gojek.
Motorbike Driving Tip:
Always check the bike is working and take photos of any previous damage made to avoid any arguments with the rental places.
Keep in mind the traffic can be a bit chaotic, and sporadic, and some of the roads are overwhelming or unpaved. So, if you are not confident in your motorbike abilities, then hopping on the back of a bike via Grab or Gojek may be a better option.
Always wear your helmet—so many people do not wear their helmets, which blows my mind. Wearing your helmet could save your life.
WHERE TO STAY:
The best area to stay for Batur trekking and views is in the Kintamani region. I recommend either staying in Batur’s crater or along Penelokan Main Road. I chose to stay in the closest area to Batur, within the crater. Penelokan Main Road runs alongside the crater with incredible views over Batur and its landscape. However, it is technically further from the trekking starting point–around 30 minutes or so.
You can also complete the hike from other areas like Ubud, but you will need to wake up even earlier to arrive at the summit with enough time to hike.
There are also many “Glamping” options which are quite popular in the area and can be great for stargazing at night.
Best Accommodation Options For Every Traveler: Kintamani
Backpacker/Hostel Option: Black Lava Hostel and Lodge (dorm) or Mount Batur Homestay
Best Low-Budget: Hillside Bali (I stayed here and I loved it—would recommend it).
Best Mid-Budget: The Lava Bali Villa or Pinggan Caldera or The Breezy Volcano
Best High-End Budget: Tira Vilagna Suites & Spa or Desa Oculus
Glamping: Pinggan Luxury Camp or Toteme Glamping or
You can also find hotel deals at Agoda and Hostel World! You can help support my blog by booking through my links! :)
ARE THERE VEGAN or Gluten-Free OPTIONS?
Yes, but there are honestly not too many so you may need to get creative.
For eating gluten-free in Warungs, you can also order most dishes without soy sauce.
“Wheat” in Indonesian is “gandum.”
“Saya allergie kecap” means you are allergic to soy.
IS IT SAFE?
Kintamani felt safe to me—it is a very busy tourist area because of Mount Batur. However, I recommend staying up to date with your country’s travel advisories and Mount Batur’s weather/seismic activity. Follow basic rules of safety while traveling including:
Keep an eye on personal belongings and valuable items. Do not leave them in your bike.
Never forget your keys in your motorbike, and never leave anything valuable sitting out. Someone may steal it, especially monkeys.
Always triple-check vaccination requirements and recommendations for countries. Some potential illnesses include Typhoid and Hepatitis A.
Pack mosquito spray to protect yourself from Dengue and Malaria. There have been recent cases of Dengue in the region.
Wear your helmet when riding your motorbike. So many people do not wear their helmets and it could quite literally save your life.
DO NOT drink the tap water. Keep your mouth closed in the shower and even use bottled water for toothbrushing, especially if you have a sensitive stomach like me!
Never travel without the right insurance in case of any sickness, injuries, or theft. Safety Wing is by far the best travel medical insurance. It has saved me numerous times by covering hospital visits when I was sick during my travels in Asia.
Get an eSIM—so you do not get lost navigating your way. I always use Airalo for my eSims.
Emergency Contact Number: Police: +62 110 | Fire: +62 113 | Ambulance: +62 118 or +62 119
You can find a complete list of Bali Emergency #’s here.


